KinderGals

Search This Blog

Wednesday, July 8, 2015

Setting Up for Back to School and FREE STEM Cards

Have you heard of my Back to School Seminar? Everything is about getting ready to go back to school. Whether you are a new teacher or one that has been teaching 30 years or more, there is nothing as magical or exhausting as the first day. Sometimes you just survive! Here are a few of my favorite ideas. Be sure and read to the bottom to find a freebee.Slide11
First things…get started setting up the environment.
  1. One thing we like to do is to take pictures of our kids with their families during Open House. Now, the term “family” means different things to different people. So, in this case I am defining it this way… “Your family is whomever comes with you to Open House.” 
  2. Collect some frames. I got mine from the dollar store.
  3. Print the pictures and add them to the frames before that first day of school!
Parents love to see their photos in your room. It also shows that you “have it together”!  It is easier to handle difficult situations with parents when they think you are fabulous. Use that time during those first few encounters to show your “fabulousness”!
Slide14Next: getting ready to teach. Here are some of my favorite ideas for organizing for teaching.
Writer’s Workshop Writing Folders
Here are some things to keep in mind when setting up storage for writing folders.
  • Make a hanging file folders for each child. Their actual writing folder is stored inside the hanging folder. Why?
    1. This makes it easy for kids to “find” their folder. Nothing wastes time as much as kids looking through their desk to find their folder!
    2. It makes it easy for kids to find their folder without having to dig through a pile of folders. They just find their name on the hanging folder, reach inside and pull theirs out!
    3. By placing them in hanging folders they can easily be moved from one plastic storage tub to another.
    4. Use three tubs so that when it is Writer’s Workshop time, you can spread the tubs into 3 different locations in your room. Now, all of your kids will not be going to the same location to find their folder.
    5. Also, by having them in 3 tubs, you can differentiate! Place the children who have similar writing abilities in the same tub. Now, provide paper that best fits their needs and abilities. Now as the children learn, you can easily differentiate by moving their folders!
Slide19
  • Use one color of hanging folder to house the children’s writing folders. Use another color of hanging file folders to house paper and tools. This way the kids know where to look for what!
Want to know more about organizing for Writer's Workshop? Check out this post for details!
Then, I think about getting reader’s workshop started. Here is the first question we want to answer: “Can all kids read?” If we say reading is bringing meaning to the page, then the answer is yes. So, when my 18 month old grandson picked up “Old MacDonald” and said, “eieiei moo moo”, he was reading!
Slide13
I want the kids to see themselves as readers from the very beginning! So I do a series of mini lessons about the different ways we can read.  After these 3 different lessons, the kids do their first book shopping from the books that we used for active engagement during these lessons.
Want to know more about Reader's Workshop? Check out this post with details and video clips.
http://kindergals.blogspot.com/2015/07/4-easy-steps-readers-workshop-mini.html
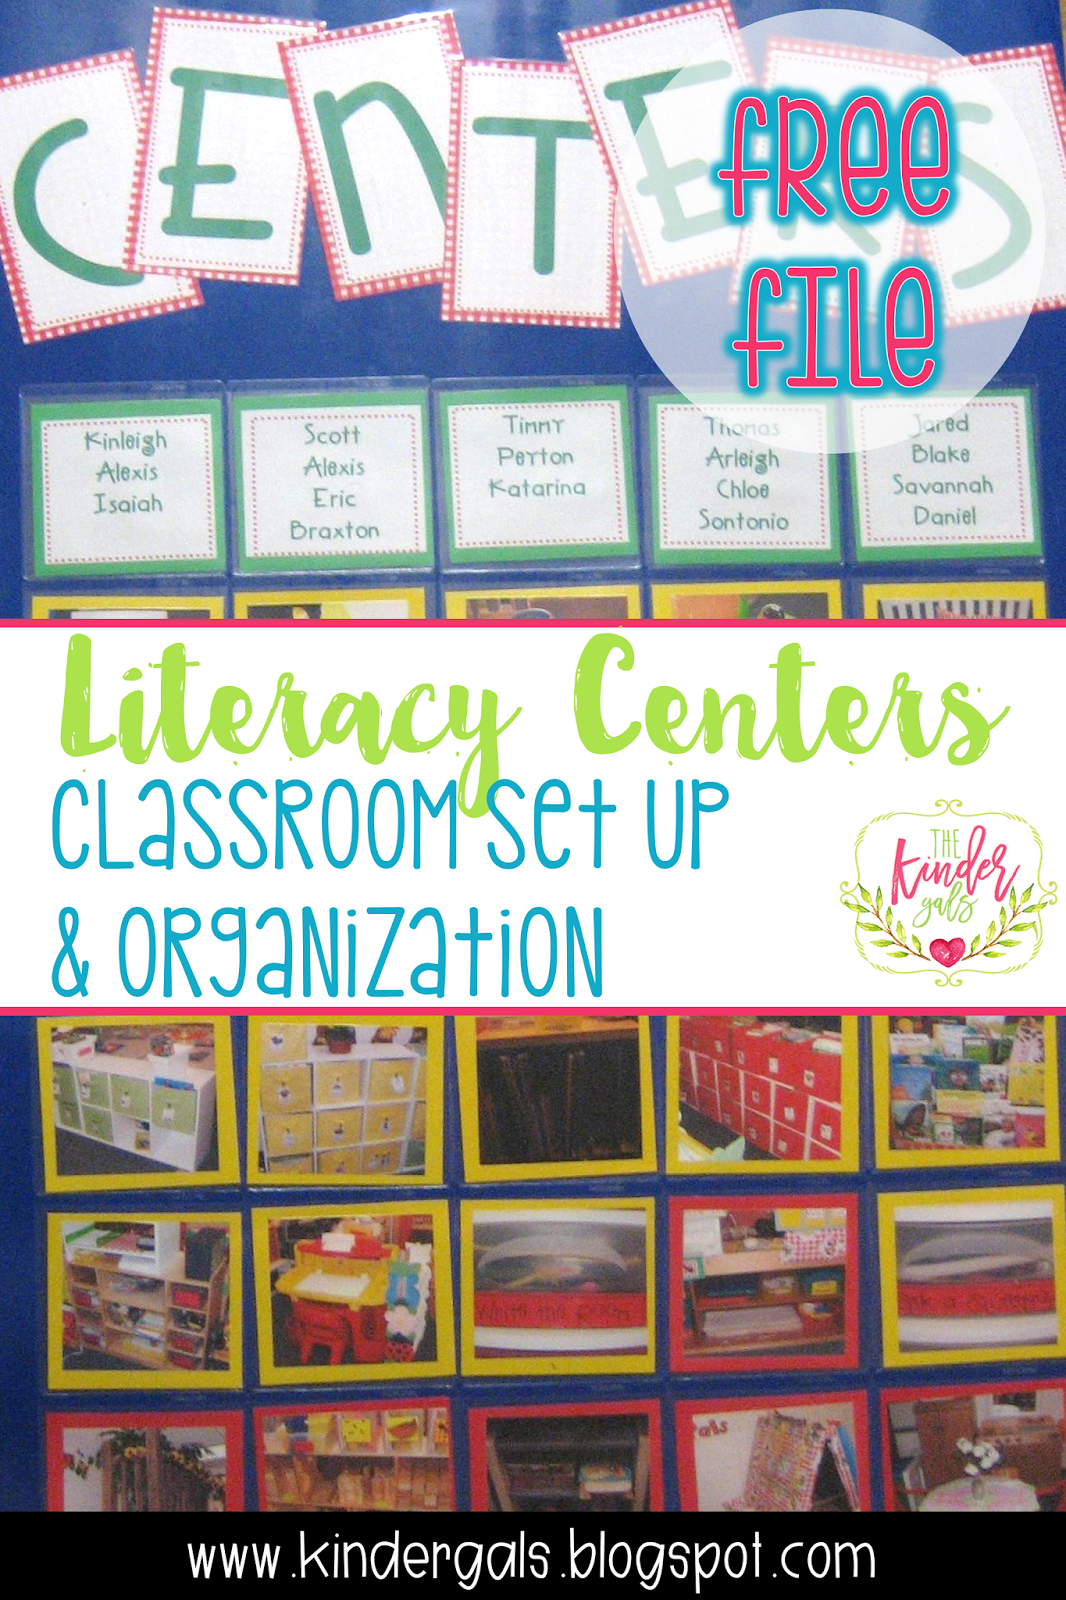
Now it's time to think about getting literacy centers started. One thing I will share is about being sure that you have a balance of centers for reading, writing, and word work. Make a list of your centers and divide them into these three areas. Are they balanced? Often when we think of differentiating, we only think about “What level are they?” But, the WAY in which children learn is also part of differentiating.
Slide6Slide7
Want to know more about how we set up literacy centers? This post has all the details!
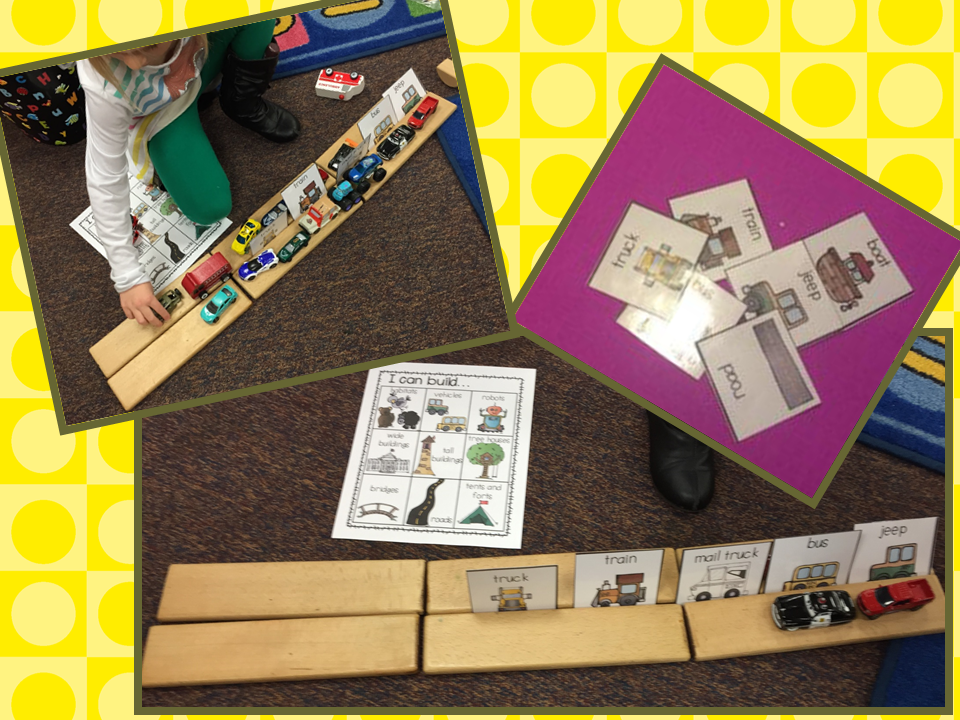
And today’s freebee is this set of STEM cards to use in your block center. I made an Engineering Book for my block area. As the children created their structures, I take a picture. Later, I print them out and have the kids tell me about what they constructed.
I also made some cards that the kids can use to sort items. I don't put all of the cards in the block area at one time. I will put just one set at a time. For example, I might just have the transportation cards this week.
I also use these tasks cards. They ask the children to build certain types of structures. These are great for our STEM days!

 I also made this "idea" card. This provides them with ideas of things that they can construct.
And lastly, I made this "How To" book. Here I have my kids tell me the steps they took to build their structures.


 They are great for STEM!
Slide15Slide16Slide17Slide18Slide19Slide20Slide1Slide2Slide3Slide4Slide5Slide6Slide7Slide8Slide9Slide10Slide11Slide12Slide13Slide14
Pin It!

Tuesday, July 7, 2015

Reading, Writing, Math & Science Oh MY! AND a FREE Music Book

 Can't get to a conference but want PD? This blog post shares some snippets from some of the workshops that I can do.  BUT, you can always bring me to your school, too! Be sure and read all the way to the bottom of this blog post to snag up a FREE File!
Small Group Math
Slide7
Let's talk about planning small group number activities that are differentiated. A few weeks ago I went on a family beach trip. Ginny, my daughter in law who teaches first grade, was reading this book.
When she put it down….I picked it up! It tells us, “The development of number concepts is the foundation and heart for the mathematics program for young children.” It also said, “Children develop a real sense of number by working with real things rather than with symbols.”
Here is some important information that I share about how children best learn number. It is important to know that children can often answer the questions even when you are working at the symbolic level and still lack understanding. This is because they lack the logic of mathematics.
  • Start ALL learning at the conceptual level.
    1. First, use the real objects. (real apples)
    2. Then, move to a 3D model of the object. (apple erasers)
    3. Then, move to a 2D model of the object. (paper apples)
    4. Last, move to an object representing the object. (red unifix cubes to represent apples)
  • Next move to the pictorial level.
    1. Invite the children to draw a picture to show a number of apples.
    2. Look at a picture of apples and count how many.
  • Last, move to the abstract level.
    1. Use numerals to represent how many apples.
    2. Use symbols such as =, +, –.
Want to see more ideas on how to organize and manage differentiated centers? Here is a blog post with some great organization ideas.
http://kindergals.blogspot.com/2015/07/throwback-thursdaysetting-up-your-math.html
Writer's Workshop
Slide8
I love, love, love to teach writing to both kids and to teachers! So needless to say, I am always thrilled when I get to present one of my writing sessions.  Anchor Charts are an important part of the workshop model. So, just what is an anchor chart? Anchor charts must meet three criteria:
  1. An anchor chart is constructed with the kids.
  2. An anchor chart is actively being used as a reference.
  3. An anchor chart is a bulleted list of the big ideas from your mini lessons.
Number 2 and 3 might be clear, but you might wonder about number 1. How can they be actively engaged in making a chart when it looks like a poster? Well, I am left handed and a little OCD, so hanging up a chart that I have written with the kids kinda sent me over the edge. So…I would rewrite them. Have you ever done that? Be honest, because most of us probably have. The problem with that….the new chart WASN’T made with the children. They probably have no clue what is on it.
Here is how I do the charts:
  1. I make the charts ahead of time to match the big ideas from my mini lessons.
  2. I laminate the chart.
  3. I use white bulletin board paper, or another sheet of poster board, to cover the words.
  4. Each day, I “lower” the paper to “reveal” the new idea!
ABC's and 123's
Slide9

 Have you ever seen these little music books by CTP? Jean Feldman and Greg and Steve both have them. Here’s what I did:
  1. I bought the CD.
  2. I bought some sticky CD pockets from an office supply store.
  3. I took a blank CD and burned just the song to match the book.
  4. I put the CD inside of the sticky pocket.
  5. Now it makes a great listening center.
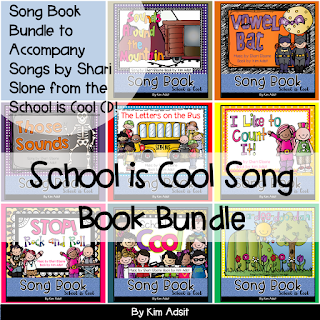
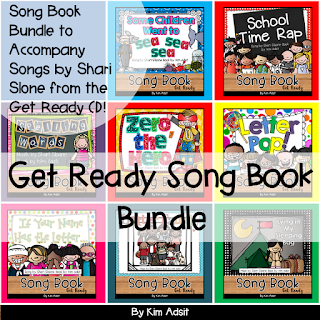
It then came to me, YOU CAN MAKE your own music books. So, I asked Shari and Jack if I could make some music books to go with their songs. My kids love them!
You can find Shari's music books here.
https://www.teacherspayteachers.com/Product/Shari-Sloane-School-is-Cool-Music-Books-Bundle-by-Kim-Adsit-1741500
And here.
https://www.teacherspayteachers.com/Product/Shari-Sloane-Get-Ready-Music-Books-Bundle-by-Kim-Adsit-1741496
And Jack's here.
https://www.teacherspayteachers.com/Product/Jack-Hartmann-Fun-Music-Book-Mega-Bundle-2437898
Mixing Up Some Math and Science Fun
Slide10
This session is a little science and a little math and some activities that are science AND math! My kids loved this idea…
  1. First, find non-fiction text about wheels and how they are helpful.
  2. Then, collect  some matchbox cars.
  3. Pour some tempera paint onto a sponge that I put into a bowl. Not a lot, just enough to make the sponge wet.  I made several different colors in several different bowls.
  4. Cut out a car shape from paper (finger painting paper works best).
  5. Invite the children to roll the cars around on the paper.
  6. On another day, have children write a non-fiction piece about wheels.
  7. Publish the piece by attaching it to the painted car.
Remember what Marcia Tate tells us….art is a way to grow dendrites!  Do you think they will remember what they learned about wheels after this activity? Yep, I think so, too!
Free File Music Book
And now for the freebee….Here is a little music book that you can use for singing Wheels on the Bus. I am sure that you will have no problem finding this song on one of your CDs. If you do, go to itunes and I bet you can pick it up for less than a buck!


Pin It!

Monday, July 6, 2015

Games, Science and Organization! And A FREE File to Get You Organized

Ever wonder what kinds of topics I present?  Here are a few snippets from some of the sessions during a recent conference. Be sure and read all the way to the bottom! I have a FREE File for you!
Slide1
Phonemic Fun for Everyone
Want  to work smarter, not harder? One way--“recycle” game ideas. This means taking an older game idea and adding a little bit of a different twist to make the kids think they are playing a whole new game! Here is an example for Penguin Bingo!
  • Take ANY abc bingo game and put it with a deck of beginning sound cards.
  • Say the name of the item on the card and the kids have to cover the letter the picture begins with.
  • Now the game has moved from an ABC recognition game to a beginning sound game! No need to make a new game!
Literacy Games and More
Slide2

Here is another way to “recycle” game ideas. This time we are going to play the same exact game, just change the clip art.  The kids think they are playing different games. But, we aren't wasting any time teaching more rules and procedures.  Here's how we play:
  • Hangman is a great game! You can play it using almost any theme….build Santa, add flowers to a pot, build a house, etc.
  • Another easy way to play is just to use a wooden puzzle. As they guess a letter that isn’t in the word, put a piece of the puzzle in the tray. Can they guess the word before you build the puzzle?
  • REMEMBER….we are using hangman as a game to teach! It’s easy to get caught up in winning and losing when you are as competitive as me!
  • Here are a few ways to get more out of the game:
    • Give the children a list of the words you are choosing from.
    • Tell the children how many letters are in the word, and invite them to draw that many lines on their boards.
    • Proceed to read the words down the list, deciding which ones it could be.
    • Have the children write their guess on their lines.
    • Now, invite a child to guess a letter.
    • If the letter is in your word, write it in the correct spot.
    • Now, invite the children to look at their word and see if they have that same letter in that same spot.
    • If not, they erase their word. Read through the list again deciding which word it could be and write another guess down.
    • Continue until the word is figured out!
    • This calls more attention to actually READING the words! 
Science Blasters 
I love, love, love  science. The main goal in kindergarten is to teach a love for science and the scientific process. Each experiment will take them through the process:
  • Ask a question
  • Do research or ask yourself, “What do you already know?”
  • Construct a hypothesis, “What do you think will happen?”
  • Test hypothesis through an experiment.
  • Analyze your data and draw a conclusion.
  • Communicate your results.
Slide3
So here’s how this lesson would go:
  • First, read a non-fiction book about ducks and their feathers. You may only need to read a small section from a non-fiction book.
  • Next, read “In the Rain With Baby Duck”.  In this story, baby duck doesn’t like to get wet, but the parents love it! Ask the children “Why do you think the parents are not getting upset about getting wet but the baby duck is?”
Slide4
  • Now use the scientific process to do the experiment. Remember…what is important is going through the steps not how elaborate the experiment it.
Classroom Organization
Slide5
To keep myself and my daily materials organized I use this stacking unit. Here's what I do:
  • Use some kind of system, I use stacking plastic drawers, to make a drawer for each day of the week. (You don’t need Monday.)
  • On Friday, collect EVERYTHING you need each day for the following week and put it in the drawer. Go ahead and put the things you will use on Monday out in the room where you will use them.
Slide6
How about what do you do with the things as you are preparing and finishing up? Here’s what I do:
  • Again, I use stacking plastic drawers. Make drawers for: To Make, Ready, Put Away.
  • On Monday, place patterns for anything you need made for NEXT week  in the “To Make” drawer. This way, ANY adult that helps in your room can pull from that drawer. Parents will help too if you ask!
  • As things are prepped, instead of them handing it to you, just ask them to place it in the “Ready” drawer. On Friday, you will take the things from this drawer to move to your “daily” drawers.
  • The last drawer, “Put Away” is where I put things as I finish. Instead of just laying things on my desk, on the table, in my chair, or on the counter, I put EVERYTHING in this drawer. The kids can even do it for me! Then, when the drawer is full, I can take everything out, sort and put it all away at the same time.
And here is the freebee!!! Print these to go inside of your drawers for organizing your daily materials! Click on the title page to download!


Pin It!
 
Pin It button on image hover

Receive All Free Updates Via Facebook.