KinderGals: August 2016

Search This Blog

Wednesday, August 31, 2016

Writer's Workshop: All Kids Can Write

When I am at a conference and I ask teachers, "Can ALL kids write?", I get some who say 'yes' and some who say 'no'. Which is the right answer? The way we answer the question depends on our own schema--what do we think writing IS? If we think writing is putting letters, words or even sentences down on paper, then no, most young children can not write. But, if we say writing is  the way we convey meaning on a piece of paper, then yes, all kids can write!
Here is my thinking:
Children convey meaning in one of three ways:
  • They can draw a picture and all of the meaning comes from the picture. This includes the scribbles that the child says, this is my house!
  • They can draw a picture and use meaningful letters to label things in their picture. This is when the child puts an H by their house.
  • They can draw a picture and convey a complete thought their text.  (Non-kindergarten teachers probably couldn't read this! haha) This is when the child writes, ILMIHOS. (I love my house.)
We teach writing through writer's workshop. Writer's workshop is when we teach kids the craft of writing. You could say it like this, "In writer's workshop kids learn to write. At other times of the day (math, centers, science, social studies), kids write to learn! Writer's Workshop is the time we teach kids what writer's do, what it looks like to be a writer.
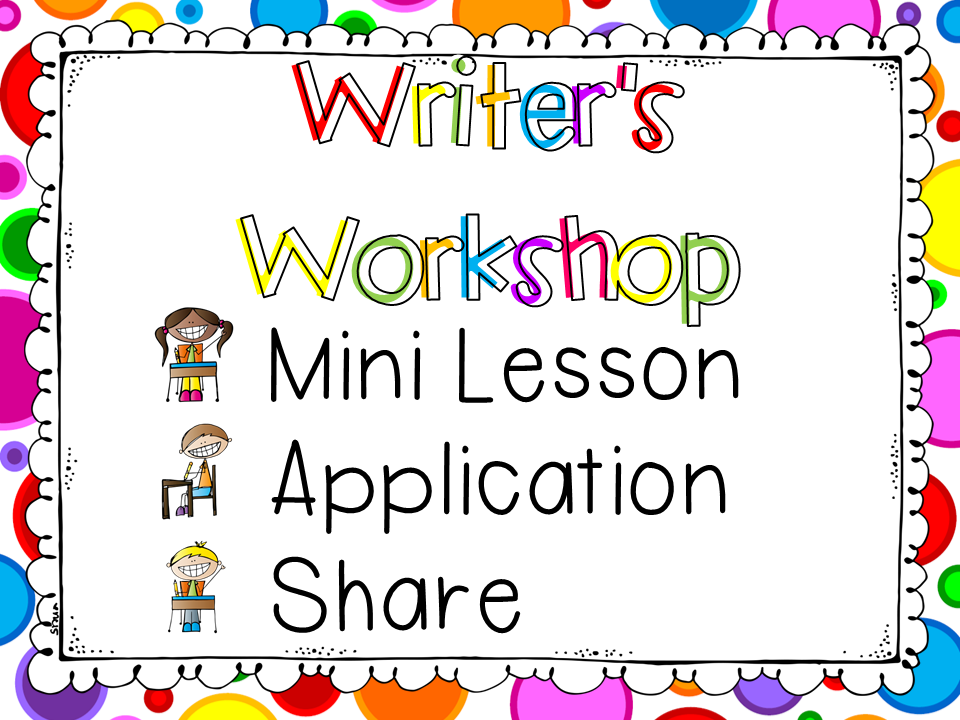
The structure of the workshop is: mini lesson, application, and share.  During the 10 minute mini lesson, the teacher uses this format:
  • Connect: "Remember yesterday when we..." This is where you remind the children what you did yesterday.
  • Teach: "Today I am going to show you...  Let me show you what I mean." This is where you tell the children the new thing you are going to teach them. Then, you model by sharing your thinking and showing the children what it looks like when a writer does this new thing.
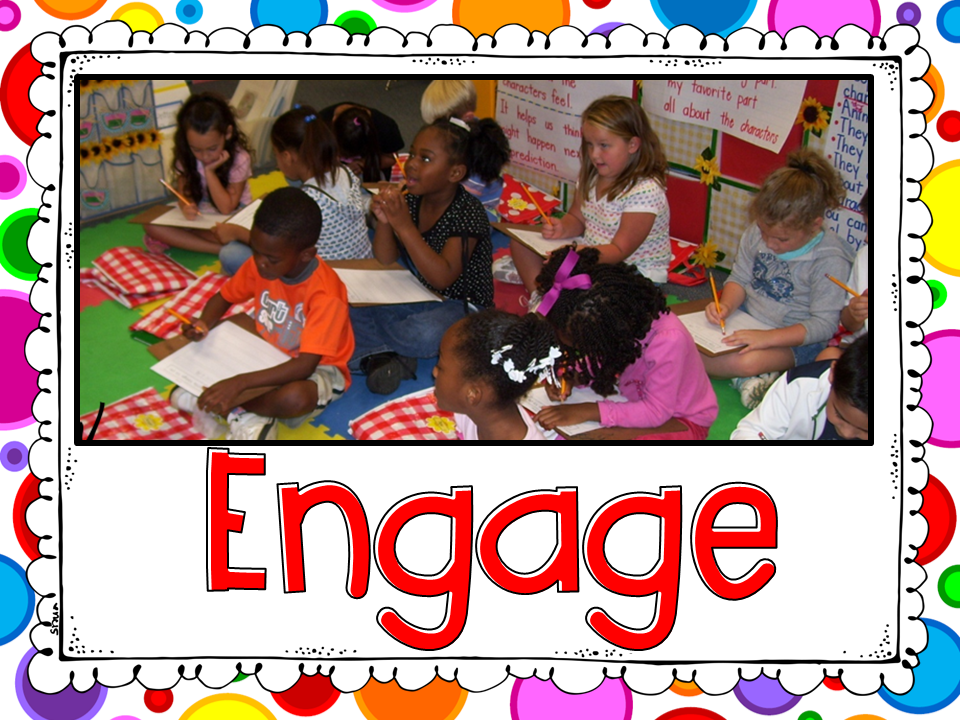
  • Active Engagement: "Now, let me see you try." This is where, right there on the rug, the children practice this new thing writer's do.
  • Link: "Remember boys and girls, today and everyday, good writers..." This is where we remind them of what we just learned.
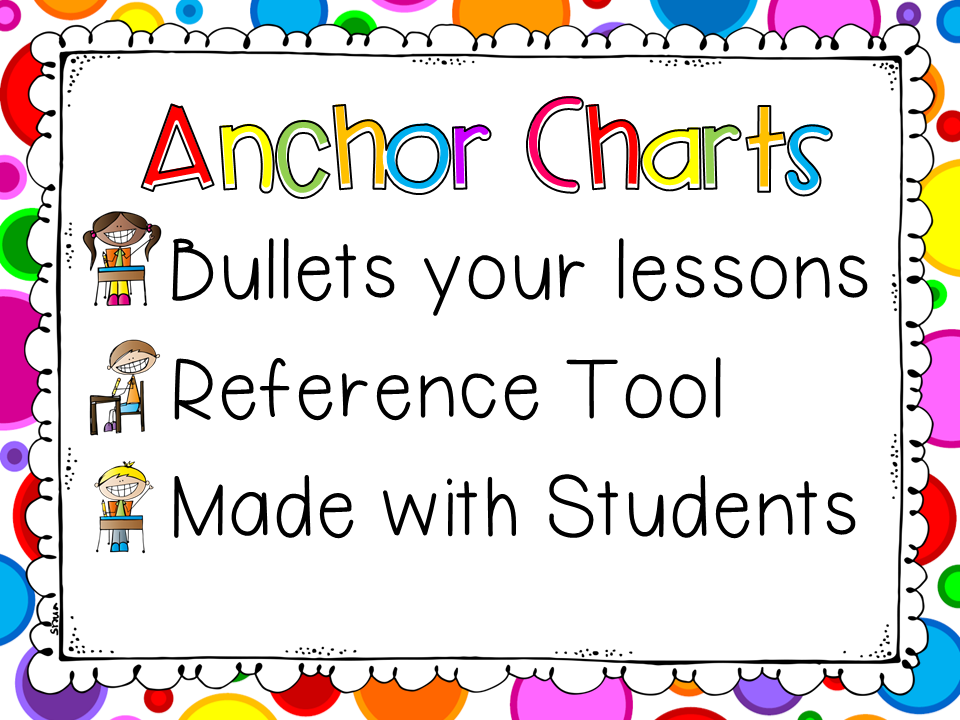
This is the anchor chart that we use to teach kids that ALL kids can write.  To use this as an anchor chart, cover it with black paper. As you teach each lesson, lower the black paper to reveal that part of the chart.
This is my friend Amanda. She taught 5th grade for LOTS of years before finally making that move to kindergarten! This is her first year in K, and she is fabulous! I taught her daughter in kindergarten, so, when Amanda made the move to K, she called me and invite me to come to her room. Yesterday, she tackled the lesson on "Writer's can tell their story by drawing a picture." She modeled drawing a picture from her daughter's birthday party that had taken place over the weekend. She then had children share ideas (active engagement) of stories they could write by drawing a picture.
Now it was time to send the kids out to write.  During application time, each child is working. As the year progresses and you do  mini lessons, some children will be able to apply the mini lesson while others may not have reached that point and others are beyond that point. It is the easiest way to differentiate your instruction!
Here are some examples of writing from her kids yesterday.  As I was walking around, I asked them, "What is your story?"  That seemed to get a better response than if I said, "Tell me about your picture." I should have written down what they said, but I didn't. I can't remember their exact words, but they each told me great stories.

As I approached this boy, he had not started working. I asked him what story was he going to tell with his picture, to which he replied, "I don't have a story."  When I asked him about his weekend, he told me all about going to his grandma's. I said, "I think you have a great story." He got right to work! We want kids to see that their stories are the everyday things that happen in their lives. Sometimes they are big things like parties, but sometimes they are simple things like riding a bike or playing a game with siblings.
Instead of moving on to "Writers can write letters.", we begin teaching kids just how to brainstorm all of those everyday simple things.  While we are doing this series of lessons, the kids will continue to draw pictures to tell their stories.  You may have some who are ready to label pictures before you get to that mini lessons. Feel free to conference with those children about labeling during this application time.
On the yellow anchor chart above, you brainstorm your ideas and write them on post it notes and add them to your chart. Or, you can do like Megan is doing and write them right onto a piece of chart paper.  It takes us 6 days to cover this chart!!!!  Here's the sequence:
Day one talk about favorite people.
Day two make a list of favorite people.
Day three talk about favorite things.
Day four...
During the active engagement part of the mini lesson what are the children doing? They do what ever you modeled. On the days that you talk about your favorite people, they can turn and talk to their partner about their favorite people. On the days that you make a list of your favorite people, they make a list of their favorite people.
These three samples were all from the same day in my kindergarten class.  I love how different they are. Each child is at a different stage in their ability to deal with actual text, but they ALL mastered the concept of making a list of favorites. (Can you read it?) 
In Megan's room, she places sheet protectors in the prongs of the writing folder. Then, the children can place their brainstorming charts right inside of those protectors. I love this. When she moves to another genre of writing, she can invite the children to remove those brainstorming charts and add new charts to match the new genre! Genius!
After finishing that sequence of lessons, we learn that good writers are always adding to their list of ideas.  I made these simple charts that we can use to help us generate new ideas we might add to our lists. You may wan to copy the charts in color and place just a few in each area.
 Or, like Megan, you can photocopy them in black and white and have the children add them to their page protectors.
So what is the answer to the question, "Can all kids write?"  ABSOLUTELY! Happy Writing!
The anchor charts, list papers, and charts of favorites are in this unit.
https://www.teacherspayteachers.com/Product/Writers-Workshop-Units-1-3-I-Can-Write-by-Kim-Adsit-aligned-with-Common-Core-865250
Or in this bundle:
https://www.teacherspayteachers.com/Product/Writers-Workshop-Building-Writers-by-Kim-Adsit-aligned-with-Common-Core-1306556


Pin It!

Sunday, August 28, 2016

Games to Play With a Deck of Cards

I think we probably all grew up playing card games. Maybe you played rummy, canasta, spades, spoons, or some other game, but most homes you can find a deck of cards. You can easily pick up a pack of cards at The Dollar Tree or at the Target Dollar Spot. Sometimes when I am flying and there is a delay, Delta puts out cards and coloring books for free entertainment.  You can bet I always pick up a couple of decks!
Here are a few games you can play with cards in your classroom:

GETTING READY

  • After getting your deck of cards, remove all of the kings, queens, jacks and jokers. You won't need them.
  • Divide the remaining cards into two piles: red cards and black cards. This is enough for  two games.
  • Cut the numerals off of the sides of the back cards.
  • The black cards will be used to teach subitizing, instant recognition of a set.
  • The red cards will be used to teach numerals.

MORE & LESS

  • Turn all of  the black cards face down or place them in a pile.
  • The children play this with game with a partner.
  • Each child turns over a card.
  • They compare their cards for more and less.
  • Place the cards on the game board accordingly.
  • Whichever player has less, spins the spinner.
  • If it lands on more, the player with more gets both cards. If it lands on less, the player with less gets both cards.
  • NUMBER GRID SUBITIZING

  • Turn all of  the black cards face down or place them in a pile.
  • The child turns over a card and determines how many are on the card.
  • Then, he/she locates the numeral on the grid and writes the numeral to represent the set.
  • Return card to the pile.
  • Keep playing until one numeral reaches the top.
  • BEFORE, BETWEEN AND AFTER

  • Turn all of  the black cards FROM ONE SUIT face down or place them in a pile.
  • The child turns over three cards and sequences them on the game board.
  • Record the answer on the recording page.
  • GET IT IN ORDER

  • Turn all of  the black cards FROM ONE SUIT face down or place them in a pile.
  • The child turns over four cards and sequences them on the game board.
  • Record the answer on the recording page.
  • ADD IT UP

  • Turn all of  the black cards 1-5 face down or place them in a pile.
  • The child turns over two cards and places them on the game board.
  • Add them together and record the number sentence on the recording page.
  • HOW ARE CARDS BEST USED IN A CLASSROOM?

    • Ever heard of CPA, Conceptual, Pictorial, Abstract? If so, you know that children develop number sense conceptually first.  Conceptual = manipulate. This means that when children are learning a new concept, we must first have them practice it in a way that allows for manipulation of the objects.
    • Once they have developed that conceptual understanding, they are ready to practice that concept pictorially, either draw a picture or interpret a drawn picture. 
    • Finally, once they develop pictorial understanding, they are ready for the abstract, numeral and symbols.
    • That means, at best, cards are pictorial. The symbols on the cards are a picture of a set.
    • If children have not developed a conceptual understanding of whatever standard you are teaching, cards can be confusing and difficult.
    • There is a simple cure...just provide manipulatives! Once the children select the cards, have them build the sets with unfix cube. Then, they can show the answer with the cards.
    • Before we ask the children to provide the numerals to represent the sets, we want to spend a lot of time subitizing the sets. This is done very easily with a game called "Say it Fast". Simply flash cards, starting with sets 1-5, and ask the children how many. Do not give them enough time to count! Once they master 1-5, move on to 6-10.
    What are you waiting for? Get up and go find those decks of cards in that drawer or get in your car and drive to the dollar store. These are games you can play TOMORROW!

    All of these games, plus others, are in this card game unit.
    https://www.teacherspayteachers.com/Product/Card-Games-to-Teach-Number-100924


    Pin It!

    Wednesday, August 24, 2016

    4 Steps for a Succesful Writer's Workshop

    Do you want to have your kids writing and talking about writing? Are you looking for a way to teach the writing standards? Then, this is the post for you! It is all about teaching writing through the workshop model of teaching. 
    There is a very specific format to  Writer's Workshop. Each session includes a mini lesson, application-or work time, and a share time.

    Step 1

    First, let's look at the mini lesson. A mini lesson should last 10 minutes. The brain is wired to attend in 10 minute increments. By keeping the mini lesson to 10 minutes, the brain is able to focus the entire time! There are 4 specific components to the mini lesson.
    The first part of the mini lesson is the connect.
    • To begin this part of the lesson, you should say, "Remember yesterday when we...".
    • The brain learns by pattern. When we use the same key words to start each part of the mini  lesson, the brain knows what is about to happen. 
    • This is not where we are asking kids, "Who remembers what we did yesterday?" YOU TELL THEM! You are trying to get all of the children in the same place so they are all building on prior knowledge.
    The next part of the mini lesson is the "teach".
    • This is where you say, "Today I am going to...."
    • This is where you state the standard.
    • During this part of the lesson, you become the writer. You share what you are thinking and tell the children how you decided what to do.
    • Modeling is sooooo important.
    • This is where the kids see you actually model what it looks like. This is done during the teach part of the lesson.
    The next part of the lesson is Engagement.
    • This is where you will say, "Now let me see you try."
    • During the engagement part of the mini lesson, the children will practice what you just did in the mini lesson.
    • While the children are attempting the new learning, you should monitor. Who is getting it? Who needs extra help in a small group? Was your teaching method effective?
    • During the engagement, the student's work can look very different. 
    • I love these three examples from the same lesson!
    • The lesson was teaching the children how to make a list of My Favorite Things.
    • Did each child master the lesson? YES! They are in all different places when it comes to their mastery of foundational skills, but when it comes to making a list of their favorite things...check--they all got it!
    The last part of the mini lesson is the link.
    • During the link you say, "Remember boys and girls, today and everyday, good writer's..."
    • This is where you repeat the standard.
    • Then, in order to ensure that my children are practicing the academic vocabulary, I tell them to turn and tell their partner what good writer's do.
    See the parts that I highlighted in blue? When I was first learning about writer's workshop, I put these sentence starters on an index card. That way, when I start my mini lesson, I use the same sentence starters each day.
    During the mini lesson you are building anchor charts with your kids.
    • Anchor charts are not brainstorming charts. These charts are bullets of your mini lessons.
    • While you are teaching a unit, they are referred to by both the teacher and the kids.
    • The charts are not posters! These charts are made in front of the children.
    These are some anchor charts. I know, I know...they LOOK like posters.  How could these have been made with children? When I first started with Writer's Workshop, I wrote the bullet each day on the chart during the mini lesson. But, here's the problem...I didn't like the way the chart looked so I would write it over. Does that sound familiar? Guess what, when you hang up that beautiful chart, your kids have no clue what it says! They had no part in that chart. Take ownership in your  messy charts and hang them up! OR if you just can't, which I couldn't, here's what you can do.
    • I made my charts ahead of time. Remember the charts bullet your mini lesson so there will be no surprises.
    • I added pictures to help my children know what each bullet says.
    • At the beginning of the week, I covered up all of the bullets with a piece of bulletin board paper.
    • Then, each day, we did "the reveal". I would lower the paper to reveal the next part on the chart.  
    • While we are working on a chart, I keep it on my easel in the front of the room.
    • As we finish with the chart, I move it to the display area.
    • Only the charts that you are actively teaching from should be displayed.
    • That means, when you move to non-fiction writing, you will not need your personal narrative charts displayed. You can take them down.
    • Have a specific place that you hang the charts. The brain is able to recall the information just because of where you hang the charts. The brain is able to take a picture and can recall the information even when the chart is down.

    Step 2

    After the mini lesson, you move to the Application portion of the Workshop.
    • The Application Time is where children apply what THEY know as a writer. Because of this, Writer's Workshop is the EASIEST way to differentiate! Each child plugs in wherever they are...some will draw, some will label, some will write! They are all working on the same genre.
    • Each child will have a writing folder.
    • I store the writing folders in these hanging file folder tubs.
    • There is a hanging file folder for each child.
    • They keep their writing folders inside of the hanging folders. This makes it very easy for them to find their folders.
    • In the red hanging file folders, I keep the various kinds of paper that the children can use.
    • We send the writing folders home.
    • The parents are invited to "scrapbook" the folder with pictures. The children can use these as inspiration for writing topics.
    • Inside the folder, the children need a place to store pieces they are still working on and ones they are finished with.
  • During Application the children begin by working by themselves.
  • You are building stamina slowly as children stretch the ability to focus on writing.
  • Once children are effectively working by themselves, you may introduce working with a partner.
  • Now you will be building stamina during independent time and during partner time.

    • While the children are working by themselves and with partners, you can pull small groups of children for conference groups.
    • Pull children who have a common need.
    • Address that need in a small group lesson.
    • You can also talk to individual children, but I usually try to do groups.  This helps me see more children.

    Step 3

    Once the Application Time of the lesson is over, you are ready for Share Time.
    • Share time is done daily.
    • This is the time that you are celebrating and lifting writers. You are developing their confidence to attempt things on their own. You are showing them that writing can look different, but that all writing conveys meaning!
    • Have you looked at your listening and speaking standards? In those standards it states that children can engage in conversations about grade level topics. It also says that children can engage in conversation with multiple exchanges. Share time takes care of ALL of those standards!
    Share time can be to the whole groups, with partners, or in small groups.

    Step 4

    That's it....that's the format for Writer's Workshop. But, how do you know if they have "mastered" the standard? How do you assess writing?

     The only way to accurately assess writing is through a rubric. This is the rubric that we use for personal narratives. 
    • Numbers 1 and 2 are used to assess the writing standard. For the writing standards, the children do not have to actually "write" text.  The standard says, "Draw, write, or dictate...."
    • Numbers 3 and 4 are for the foundational skills.  Help the reader is where you are looking for spacing, punctuation, dominant sounds, etc. depending on the time of the year.
    • Number 5 is for the speaking and listening standards.
    • Once I use the rubric, I can now show growth on ALL of these standards!
     Now what? Where do you get started? Here is a spreadsheet that I use for the first 3 months. You can download by clicking on any of the images.
    https://drive.google.com/file/d/0B7ubnOnZF__xMWM1VHBWb3c2ejA/view?usp=sharing
    https://drive.google.com/file/d/0B7ubnOnZF__xMWM1VHBWb3c2ejA/view?usp=sharing
    https://drive.google.com/file/d/0B7ubnOnZF__xMWM1VHBWb3c2ejA/view?usp=sharing
    The anchor charts, rubrics, student papers, etc. are included in the unit, I Can Write. 
    https://www.teacherspayteachers.com/Product/Writers-Workshop-Units-1-3-I-Can-Write-by-Kim-Adsit-aligned-with-Common-Core-865250
     Here are some of my other writing units.
    https://www.teacherspayteachers.com/Product/Writers-Workshop-Writing-an-Opinion-by-Kim-Adsit-aligned-with-Common-Core-1204787
    https://www.teacherspayteachers.com/Product/Writers-Workshop-Lists-and-Patterns-by-Kim-Adsit-aligned-with-Common-Core-1547001
    https://www.teacherspayteachers.com/Product/Writers-Workshop-How-To-Writing-Pack-by-Kim-Adsit-aligned-with-Common-Core-673657
    https://www.teacherspayteachers.com/Product/Writers-Workshop-Informational-Writing-by-Kim-Adsit-aligned-with-Common-Core-683572


    Pin It!
     
    Pin It button on image hover

    Receive All Free Updates Via Facebook.