


First things…get started setting up the environment.
- One thing we like to do is to take pictures of our kids with their families during Open House. Now, the term “family” means different things to different people. So, in this case I am defining it this way… “Your family is whomever comes with you to Open House.”
- Collect some frames. I got mine from the dollar store.
- Print the pictures and add them to the frames before that first day of school!
 Next: getting ready to teach. Here are some of my favorite ideas for organizing for teaching.
Writer’s Workshop Writing Folders
Here are some things to keep in mind when setting up storage for writing folders.- Make a hanging file folders for each child. Their actual writing folder is stored inside the hanging folder. Why?
- This makes it easy for kids to “find” their folder. Nothing wastes time as much as kids looking through their desk to find their folder!
- It makes it easy for kids to find their folder without having to dig through a pile of folders. They just find their name on the hanging folder, reach inside and pull theirs out!
- By placing them in hanging folders they can easily be moved from one plastic storage tub to another.
- Use three tubs so that when it is Writer’s Workshop time, you can spread the tubs into 3 different locations in your room. Now, all of your kids will not be going to the same location to find their folder.
- Also, by having them in 3 tubs, you can differentiate! Place the children who have similar writing abilities in the same tub. Now, provide paper that best fits their needs and abilities. Now as the children learn, you can easily differentiate by moving their folders!

- Use one color of hanging folder to house the children’s writing folders. Use another color of hanging file folders to house paper and tools. This way the kids know where to look for what!

Then, I think about getting reader’s workshop started. Here is the first question we want to answer: “Can all kids read?” If we say reading is bringing meaning to the page, then the answer is yes. So, when my 18 month old grandson picked up “Old MacDonald” and said, “eieiei moo moo”, he was reading!

I want the kids to see themselves as readers from the very beginning! So I do a series of mini lessons about the different ways we can read. After these 3 different lessons, the kids do their first book shopping from the books that we used for active engagement during these lessons.
Want to know more about Reader's Workshop? Check out this post with details and video clips.

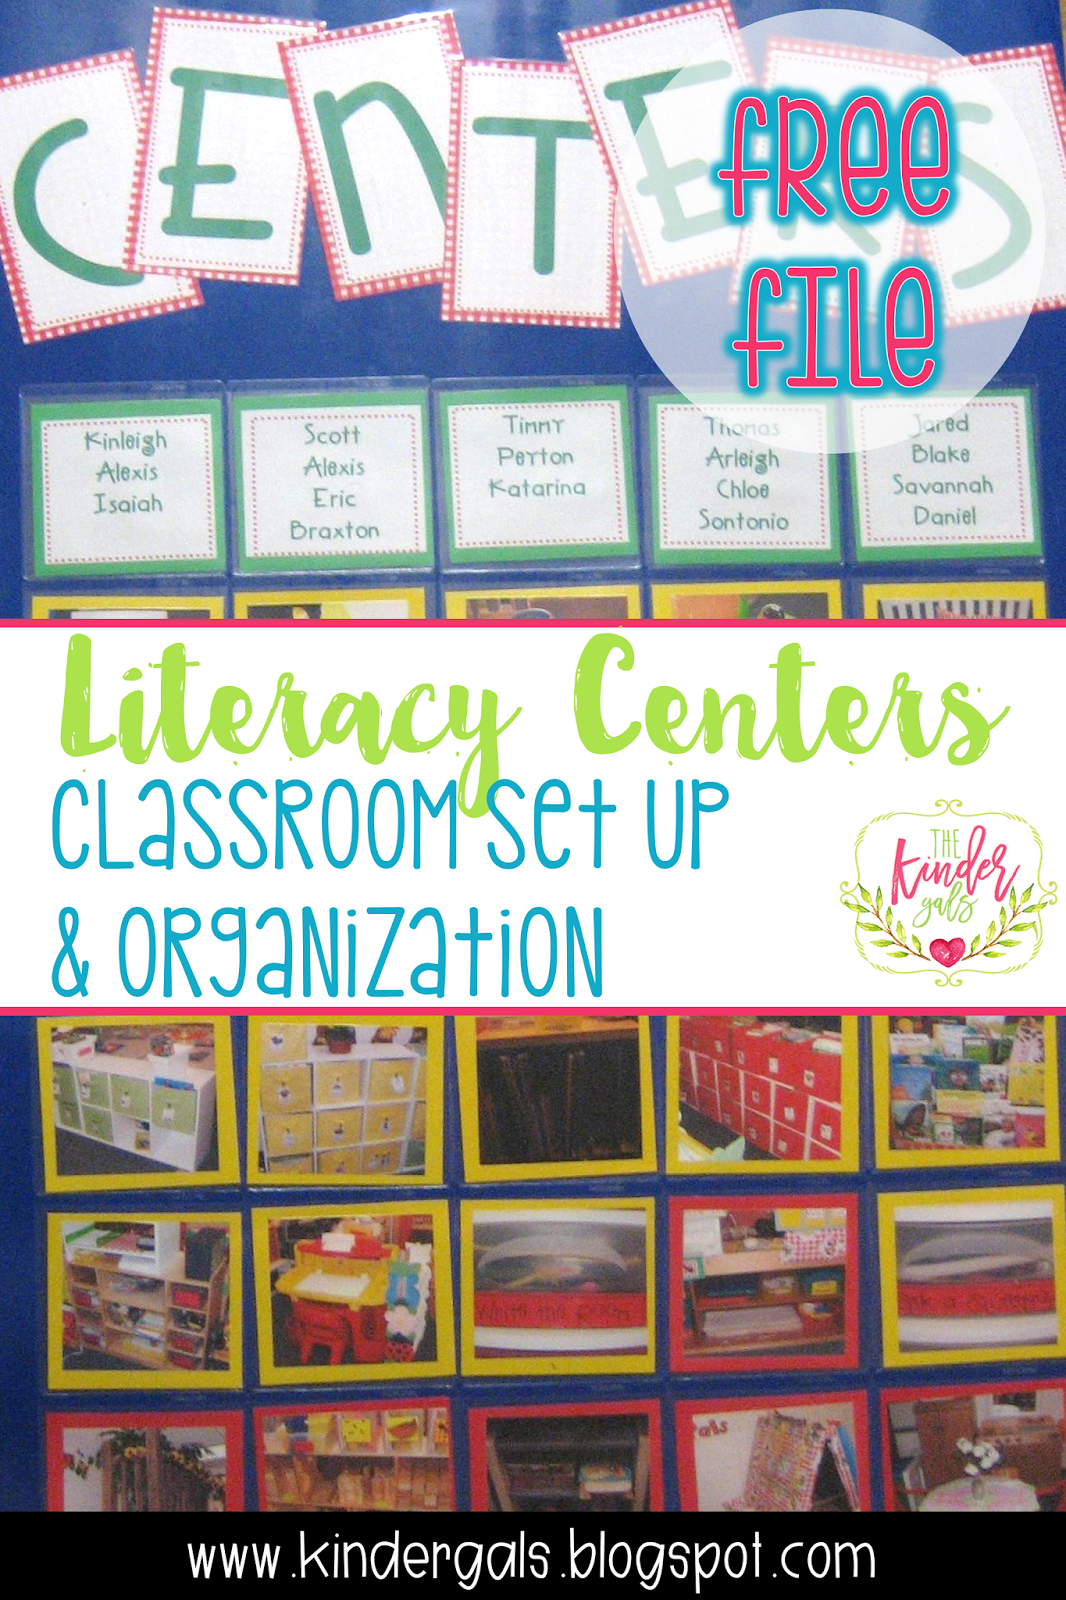
Now it's time to think about getting literacy centers started. One thing I will share is about being sure that you have a balance of centers for reading, writing, and word work. Make a list of your centers and divide them into these three areas. Are they balanced? Often when we think of differentiating, we only think about “What level are they?” But, the WAY in which children learn is also part of differentiating.


Want to know more about how we set up literacy centers? This post has all the details!

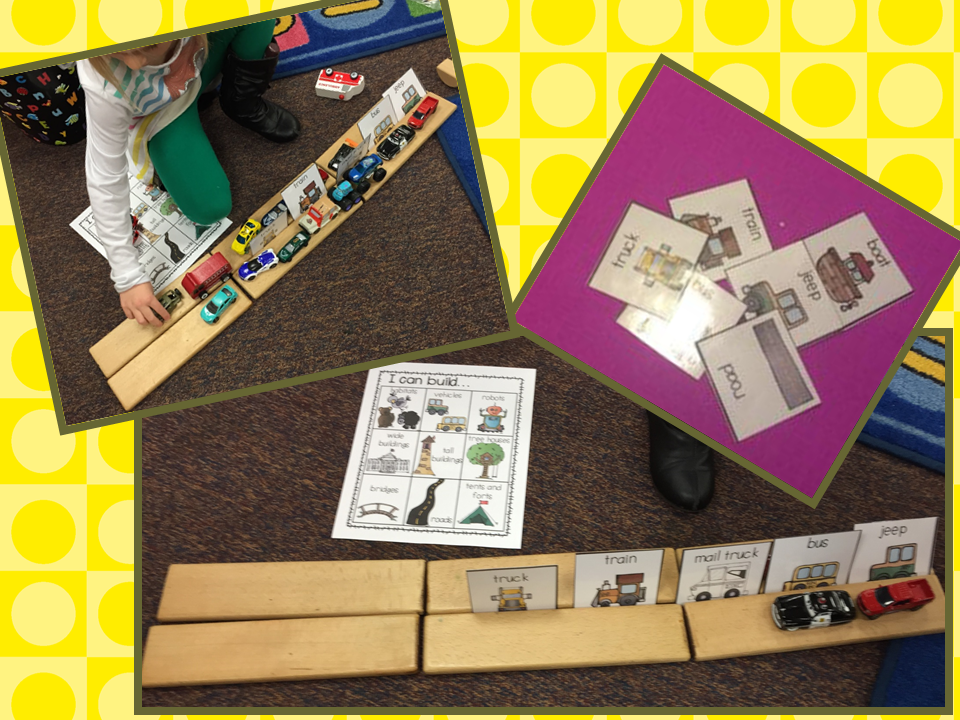


They are great for STEM!


2 comments:
Thanks for sharing the great ideas and freebies!
Thank you for a wonderful boot camp! It was a great mental workout! Thank for choosing my name during the raffle! I'm looking forward to adding to my Adsit collection!
Post a Comment