KinderGals

Search This Blog

Monday, September 24, 2018

Fun with Nursery Rhymes

Do you use nursery rhymes in your classroom? Over the years, with the increased pressure on teachers to "teach to the test", fewer teachers are using nursery rhymes. But, why did we do nursery rhymes in the first place? Here are a few things that research shows us related to teaching children nursery rhymes.
  • They develop language and listening skills.
  • They develop communication skills by learning new vocabulary and numeracy.
  • They enhance physical development when actions are incorporated.
  • They develop cognitive skills such as memory, concentration and spatial relationships.
  • They enhance individual development of social skills, better self control, and higher confidence and self esteem.
  • They enhance brain development through music and movement.
  • They develop the part of the brain that controls motor development and planning.
Here are a few ways we are using nursery rhymes in our classrooms:
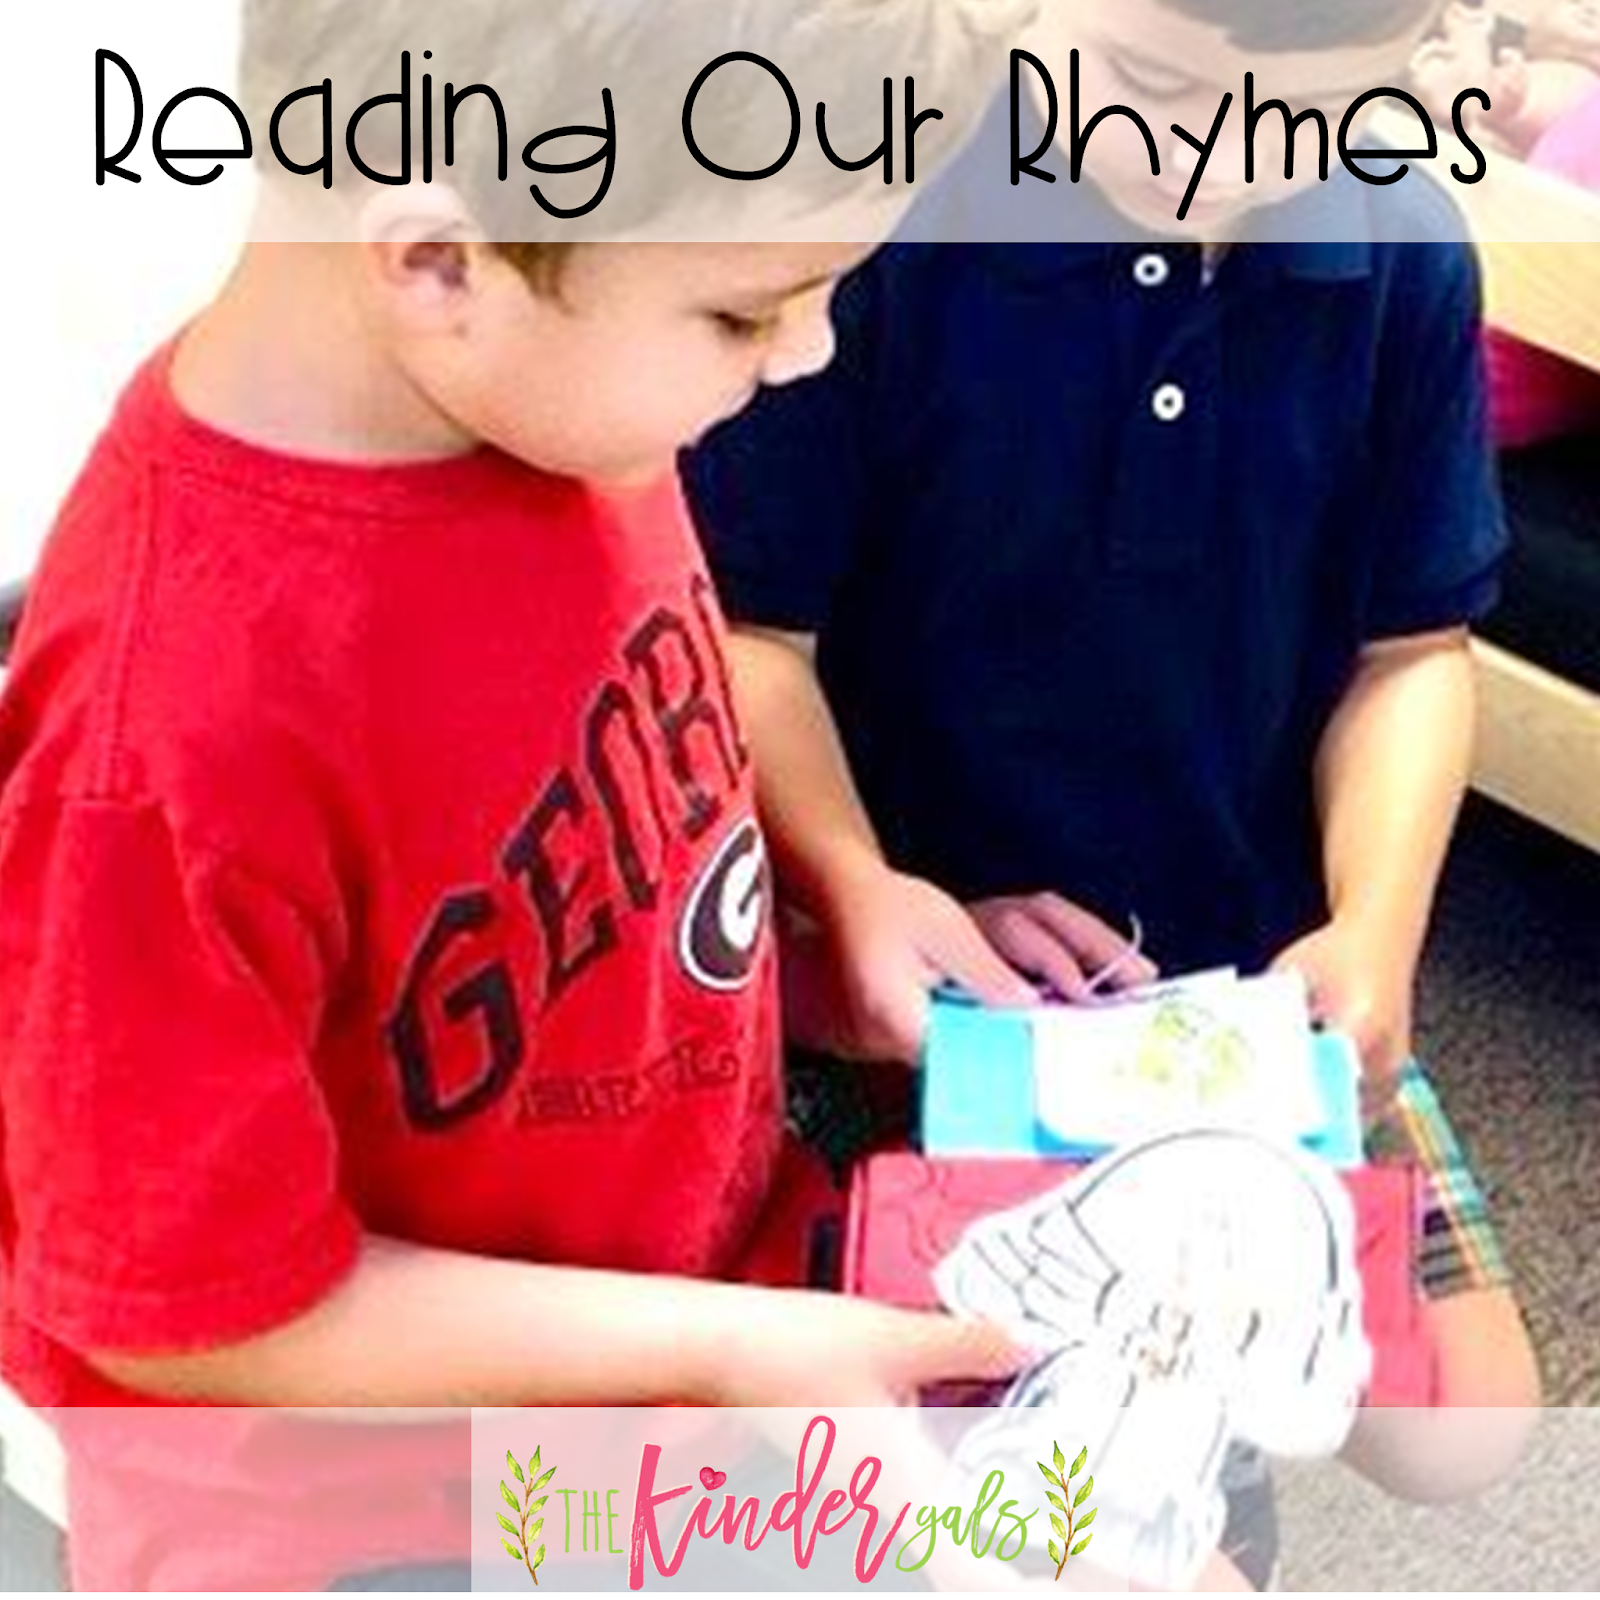
As we learn a new nursery rhyme, we reproduce a copy of the rhyme and add it to our poetry notebook. This is a good way for kids to develop fluency...or more specifically prosody. As the children read the rhythmic rhyme they become better readers! It's also a great way to practice one of the ways we teach our kids to read with partners...read together.
Another thing our kids enjoy is to use the nursery rhyme wheels.
To make the wheels, invite the children to color and cut out the two circles.
Stack the wheels on top of each other. Add a brad into the center (black dot). As the kids turn the wheel, the pictures for retelling appear in the "window."
Another idea is to make crafts that will help the kids in retelling the rhymes.
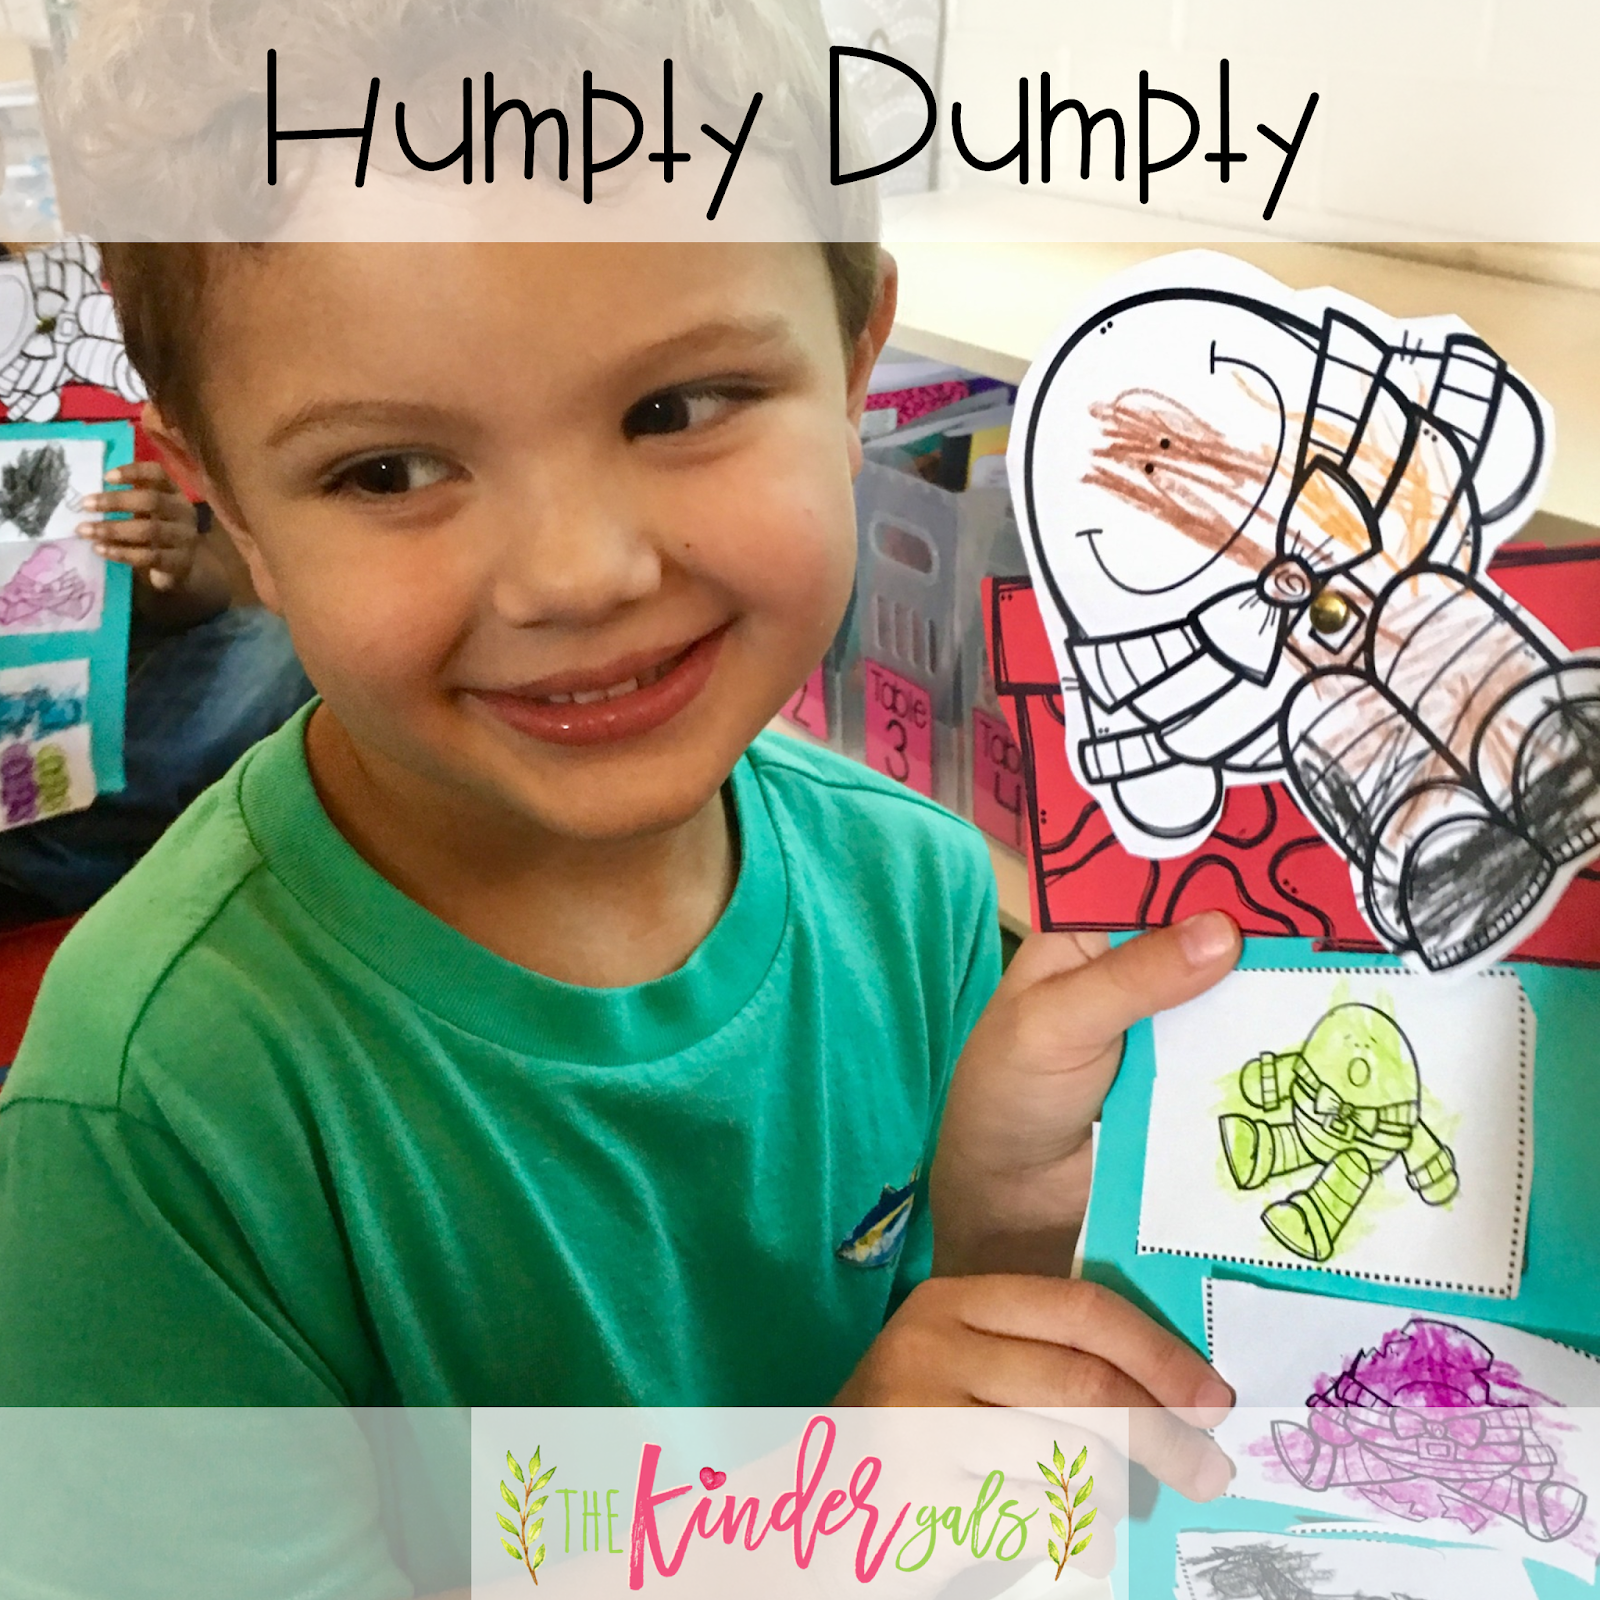
To make this fun Humpty Dumpty craft, invite the children to cut and sequence the pictures on the strip. Add the chimney to the top. Attach Humpty Dumpty with a brad. As the kids say the rhyme, they can rotate Humpty Dumpty when he falls down.
Don't be so quick to send these activities home. We added them to our bag of books. They are great for reading with friends during our partner reading time.
Another fun rhyme is Baa, Baa Black Sheep. To remember this rhyme, we invited our kids to make this fun cut, stack, staple and read book.
The kids wrote the color words on each of the sheep. Then, they stack the sheep in a pile. Finally, staple the sheep to the Baa, Baa Black Sheep strip.
Now, enjoy reading your book with your partner!
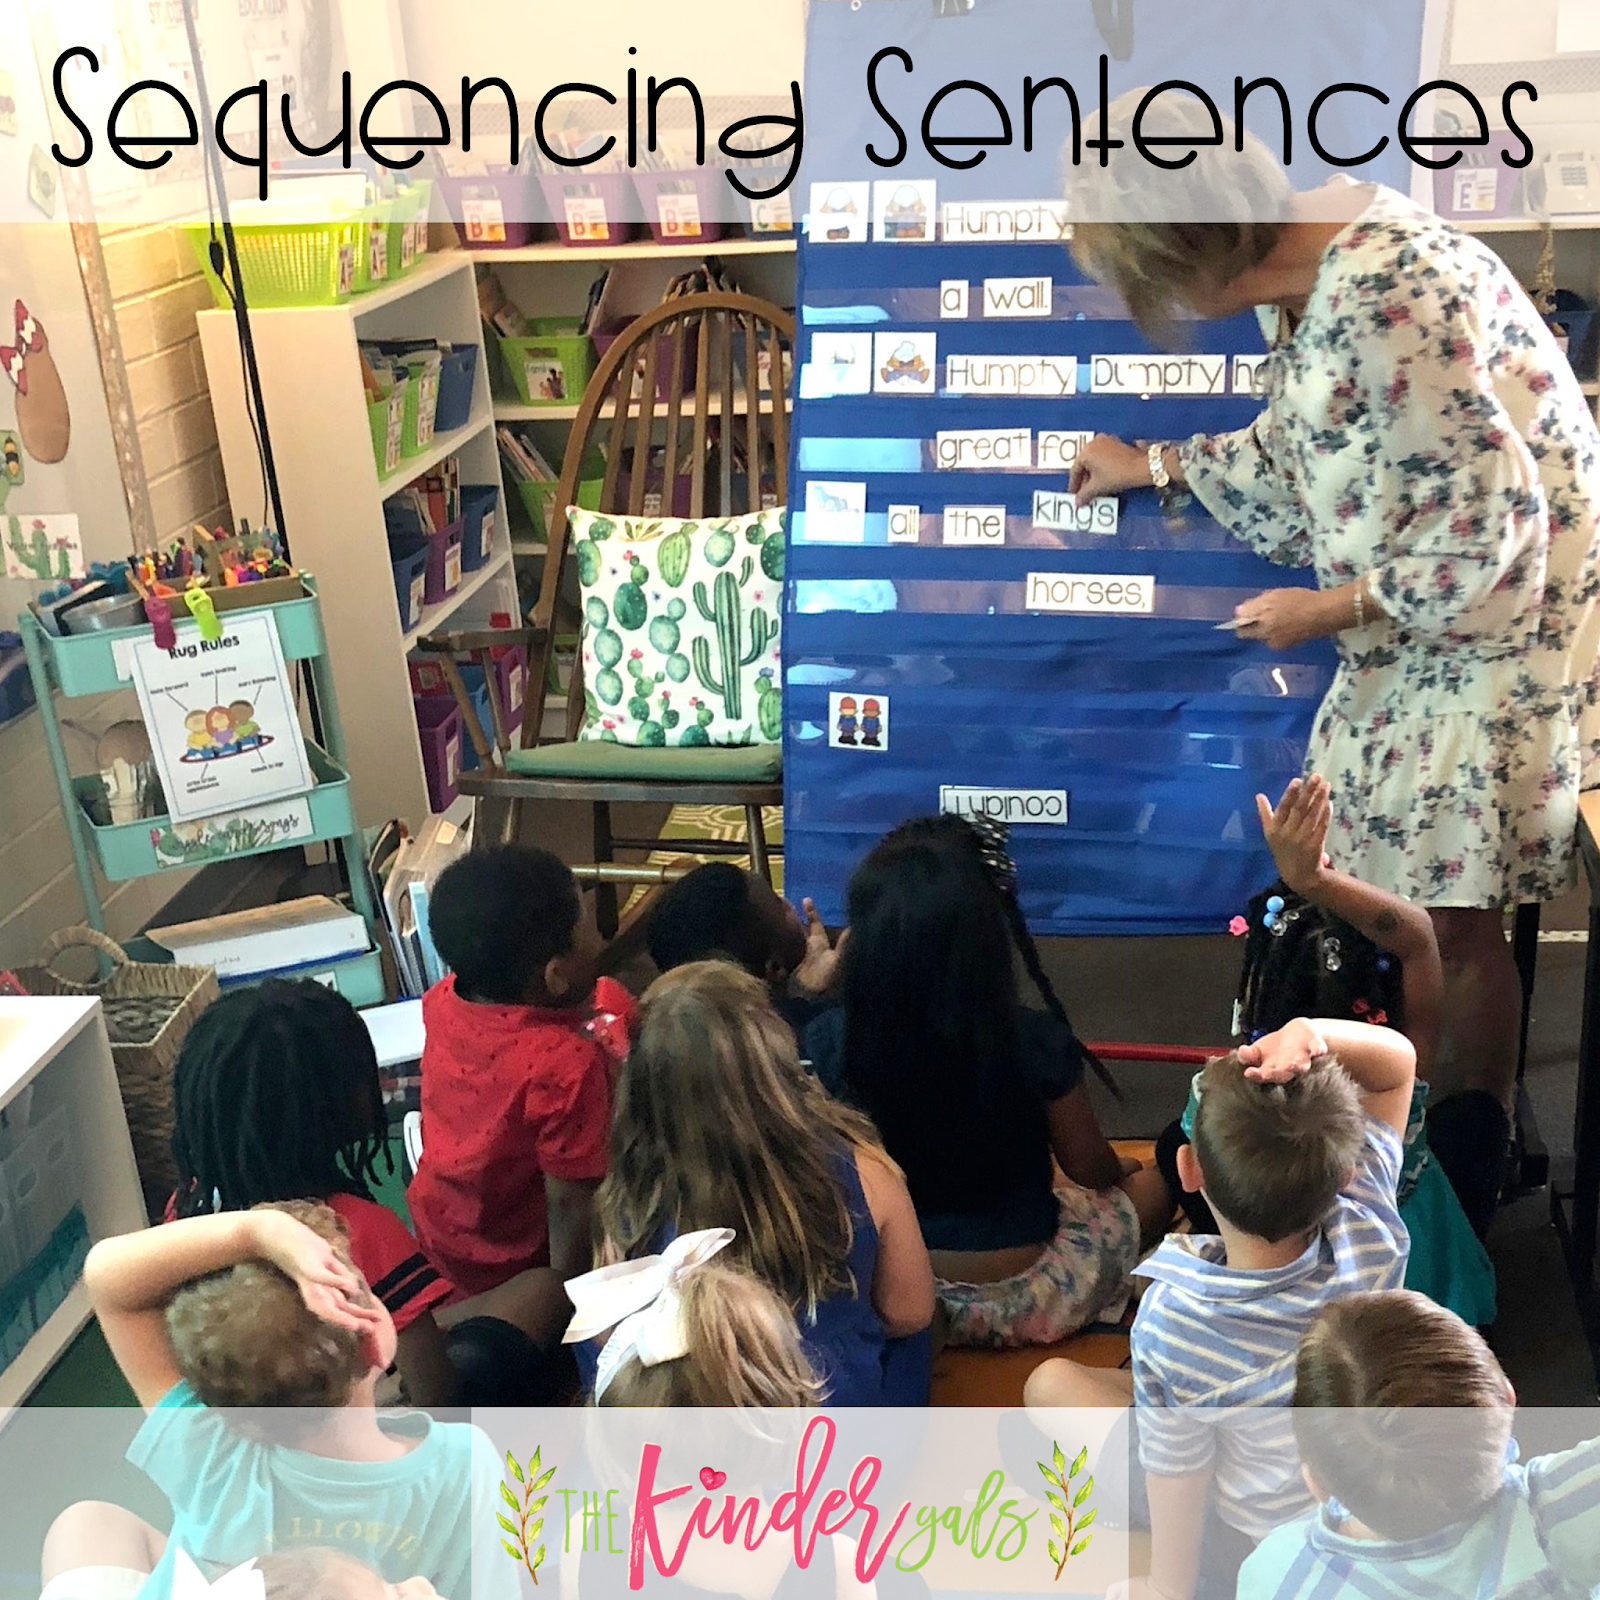
To introduce each rhyme, we made the words to sequence each of the sentences.  I grouped the words needed for each sentence and placed them in the pocket chart. I placed the pictures at the bottom and invited to kids to help me sequence the pictures to tell the rhyme.
Then, we took the words to match the pictures and sequenced them to make the sentences.
All of these activities are from the nursery rhyme unit that I wrote with my good friend Kim Jordano, kinderbykim.
The unit contains the poetry page for 6 popular nursery rhymes.
It also includes the retelling wheels for each of the 6 nursery rhymes.
For each of the rhymes, all of the pieces to make a craft are also included. It also includes a color photo for reference and a page with step by step directions.
And finally, for each rhyme, the sequence pictures and the word cards for each rhyme are included.


Pin It!

Wednesday, September 5, 2018

Celebrating with Zero the Hero

Today, celebrating the 100th Day of School is common in many early childhood classrooms.  This blog post shares how we set the stage to build excitement every 10th day of school leading up to the special 100th day! 
To begin the year, I made a special Zero the Hero bag. I just used clip art to create an 8 1/2 x 11 picture. I printed it out and glued it to the front of a gift bag. I added curling ribbon to the handle! This is now our Zero the Hero bag! Every 10th day of school, Zero the Hero comes and leaves us a special letter and a fun math activity.
Here are a few of those activities:
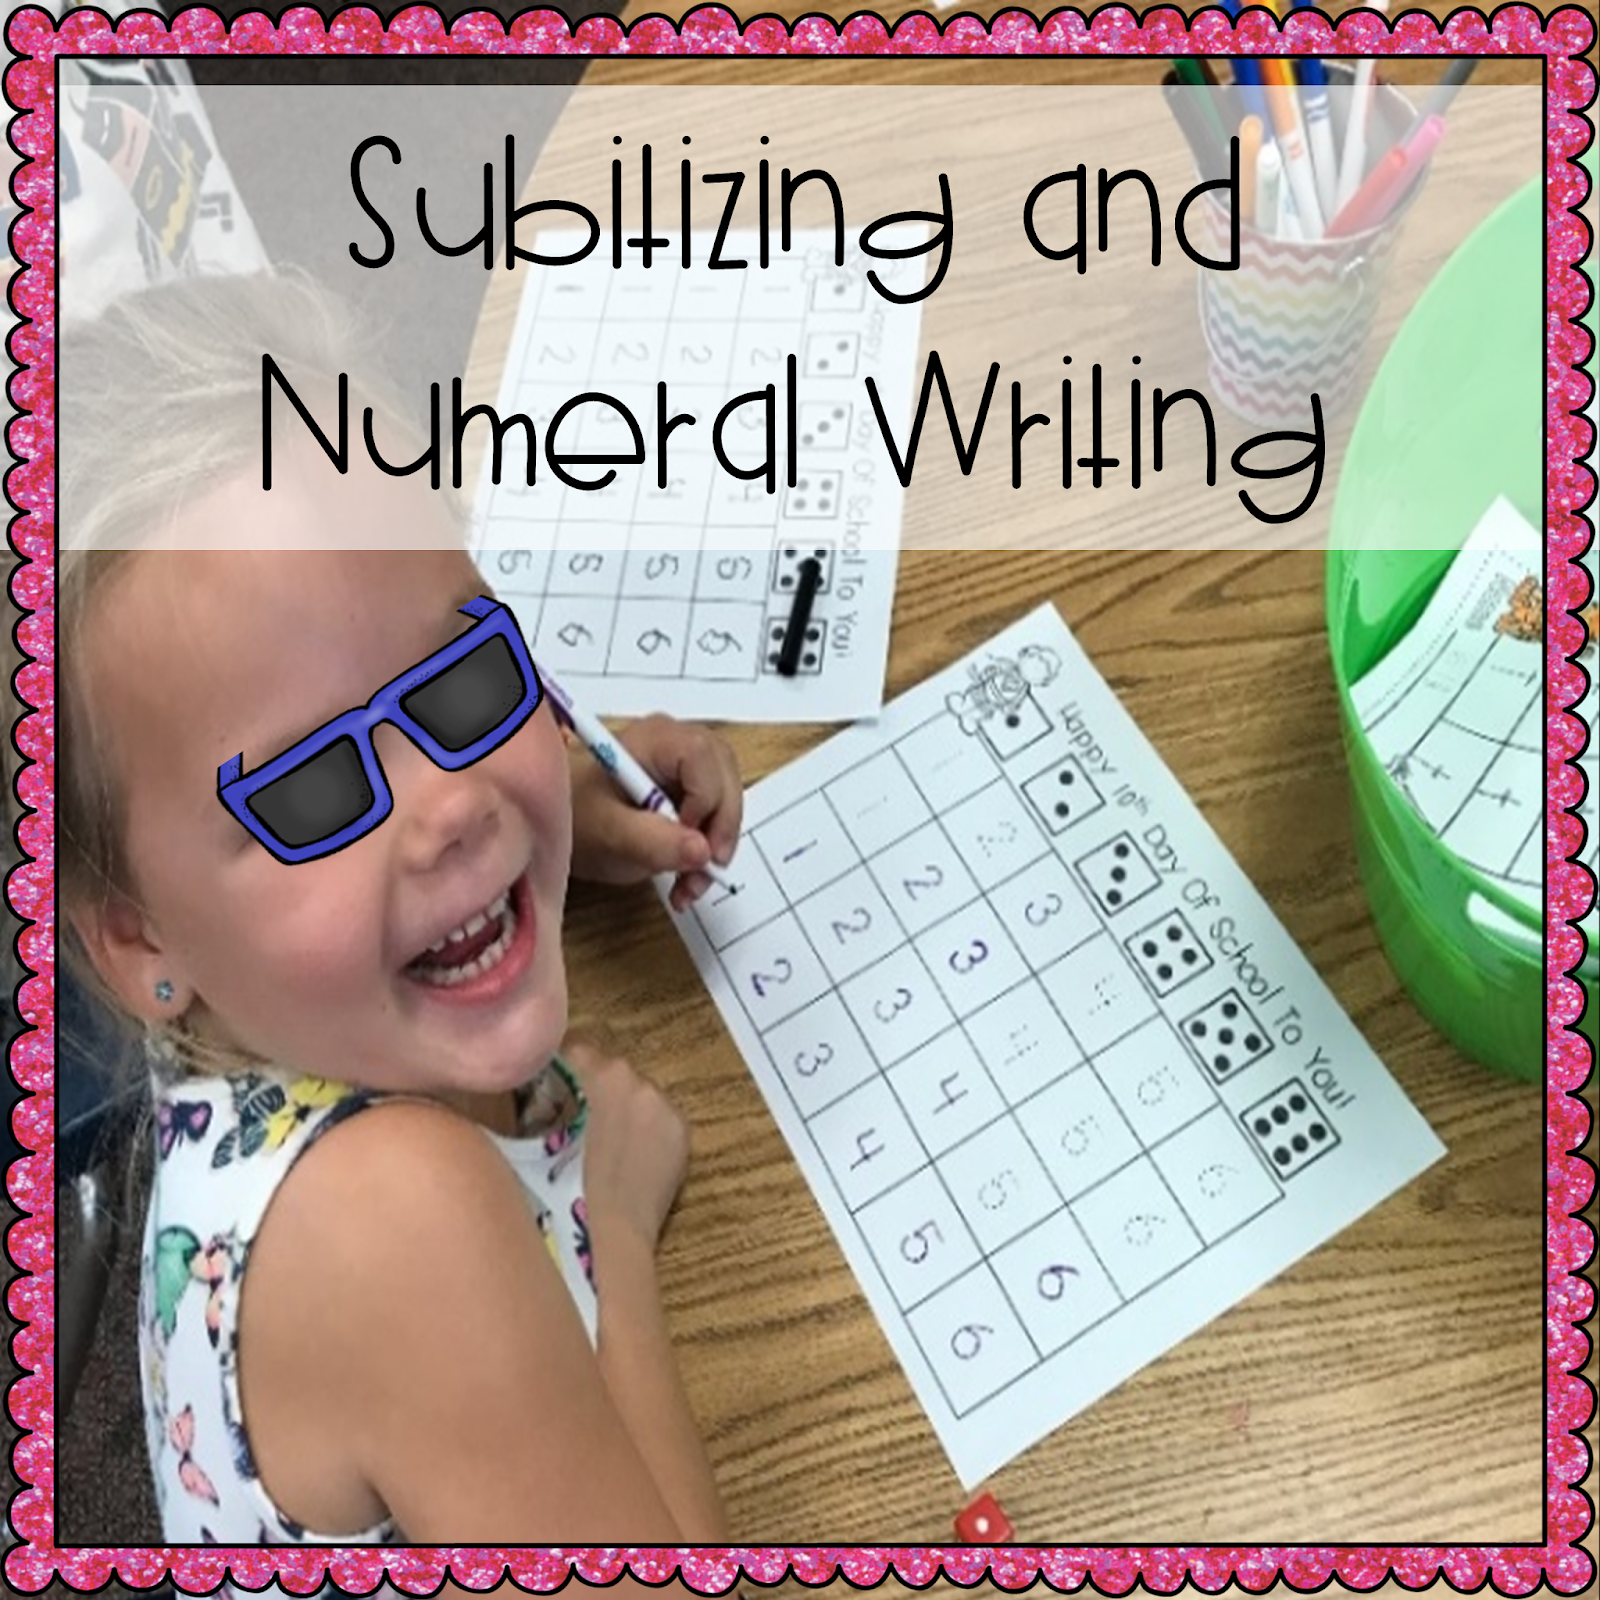
For this activity, each child needs a dice, a pencil or marker, and a recording page. Invite the children to roll the dice. Now, they either count, or subitize, the set of dots. Next, they locate that set on their recording page and trace the corresponding numeral. Continue until all numerals are traced.
For this activity, each child needs 20 beads, a pipe cleaner, and a game board.  Invite the children to arrange their beads onto the tens frame. Ask, How many? Notice how they determine the answer. Do they count each bead, do they say 10 as they point to the first tens frame and then count on the remaining 10, or do they count by saying 10, 20?
Invite the children to arrange the beads onto the pipe cleaner. You may want to just use random colors. You may want them to create a pattern. Or, you may want them to make each set of 10 a different color.
For this activity, each child needs a marker or pencil, a dice, and a recording page. Invite the children to roll the dice. In the belly of the first Zero the Hero, the children make tally marks to match the number on the dice. Continue rolling and making tally marks to complete the recording page.
On the 40th day of school, the children make a sequencing hat. To make this, each child needs a recording page, scissors, glue, crayons, and a sentence strip. Invite the children to color and cut the numbers 10-100.  Next, the children will sequence the numerals onto the sentence strip. Once they are in order, glue the numerals to the strip. Staple together to make a hat.
For the Adding Dots activity each child needs a marker or pencil, 2 dice, and a recording page.  Invite the children to roll both dice. On the first row on the recording page, the children draw the face of each dice inside one of the squares.  Add the dots together and write the sum into the burst!
To practice place value, each child needs a few pretzels and some fruit loops. It helps to give each child a piece of construction paper for holding their supplies.  Show the children a 2 digit numeral. Invite them to show you how to build that number by using pretzels to represent 10 and fruit loops to represent 1's.  **Depending on the age and grade, you may want to stick to numerals 1-19.  It might also help to allow children to organize the fruit loops onto a tens frame and then "trade" them in for a pretzel stick!
On the 100th day, the children make these fun crowns. Invite the children to trace the numerals with a marker.  Cut out and staple to make a crown!
All of these ideas, and others, are from the Zero the Hero unit I wrote with my friend Kimberly Jordano at kinderbykim!
https://www.teacherspayteachers.com/Product/Zero-the-Hero-by-Kim-Adsit-and-KinderByKim-4024525?aref=hc0hej59
The unit contains easy to follow, picture directions for each of the Zero the Hero days.
It also contains the letters that Zero the Hero brings. These letters are placed inside of the Zero the Hero bag.
And lastly, it included the reproducibles for each of the activities. These are simple, no fuss activities!
Have fun celebrating our friend, Zero the Hero!


Pin It!

Tuesday, August 28, 2018

EASY STEM Activities to Begin the Year

I recently joined forces with Kim Jordan to present at the I Teach K conference in Vegas.  Our session was about integrating STEM and Story Time. Here are some of my thoughts about STETM and some of the activities we shared.

STEM is an acronym for
•Science
•Technology
•Engineer
•Mathematics

What is Stem?
STEM is an interdisciplinary approach to learning where rigorous academic concepts are coupled with real world problems.
During STEM children apply technology, engineering, science and mathematics as they make connections.
In story time STEM, we want the children to identify the real world problem in the story, and…use science, technology, engineering, and mathematics, to suggest possible solutions.
This also teaches text to real world connections.
 
There are 5 Steps in the STEM process:
1.Define the problem and research.
2.Design your plan.
3.Build your plan.
4.Test your plan.
5.Improve your plan.
One help organization tip is to create your STEM stash. Here is our we organized ours.
Here are some great EASY STEM activities to begin the year.
Chicka Chicka Boom Boom is a great place to start with STEM activities because it is so easy. First, we want to be sure children can identify the problem in this story...the tree wasn't strong enough to hold the letters! That means, the STEM challenge becomes, "Can you build a tree that will hold all of the letters?"
Depending on the time of year, or the age of the children, invite the children to complete the recording page. You may find it easier to enlarge and talk about it together!
Another great place to begin the year is with Family! In this book, "If the Shoe Fits", the old lady is looking for a place for her family to live. It is a take off of The Old Lady Who Lives in the Shoe.  Again, we ask, What is the problem? In this story, the old lady can't find a house big enough to hold all of the children.  That means, the challenge becomes, "Can you build a house that is big enough to hold the kids?"
 Since family is usually an earlier unit for us, I wanted to keep it simple. I just used folded and unfolded index cards and invited the children to build a house to hold the Lakeshore Kids.
 This was a fun craftivity that we did to record our steps for the STEM process!
Another unit that I usually do in the fall is Farm. In this delightful book, Who Sank the Boat?, the animals get in the boat and eventually the boat sinks. The problem, the boat will not hold all of the animals, is defined. Then, the children are challenged to build a boat to hold the animals? To keep it simple, they had only foil. I used gutters (like you put on your house) to make places to float the boats.  On the back of the animals I taped pennies...the largest animal with the most pennies and the smallest animal with the least pennies.
 We made this fun craftivitiy to record the steps of our process.
 Another great book for farm is One Duck Stuck.  In this story the duck is stuck in the mud and the animals are trying to figure out how to get him out! This is a super SIMPLE way to make pulleys with young children.  I printed a farm scene and placed it on top of a piece of foam board.  The children used spools and toothpicks to make the pulley. Then, we tied pieces of string to the ducks, wrapped the string around the spool, and pulled!
 You can't do a farm unit and not visit the Mrs. Wishy Washy series.  In Wishy Washy Day, the animals are hiding from Mrs. Wishy Washy because they do not want a bath!  To solve the problem, how to keep the animals where you can find them, the children used playdough, popsicle sticks, and pipe cleaners to build fences.  I gave them plastic animals to add inside their fences.
 Then, in our booklet, the children recorded the different STEM steps we used to solve the problem.
 Then, we made this fun Mrs. Wishy Washy to hold our booklets!

Kim and I recently published a unit, Storytime STEM,  that contains these and other STEM Activities. 
https://www.teacherspayteachers.com/Product/Storytime-STEM-by-Kim-Adsit-and-Kimberly-Jordano-4012483
This unit provides lessons for you to incorporate a STEM activity with your read aloud. The first few pages give an overview of the steps you will need to take to successfully incorporate real world problems, identified in the literature, into a STEM activity.

There are 10 different selections of literature included:

The Three Pigs

Chicka Chicka Boom Boom by Bill Martin Jr.

If the Shoe Fits by Allison Jackson

The Biggest, Best Snowman by Margery Cuyler

Who Sank the Boat? By Pamela Allen

Aaaarrghh! Spider by Lydia Monks

One Duck Stuck by Phyllis Root

Gorilla Loves Vanilla by Chae Strathie

Wishy Washy Day by Joy Cowley

Ten on the Sled by Kim Norman

For each book, there is a step by step guide to help you navigate through the activity. Color photos for each STEM activity are included as well. This will help “see” the activity in action.  Necessary recording pages, reproducibles, and craftivities for each activity are included.


Pin It!

Thursday, July 12, 2018

Top Ten Organization Tips

Organization! Does it come easy for you or are you constantly trying to organize? Organization is important because it CAN increase instructional time! This blog post shares my Top 10 Organization Tips that will be sure to save you time!
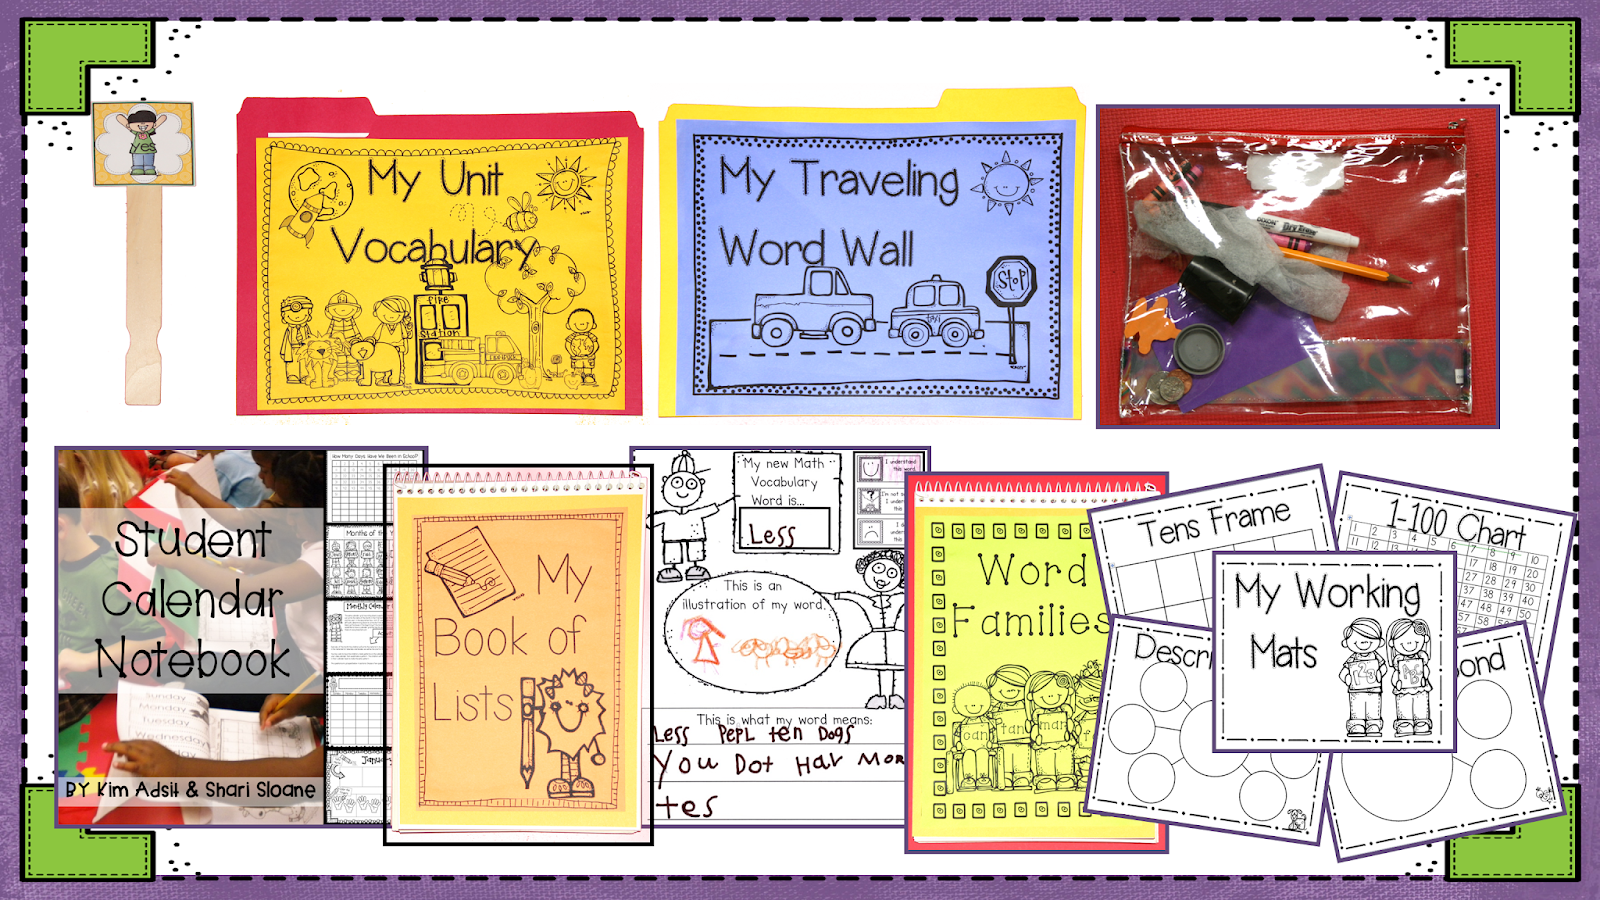
Organization Tip Number 1: Organize student materials for easy access.  Carpet Bags have changed my life! Since our kids do not have assigned table seating, the carpet bags are an organizational system that allows the children to keep up with all of their supplies.  In the morning the children remove their bags from the baskets and place them on their carpet squares. The carpet bags hold all of the supplies that we are use during any large group instruction.
Here are some of the items we store in the bags. Carpet bags can save you tons of time! For example, if we are going to use a tens frame during math, we invite the children to look in their carpet bags and get out their spiral bound working mats and their collection of counters! Wala! Just like that, they are ready to begin instruction.
You can read about all the individual items we keep in the carpet bags in this blog post. 
All of these items, except for the calendar, are in our Pack It! Learn It! unit.  You can find it here.
The Pack It! Learn It! unit
The calendar notebook
I'm not going to lie, sometimes it looks like this! But I'm telling you, it is worth it!
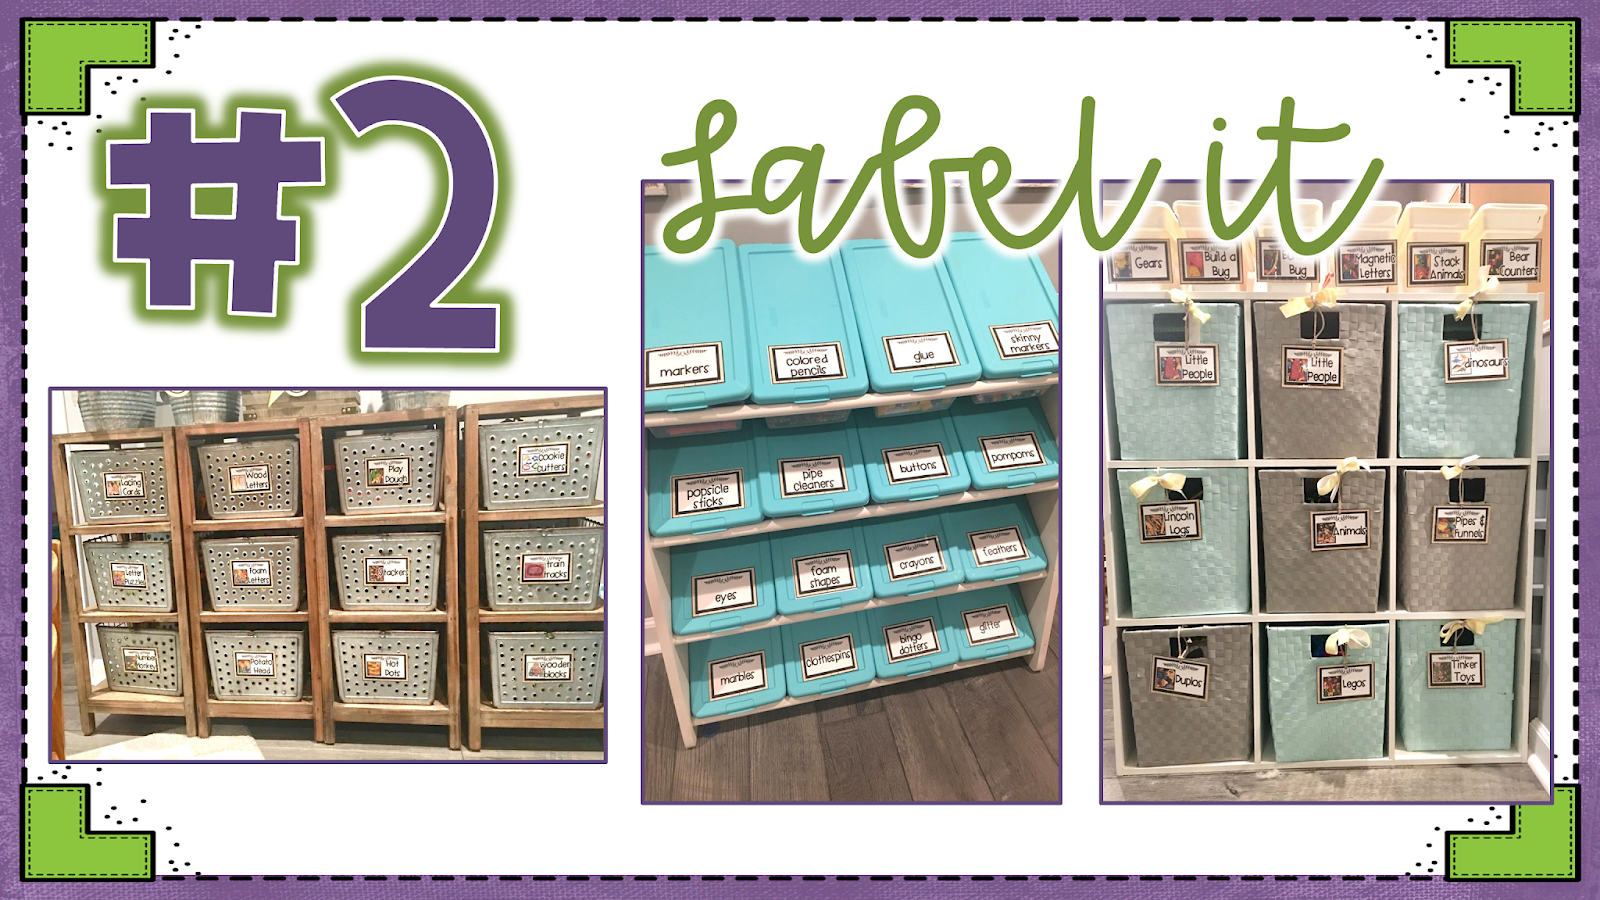
Organization Tip Number2: Label materials for kids! I used Erica Bohrer's farmhouse labels to begin. Then, I just took my camera and snapped a picture of the things that are inside of each tub. I added the pictures to the label.  This makes it super easy for the kids to clean up independently.
I also label my resources. These tubs contain the math activities I use for each of the strands. They include the activities for the Math Manipulatives and for the Small Group Math Activities.  These units can be found here:
Math Manipulatives Bundle
Small Group Math Bundle
Organization Tip Number 3: Take advantage of hidden storage to hide your clutter.  By adding a curtain to hang over the open shelving, I can hide all kinds of things!
Don't forget to use your closets wisely. Label items and place them in clear storage or put a picture on the outside.  It makes it easier for the eye to find the needed items.
Organization Tip Number 4: Organize your daily materials.  We have a drawer for each day. On Friday, we fill up the drawers with ALL the things we will be using the following week.  Then, each morning all we have to do in remove the items from the drawer and we are ready to go.  The second stacker holds materials that need to be prepped, need to be put away, or are ready for us to use! Volunteers can help by removing items from the To Make drawer. As they finish prepping, they just move the items to the Ready drawer. I use the Put Away drawer to hold the things I am finished using until I have time to put them away correctly. This keeps the items from being stacked around the room. You can grab these labels for free at the bottom of the blog post.
Organization Tip Number 5: Repurpose Items. Placemats are great to define work spaces. When the children are engaged in an activity with lots of pieces, a placemat helps them keep up with what is theirs and what belongs to their neighbor.  A baby shoe bag works great to hang onto the back of your easel. It can hold all of the things that you use while charting! And, a rolling laundry basket makes a great container to hold all of your big books!
Organization Tip Number 6: Have a Panic Shelf.  Really this shelf should be called the "No need to Panic" shelf.  This shelf holds all of the things that I use during large group time.  It holds a set of magnetic letters, calendar pieces, transition tools, helper supplies, etc!  No longer need to hunt for these items! They are right there waiting on you!
Organization Tip Number 7: Organize your classroom library! Making books easy for kids to find is essential to positive experiences while shopping for books. You can read all about how we make that happen in this blog post.  This blog post also has some free labels and tags to help you with your leveled libraries.  You can find our interest or topic tags here.
Organization Tip Number 8: Find places for all of the small items! We love these storage containers we picked up at Wal-mart.  They are great for organizing all of your letter sets. These are our magnetic letters, but we also use the same kind of unit for foam letters, overhead tiles, etc. This makes it super easy for the kids to quickly find the letters they need to make words.  The other contain, the one with names, hold photos of each child. I take their pictures at the beginning of the year. Then, I reproduce copies of their photos and store them in the drawers. This makes is easy for the kids to make an All About the Author page in their writing. We also use them in other activities like counting, sorting, number combinations, etc!
Organization Tip Number 9: Rethink your seating.  Flexible Seating is a big buzz word right now! You can read about our take on flexible seating in this blog post.  When thinking seating, think storage at the same time.  We store our units in the sterile plastic tubs.  I took a few extra lids and cover them. Then, when we start a new unit, I simple remove the lid and add one of the covered lids! Now they make great seating options! OR how about paint buckets?! These buckets make great seating options and are great for storing things like headphones!
Organization Tip Number 10: label the areas in your classroom.  We have 5 areas in our classroom.  Each area contains different types of seating, different activities, and different things to look at! The kids rotate through the room spending one day a week in each of the 5 areas. This keeps the surroundings new and stimulating. We label each of the items that belong in the area. This helps kids get things put back to where they belong during clean up time!

Pin It!
 
Pin It button on image hover

Receive All Free Updates Via Facebook.