KinderGals

Search This Blog

Wednesday, July 15, 2015

4 Easy Steps: Reader’s Workshop Mini Lesson--Video Clips and Freebee

pinterest
Hey Guys! I thought I would share a few video clips today of a Reader’s Workshop Mini Lesson that I did in Megan’s room last year.  I hope that seeing the video will help you see just how easy it is! Here are the 4 steps, each with a video clip, for a Reader’s Workshop Mini Lesson. Oh….and remember that these lessons are short and sweet. They should only last 10 minutes!
readers workshop 1
First step, connect to prior knowledge. This gets all of the kids in the same place! They are all building on whatever you taught them yesterday in your mini lesson and not on something you taught them last week. By using the same words each time the brain knows what is coming! “The brain learns by pattern, but seeks novelty!”  Here is what that looks like:
readers workshop 2
Second step, teach the new concept. It is important that we remember to model exactly what we want the kids to do. During modeling we want to share our thinking. Tell them how you figured it out. What were you saying in your head?  Share it all with them! Then, show them how it will look when it is their turn. Here is a video clip of that part:
readers workshop 3
Third step, active engagement. This is where the kids have their turn. Here are a few things about active engagement:
  • They practice whatever you taught them RIGHT on the carpet. We don’t want to send them off to their seat or another spot to practice.
  • This will be a time when you are seeking 100% engagement, so use elbow partners instead of asking for kids to raise their hands.
  • You will “listen in” as the children are talking. Ask yourself, “who is getting it? Who do I need to call to my small group for further practice? Was the lesson effective or do I need to think of a different way to teach this concept?
Here is what that part looks like:
readers workshop 4
The final step, Link. Here is where we remind kids of what good readers do. We are basically restating the standard for the lesson. Then, we want the kids to turn and repeat these words to their partner. This helps to build that academic vocabulary.  I usually build my anchor charts during the Link. When I first started Reader’s Workshop, I would build my anchor charts during the teach portion of the lesson. Then, I found myself forgetting to do it! This way I remember and it is a good way to restate the standard one more time!
Here is what that part looks like:
Here is an anchor chart from the first unit we teach, Blasting Off! At the beginning of the year, it is important to teach the expectations for the mini lesson. So…since we are thinking Back to School, scroll to the bottom to snag this FREE We are Ready to Learn Anchor Chart.
Slide6


Pin It!

Friday, July 10, 2015

Setting Up for Differentiated Instruction

Several years ago I did a one day seminar named “DI for the Little Guy”.  So, how excited was I when I was asked to do it again in Vegas. So I did a little sprucing up and it’s ready to go.
I remember when DI became a buzz word. I had a really hard time trying to figure out exactly what it was. This wasn't because I couldn't do it in a kindergarten classroom, it was because I was ALREADY doing it in a kindergarten classroom. Chances are you are too! Just because of the age of our learners differentiation occurs naturally. DI isn't a list of activities that you do! It is the WAY you conduct business! It is how you deliver instruction. Here are a few things I think about....
Slide17
How do you group your kids? Here’s my thinking.
I want groups that work well together. Groups that are mixed abilities, mixed gifts, mixed personalities, some leaders and some followers. I think which children will work well together and not play? They wouldn’t necessarily choose to play with these friends. But,when it’s time to work, they get it done! I call these their “families”. They go to math centers and literacy centers with these kids. Anytime I want them to work on a group project, these are the kids they work with.
Slide18
But, what about instruction? How can I work with these mixed groups of abilities and plan activities are that differentiated? I don’t! These are not their instructional groups. Here’s what I do:
  1. Conduct formative assessments on the standard you are teaching.
  2. Group children according to the results.
  3. As kids are working in centers, go to each area and “collect” the kids you want based on these results.
  4. After you are finished, they return back to their center group area and you pick your second group.
My kids know they have a family group, but they do not know they are in any other groups. My instructional groups aren’t named like when I was in school. Remember? Red birds and Blue birds? That’s because these groups are always changing depending on which standard I am teaching! 
Slide19
We are also talking about how to differentiate your centers. Here’s my thinking:
  1. Centers are used so that children can work independently while you pull small group.
  2. Centers provide for maintenance of previously learned materials.
So here’s what I do:
  1. I developed 5 center areas, one for each of the math strands.
  2. I put a “have to” activity in each area that is a previously taught skill.
  3. The “have to” activity is an activity they have done before, just maybe with a different manipulative.
  4. Once they finish the “have to”, there are “can dos” that are more open ended where each child creates learning based on their own knowledge and interest.
Slide20
Another thing we are talking about is getting kids with their “good fit” books.
Here’s what I am thinking:
  • I want kids to have books that are at their right level.
  • I want the kids to be able to read about what they are interested in.
  • It takes kids a while to be able to determine if a book is at their right level.
  • I DO NOT want book shopping to take FOREVER!
I have a huge classroom library. And I want kids to have access to all of those books. You can read all about my classroom library organization here. So here’s what I did:
  • They may choose books for the “topic tubs” to place in their bag of books. That means if they love dinosaurs they can go to the “dinosaur tub” and select a few books (you can determine how many books they can select.)
  • Until they are able to look through the topic tubs to select books that are their right level, I give them a little help here.
    1. At one time I just put all the “A’s” in a tub, all the “B’s” in a tub, and so on. But it took them forever to choose books this way.
    2. So, I took all the “A” books and put them in piles.
    3. Each pile has 6 books.
    4. All 6 books have the same topic.
    5. Any books that do not fit group, are all put together and placed in a “surprise” pile.
    6. Each pile is placed inside of a ziploc bag.
    7. Now, the kids just choose one bag with 6 books.
    8. Easy Peasy!
Here are some tags to put on the tubs for your leveled books. You can find these in a free file at the bottom of this blog post.
Slide1
This year Megan is moving to 2nd! We are a little nervous and a little excited for her to start this new journey. So in addition to all of our other library areas, we created a new year that has leveled books. This is a picture of her leveled fiction library. We also made another area with leveled nonfiction books I just forgot to snap the picture. We are planning a post for next week on how we set up our entire library.

    Slide22
    The last part of the day is all about interventions. What do you do when you have tried everything you know? Here is an easy ABC book idea that I adapted from Maria Clay (the Reading Recovery Founder).
    Here’s what you do:
    1. Have children cut apart of page of clip art pictures, one picture or each letter. Put these in a baggie.
    2. Reproduce the ABC book.
    3. Now, abc test your child.
    4. Every letter they know, capital or lower case, have them glue the picture that matches that letter.
    5. After you have in all the letters they know, add pictures to three more letters they need to learn.
    6. Put post it notes on those three pages.
    How to Use The Book:
    1. Invite the children to read the book to you.
    2. To read the book, they turn to each page. If there is a picture on the page, they point to the capital letter and say the name, point to the lower case letter and say the name, and then name the picture.
    3. If there is no picture on the page, they skip that page.
    4. When they get to the pages with the post it notes, if they do not know the letter you point to the letters and name them.
    5. If they DO know the letter, remove the post it note and hold on to it.
    6. After they finish reading, put the post it note you removed on a new letter.
    You can get the abc book as a free download in this blog post.
    Slide3Slide4Slide2

    Pin It!

    Wednesday, July 8, 2015

    Setting Up for Back to School and FREE STEM Cards

    Have you heard of my Back to School Seminar? Everything is about getting ready to go back to school. Whether you are a new teacher or one that has been teaching 30 years or more, there is nothing as magical or exhausting as the first day. Sometimes you just survive! Here are a few of my favorite ideas. Be sure and read to the bottom to find a freebee.Slide11
    First things…get started setting up the environment.
    1. One thing we like to do is to take pictures of our kids with their families during Open House. Now, the term “family” means different things to different people. So, in this case I am defining it this way… “Your family is whomever comes with you to Open House.” 
    2. Collect some frames. I got mine from the dollar store.
    3. Print the pictures and add them to the frames before that first day of school!
    Parents love to see their photos in your room. It also shows that you “have it together”!  It is easier to handle difficult situations with parents when they think you are fabulous. Use that time during those first few encounters to show your “fabulousness”!
    Slide14Next: getting ready to teach. Here are some of my favorite ideas for organizing for teaching.
    Writer’s Workshop Writing Folders
    Here are some things to keep in mind when setting up storage for writing folders.
    • Make a hanging file folders for each child. Their actual writing folder is stored inside the hanging folder. Why?
      1. This makes it easy for kids to “find” their folder. Nothing wastes time as much as kids looking through their desk to find their folder!
      2. It makes it easy for kids to find their folder without having to dig through a pile of folders. They just find their name on the hanging folder, reach inside and pull theirs out!
      3. By placing them in hanging folders they can easily be moved from one plastic storage tub to another.
      4. Use three tubs so that when it is Writer’s Workshop time, you can spread the tubs into 3 different locations in your room. Now, all of your kids will not be going to the same location to find their folder.
      5. Also, by having them in 3 tubs, you can differentiate! Place the children who have similar writing abilities in the same tub. Now, provide paper that best fits their needs and abilities. Now as the children learn, you can easily differentiate by moving their folders!
    Slide19
    • Use one color of hanging folder to house the children’s writing folders. Use another color of hanging file folders to house paper and tools. This way the kids know where to look for what!
    Want to know more about organizing for Writer's Workshop? Check out this post for details!
    Then, I think about getting reader’s workshop started. Here is the first question we want to answer: “Can all kids read?” If we say reading is bringing meaning to the page, then the answer is yes. So, when my 18 month old grandson picked up “Old MacDonald” and said, “eieiei moo moo”, he was reading!
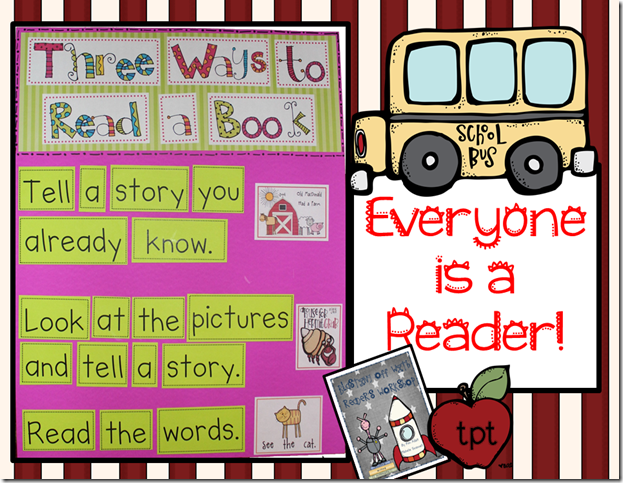
    Slide13
    I want the kids to see themselves as readers from the very beginning! So I do a series of mini lessons about the different ways we can read.  After these 3 different lessons, the kids do their first book shopping from the books that we used for active engagement during these lessons.
    Want to know more about Reader's Workshop? Check out this post with details and video clips.
    http://kindergals.blogspot.com/2015/07/4-easy-steps-readers-workshop-mini.html
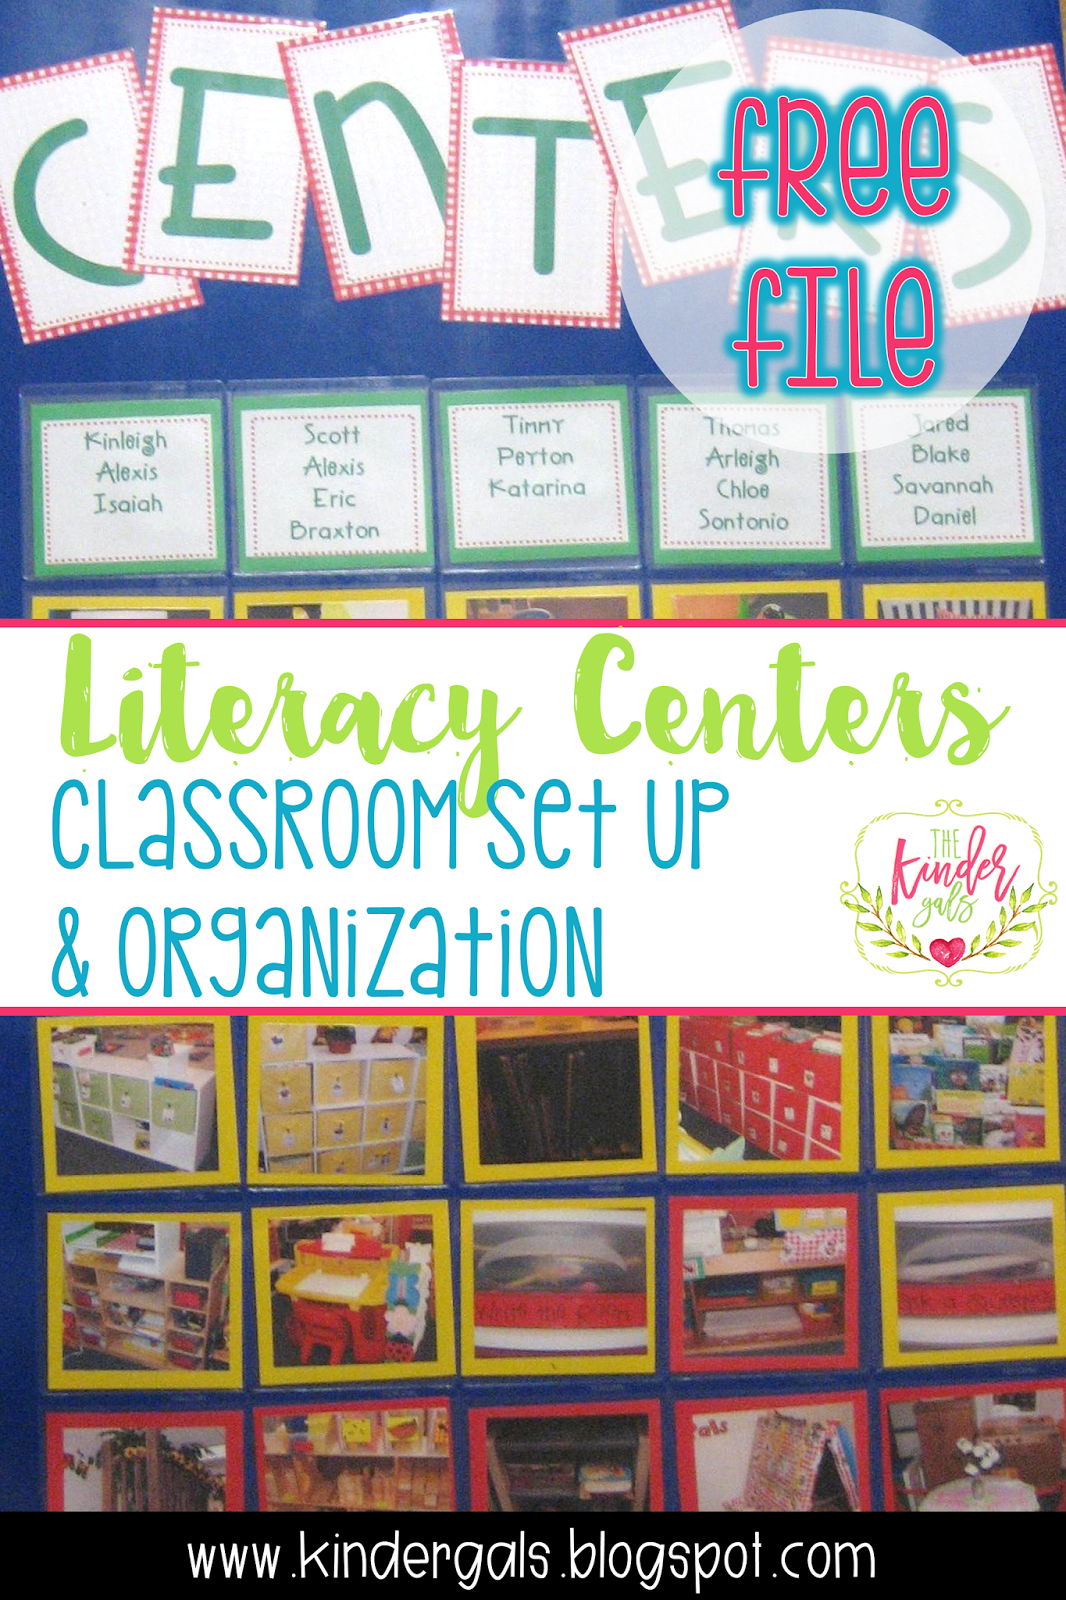
    Now it's time to think about getting literacy centers started. One thing I will share is about being sure that you have a balance of centers for reading, writing, and word work. Make a list of your centers and divide them into these three areas. Are they balanced? Often when we think of differentiating, we only think about “What level are they?” But, the WAY in which children learn is also part of differentiating.
    Slide6Slide7
    Want to know more about how we set up literacy centers? This post has all the details!
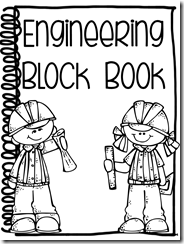
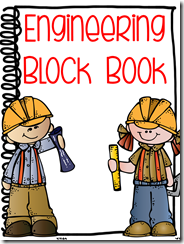
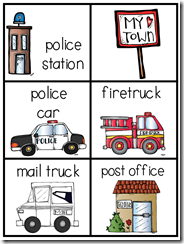
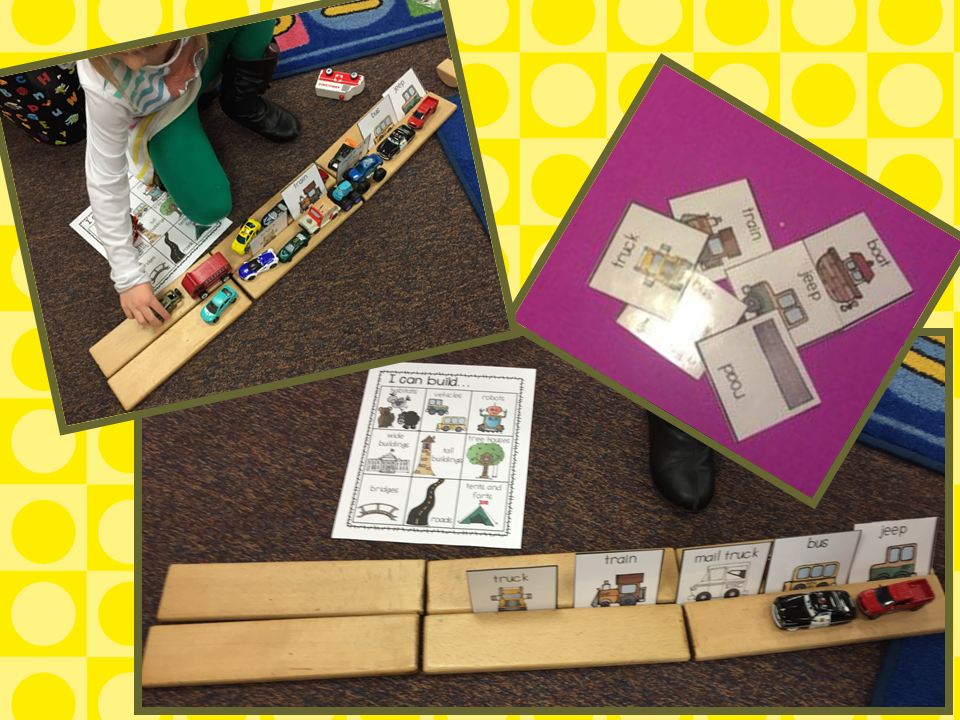
    And today’s freebee is this set of STEM cards to use in your block center. I made an Engineering Book for my block area. As the children created their structures, I take a picture. Later, I print them out and have the kids tell me about what they constructed.
    I also made some cards that the kids can use to sort items. I don't put all of the cards in the block area at one time. I will put just one set at a time. For example, I might just have the transportation cards this week.
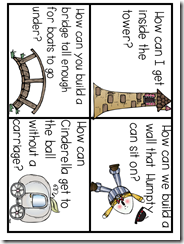
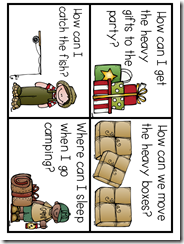
    I also use these tasks cards. They ask the children to build certain types of structures. These are great for our STEM days!

     I also made this "idea" card. This provides them with ideas of things that they can construct.
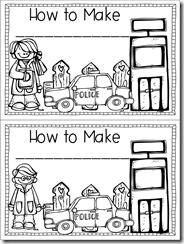
    And lastly, I made this "How To" book. Here I have my kids tell me the steps they took to build their structures.


     They are great for STEM!
    Slide15Slide16Slide17Slide18Slide19Slide20Slide1Slide2Slide3Slide4Slide5Slide6Slide7Slide8Slide9Slide10Slide11Slide12Slide13Slide14
    Pin It!
     
    Pin It button on image hover

    Receive All Free Updates Via Facebook.