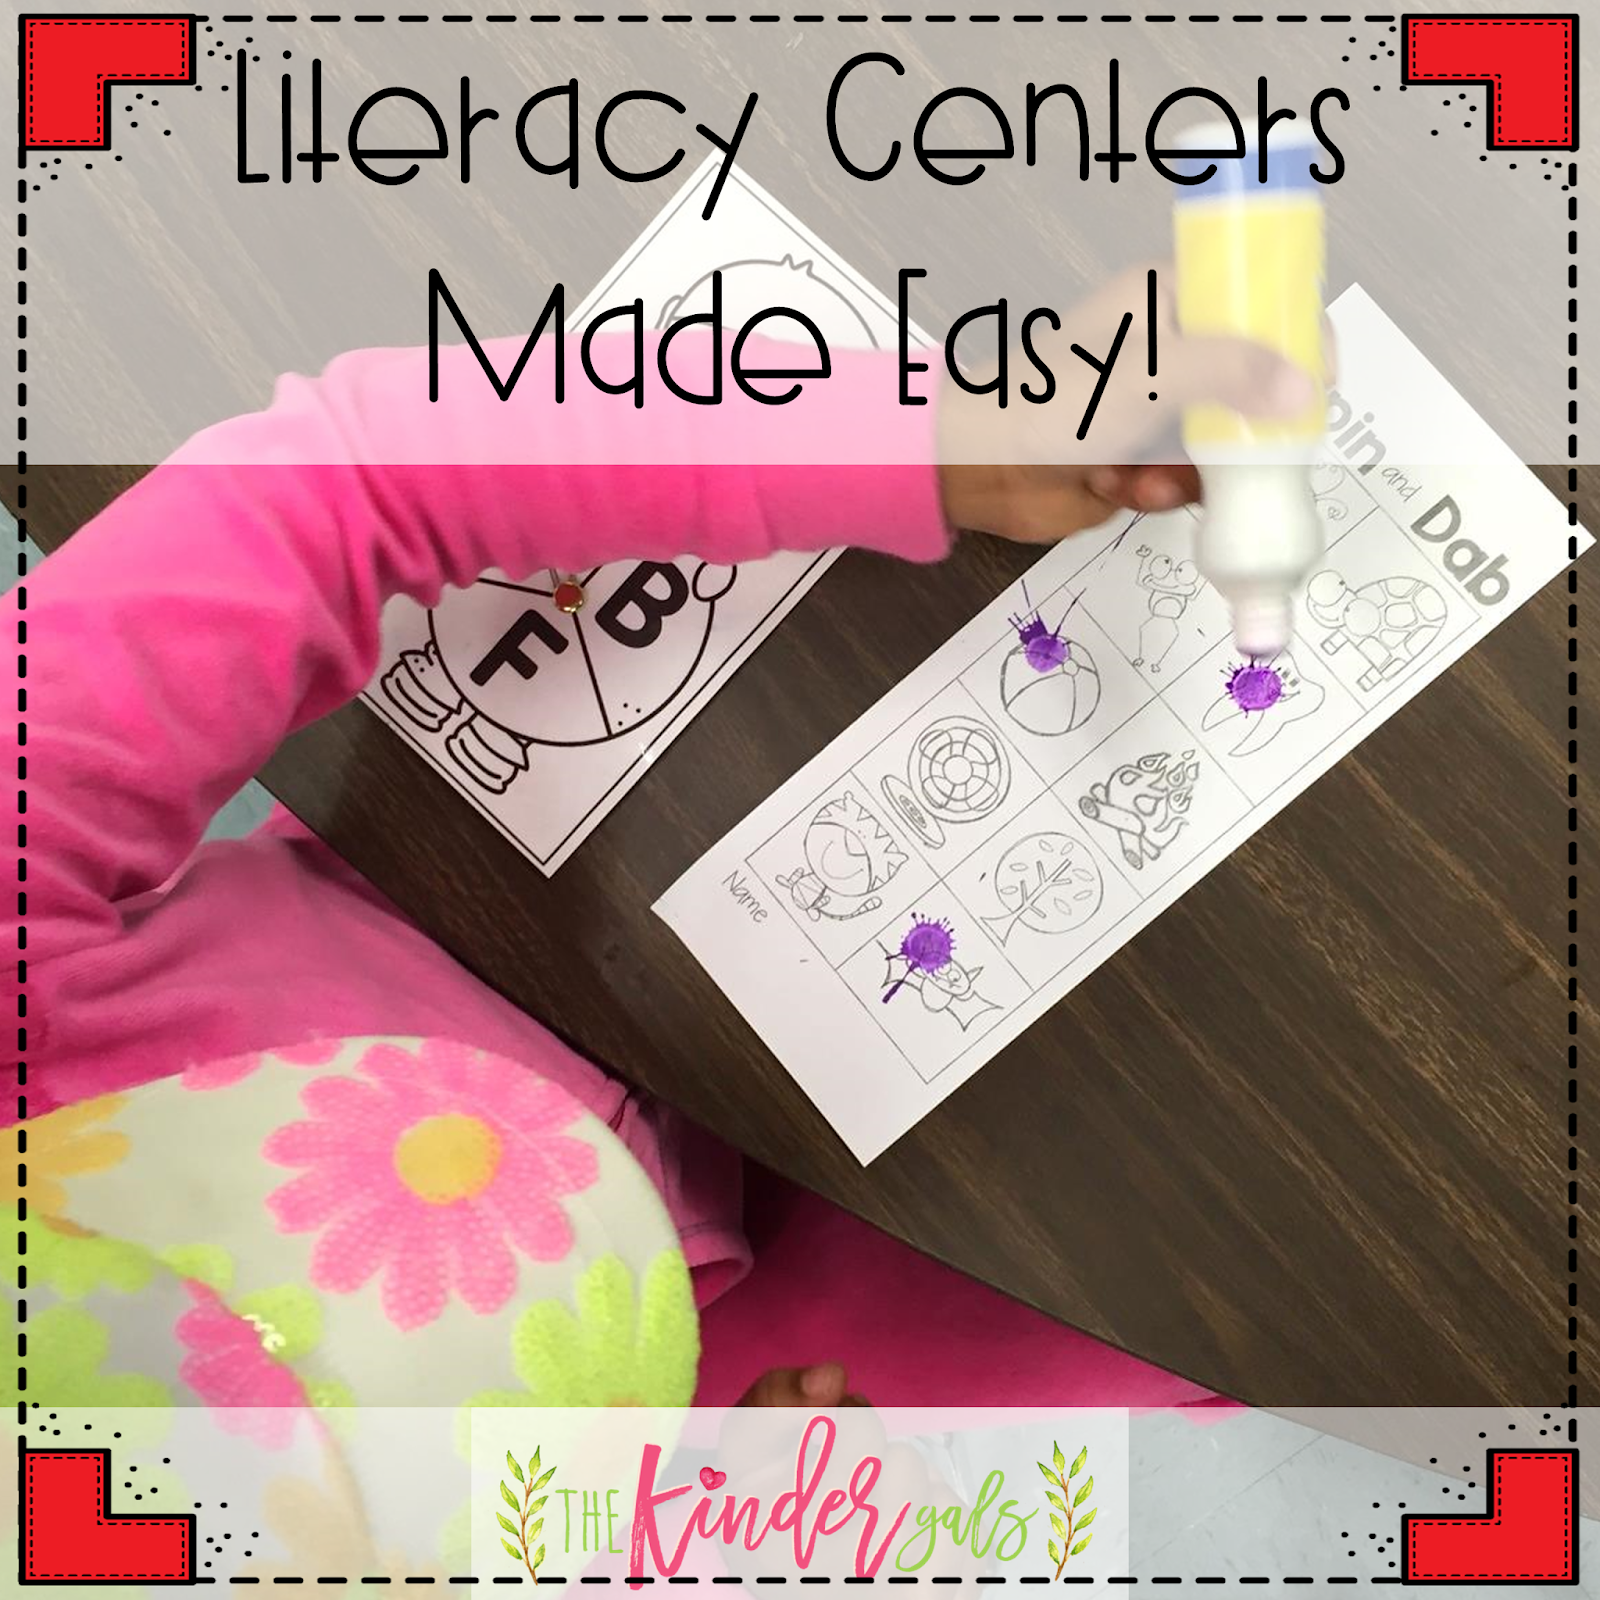
How many different ways have you tried literacy centers? Does the management of literacy centers cause you nightmares? Do you struggle with making activities meaningful AND independent? If you answered yes to any of these questions, here's the good news---you are not alone! Literacy Centers provide us with the opportunity to call small groups while the children are engaged in independent activities.
Here are 3 Easy Steps to develop effective literacy centers!
Mini Lessons
Each segment of our day begins with a mini lesson. Literacy Centers aren't any different! Our literacy centers section of the day is 60 minutes. The first 10 minutes is a mini lesson. We have are 2 different kinds of mini lessons. The first type, procedural mini lessons, is essential. The first month of the year is full of procedural mini lessons. We cover topics such as: What do you do when you are finished? How do you work in a group? What do you do with your work? Each of these are
individual mini lessons as we build independence! When I first tried literacy centers, I covered too much in one lesson and the children weren't applying the procedures. Now, we learn something new each day, AND the kids practice!
The other type of mini lessons is when we are teaching a new standard/concept. These activities introduce the NEW learning. New learning does not occur in centers...centers are intended to practice the things we have already learned! These mini lessons also introduce the types of literacy centers.
An important part of any mini lesson is active engagement. This is the time for the children to practice the new learning. It is a great way to determine if the children have mastered the new learning as well as to determine if your lesson was effective! It will let you know if you need to spend an additional day on this concept, or if you need to pull a few children to your small group table for further instruction.
We spent some time scripting out our mini lessons. This ensures that we have spent time thinking through the best way to teach the new concept as well as what we expect from the children during active engagement.
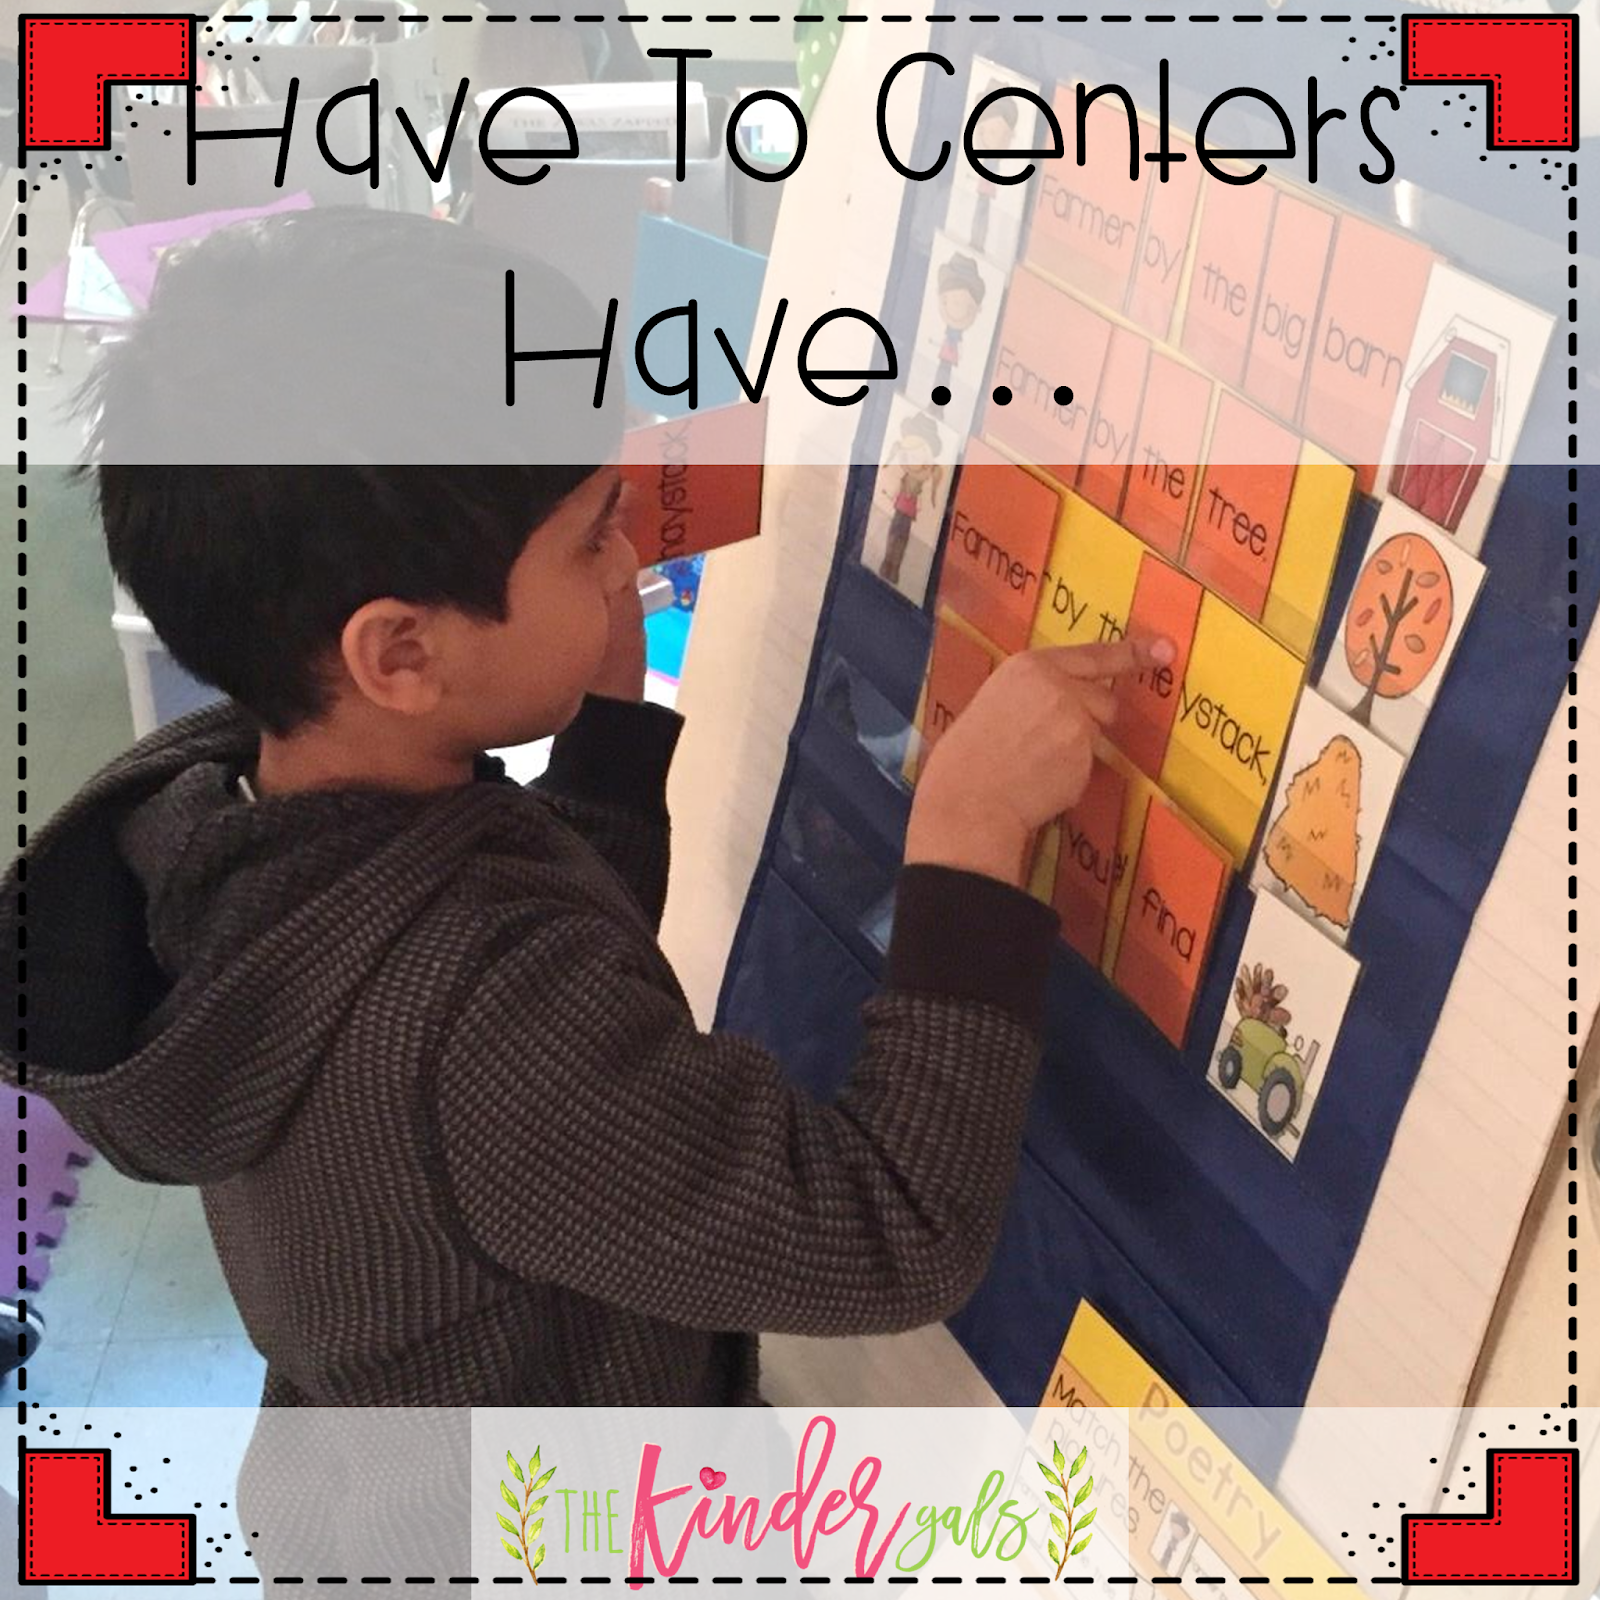
Have to Center Areas
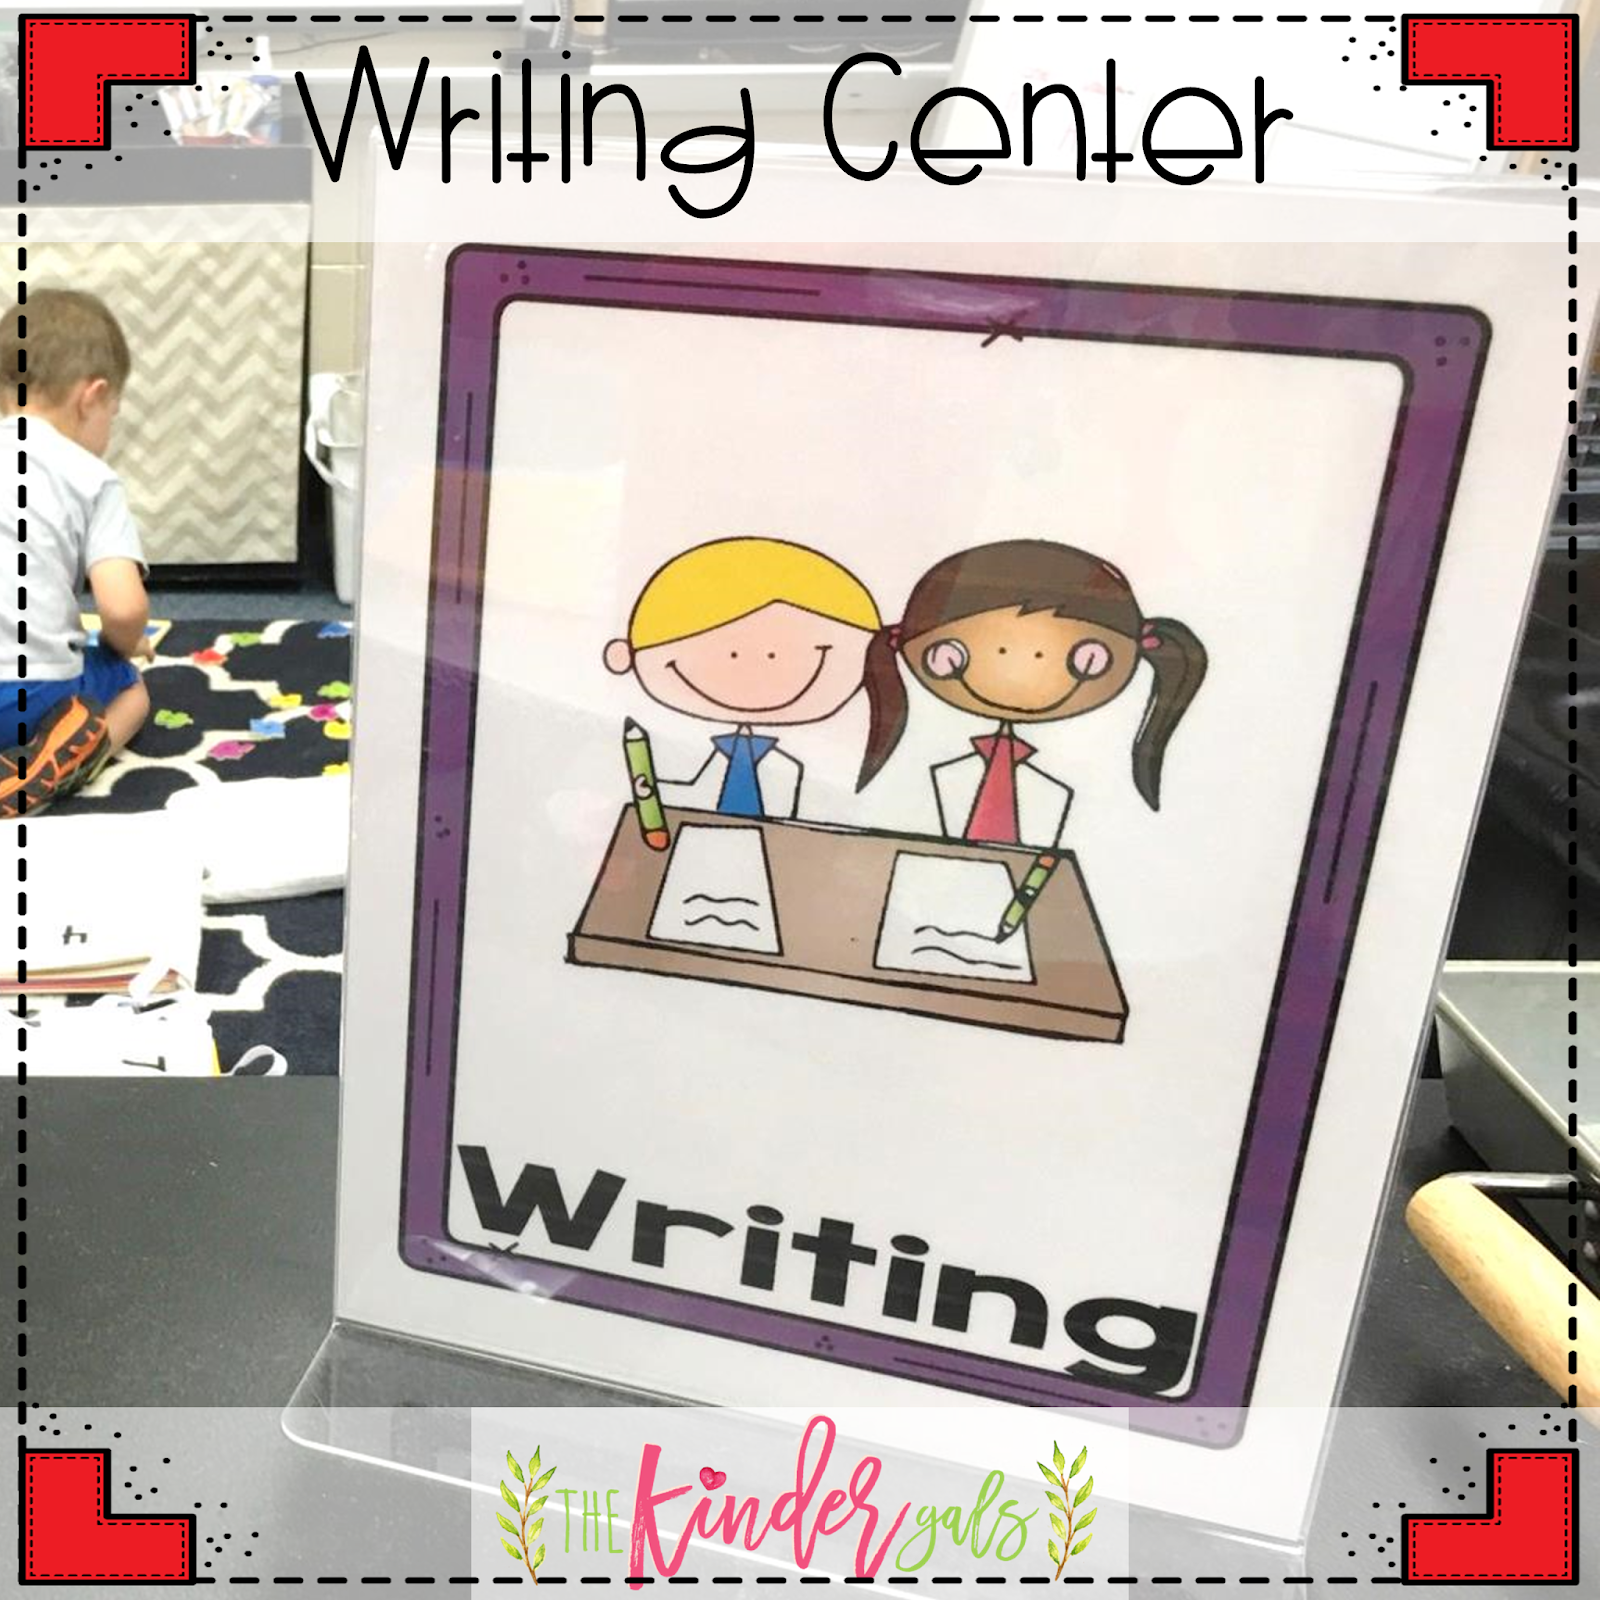
To get started with centers, we divided our classroom into 5 zones-writing, alphabet, phonemic awareness, word work, and reading. We created a sign for each of the areas. These signs match the images on the center assignment board. Each day, the children visit ONE of the 5 zones. This means that by the end of the week, they will have visited all 5 areas.
In each of the areas there is a "have to" center. These activities practice and maintain our prior learning. They are NEVER a new teach! In order to ensure independence, MOST of our kids need to have mastered the standard AND participated in a similar activity during large or small group.
Each "have to" has a recording page. This enables us the check their work. It is also a way to hold them accountable. When the children finish their center, they place their recording page in a designated basket. Since I am conducting small groups, I can not check their work during centers! At a later time, I can quickly check the work in the basket. If a child has rushed through the work, they do it again! I tell them, "Do it nice, or do it twice!"

What about the children that never seem to know what to do? You know you have explained it, so why don't they remember? We can't introduce 5 new centers on Monday and expect the kids to know what to do on Friday! That's why very similar activities have been used during large or small group time. The "I Can..." cards are a great visual reminder of what is expected in that "have to" activity. We teach our kids to ask the others in their group how to complete the center. If none of them seem to remember, they can ask the kids who worked in that area the prior day.
Here are some other examples of "Have to" centers. In the writing center they labeled a fall picture.
In the word work center, the children used the letters in "snowflake" to make little words. Invite them to make each of the "little words" on the recording page. Ask yourself, "Could I make that word using the letters in snowflake?" On the recording page they mark either yes or no.
In the alphabet center they used a picture dictionary. Using the little book, the found the page in the dictionary to match the letter on each page. They selected a picture on each page to illustrate and label.
In the phonemic awareness center, the children sorted the pictures by one or two syllables. Then, on the recording page, they colored either one or two circles.
In the reading center the children made this fun turkey. It reminds us to get our mouth ready. Then, the children read their little book. On each page we marked the beginning letter for the noun. This reminds the children to get their mouth ready by making the sound for that letter.
Another fun craftivity for the reading center was making these cars. We used the cars to read our little book of cvc words as we looked all the way through the word.
Can Do Centers
So far, all's good. The problem occurs when the children all finish at different times. Ever tried ringing a bell and having kids move to the next center? We did and it was a nightmare! We were rushing our deliberate learners and stressing out our struggling learners. If we truly believe in differentiation, we learned that we also had to look at the differences in their rates of learning! So.....for each area we developed some "can do" activities. These are centers that you "can do". They do not have recording pages nor am I checking them! These are quality activities that keep the kids engaged!
As we introduced each of the "can do" activities, we added cards to remind the children of their choices in each of the 5 areas.
These cards are displayed in each area.
For each of the "can do" choices, we developed scaffolding charts. These charts are displayed by the resources to remind the children of the things we learned that we could do with the materials.
We wanted to get some cards posted early, but soon replaced them with these cards that have MORE ideas of things to do with the resources. At the bottom of each chart it says, "think of your own idea." We always encourage children to take charge. Children who create their own learning are working at the highest level on Bloom's taxonomy.
Developing and Introducing literacy centers is hard work! But, we found that using these 3 steps, we were the most effective. Our biggest suggestion....slow down! Take the time to teach procedures and new activities. If you have any questions, just let me know by leaving a comment below!
All of the items in the post are from...
Year Long Bundle of Literacy Centers.


3 comments:
I love this! I cant wait to use the centers units! I was wondering though...how do you store your centers when they are not in use?
Post a Comment