

I had a really hard time deciding how to title this post. Is it guided reading? Yes! Is it about Non-fiction features? Yes! It is about a HUGE free file? Yes! Too many choices! I ended up going with Guided Reading as the title, it is really the "meat" of the post!
Guided Reading is a BIG part of a successful Balanced Literacy Curriculum. In this post I am going to share 6 simple steps that I follow to make guided reading easy and successful! You will want to read all the way to the bottom of this post! That is where you will find the HUGE free file!
Getting Ready for Guided Reading
Guided Reading is conducted in a small group of kids, usually 4-6. Most often, these groups are based on their reading level.

Here is a simple form that I made to use for running records. If you aren't familiar with running records, you will want to go a search to learn more. We aren't going to go into detail about running records in this post. I suggest going to youtube and searching there. Many teachers have loaded videos of them doing running records!
For right now, let's just look at accuracy rate. As the child reads a book, give them a check whenever they get a word right. Now, we are going to modify here....for each wrong word just give an "x" (until you learn how to code a running record). Last, determine the accuracy rate. They should miss 10% or less! You can grab this free running record form at the bottom of this blog post. It is an easy way to count the words as there are rows of 10 boxes! How do I fit in running records? Keep reading and I'll tell you!

Now you are ready to form your groups. Group together any kids that are on the same level. This will be a guided reading group!

After making your groups, you will develop a plan! Here are the 6 steps we use to plan our guided reading groups. Be sure and scroll to the bottom to grab this free guided reading lesson plan form.
Step 1: Warm Up Read
It's time to get started with the lesson! Collect the children you need for your guided reading lesson. Since these groups are constantly changing as their reading levels change, these groups are not named! The kids are usually unaware of who they went to reading with yesterday, as these groups may have been different last week! Once you have the kids at your table, give them a copy of the book they read the LAST time they were at your table. Invite the children to read the book. This warms up the brain and gets it ready for the new learning. As the children are reading, I select one child from the group to do a running record. I give them a "cold read". This is a book they have not read before. I introduce the book to them, and then I invite them to read it to me. I take a running record. If the other children in the group finish before I have finished my running record...they read their book again! I usually meet with 2 groups a day. This means I am taking 10 running record a week. This allows me to change my reading groups, based on running records, about every 2 weeks!

Step 2: Word Work
It is important to preview your guided reading books. You will want to look for word patterns or sight words that will help the kids be successful. During the word work part of the lesson, you want to explore these selected words. Write these words on word cards. Show each word to the children. Discuss the word. For more information on introducing new words, you might want to read this book post on Six Easy Steps to Learn Any Word..

Once you have discussed the word, hide your word. Invite the children to make the word. They can use magnetic letters, dry erase board, magna doodles, etc.

Step 3: Picture Walk
After practicing the words, it is time to introduce the new book to the group. It is important for the children to have an idea of what the story is about BEFORE they begin reading. Ever wonder why authors put a summary of their book on the jacket? Not only does it help you determine if you want to read that book, but it also helps you to start thinking about vocabulary and words you might see in the text. It helps a reader get a feel for the story.
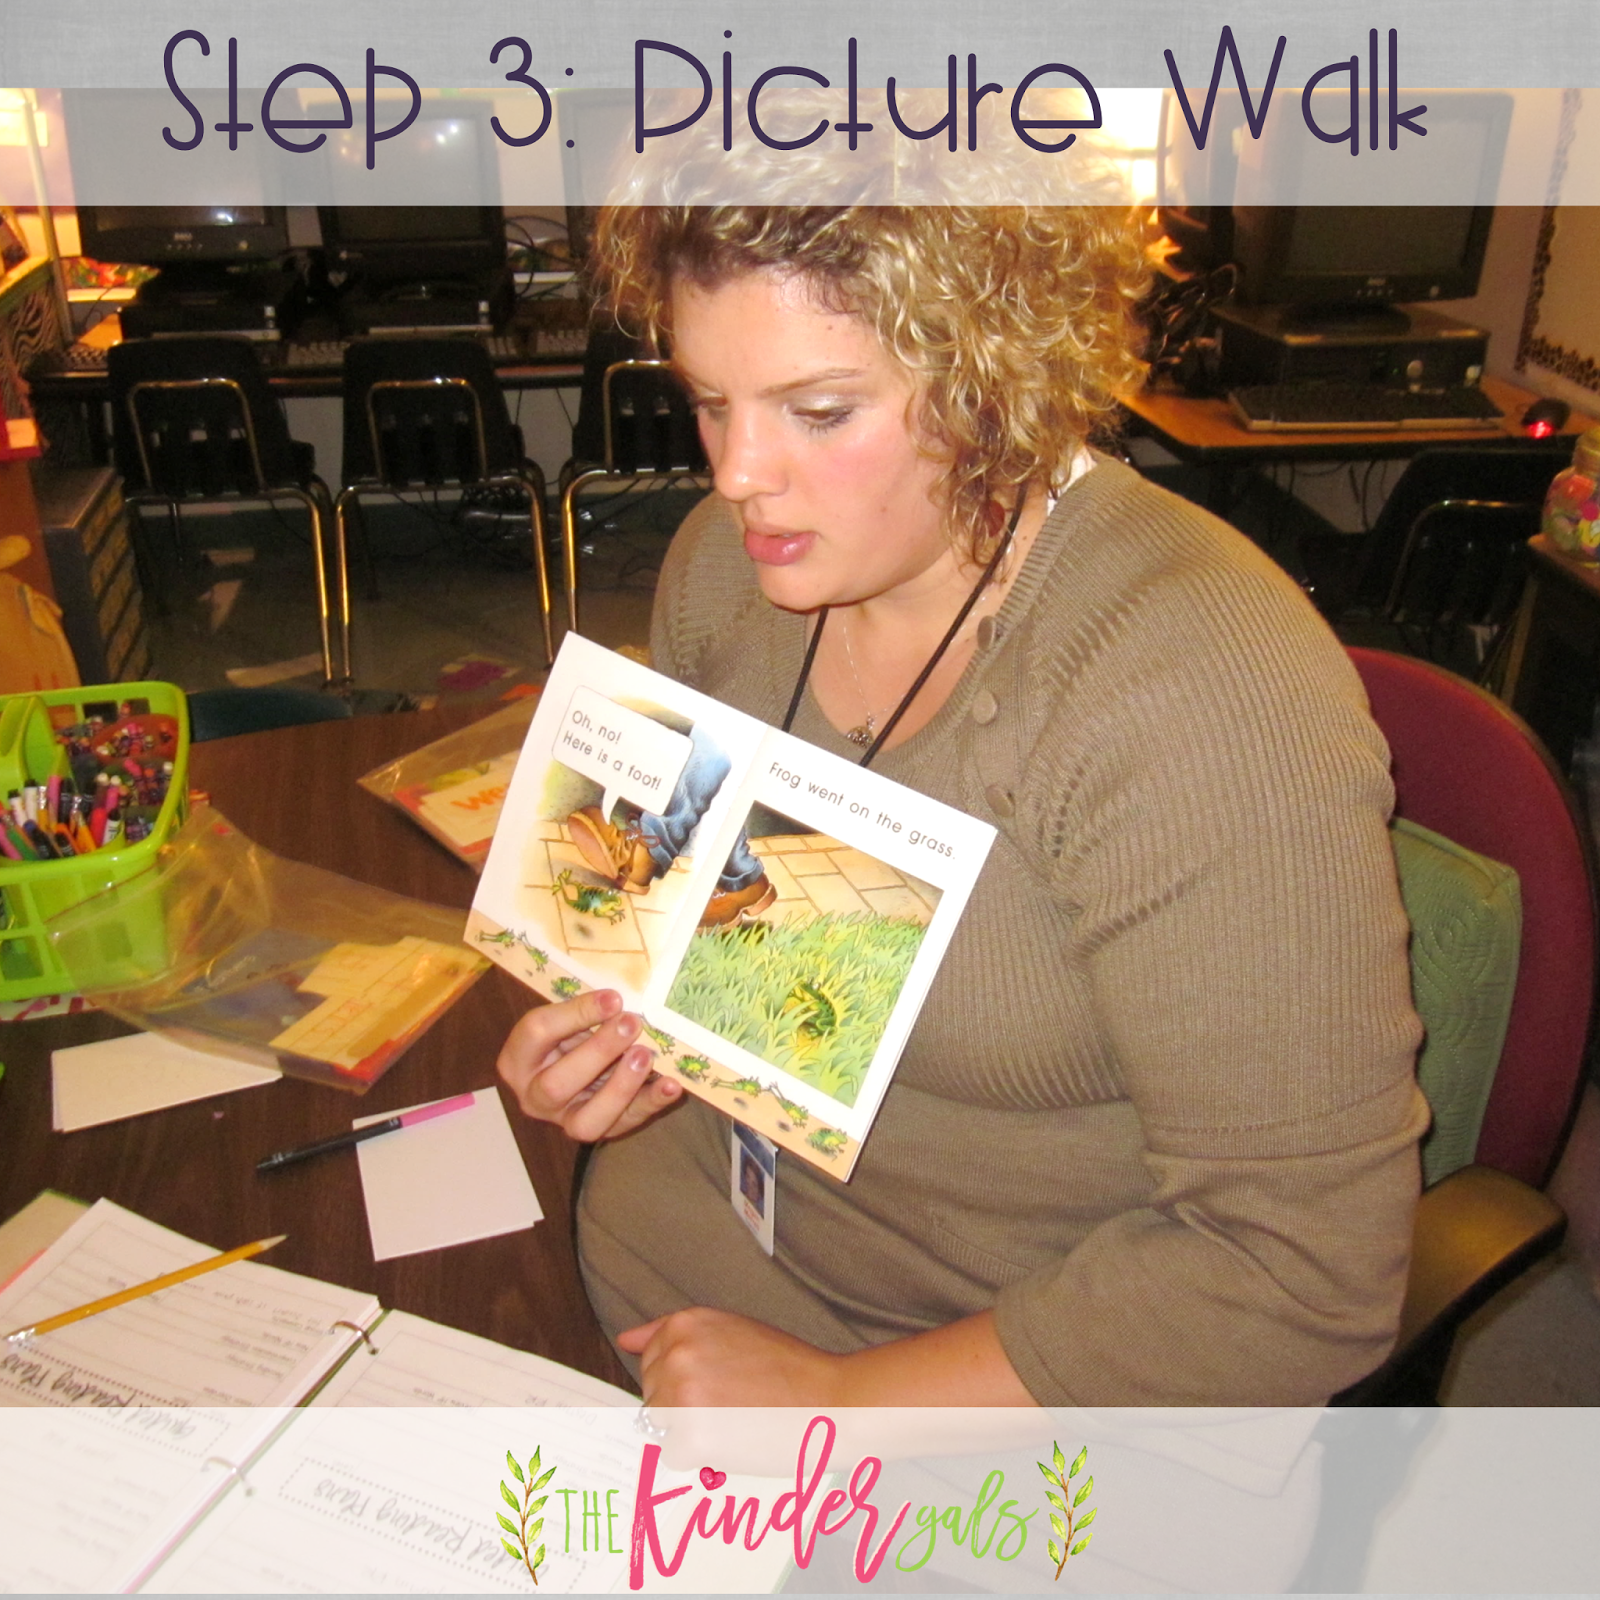
After discussing the pictures and talking about what might happen in this text, you can invite children to scan text to find the words they practiced during the word work portion of the lesson. OR, you might have children scan for words that they might find difficult.

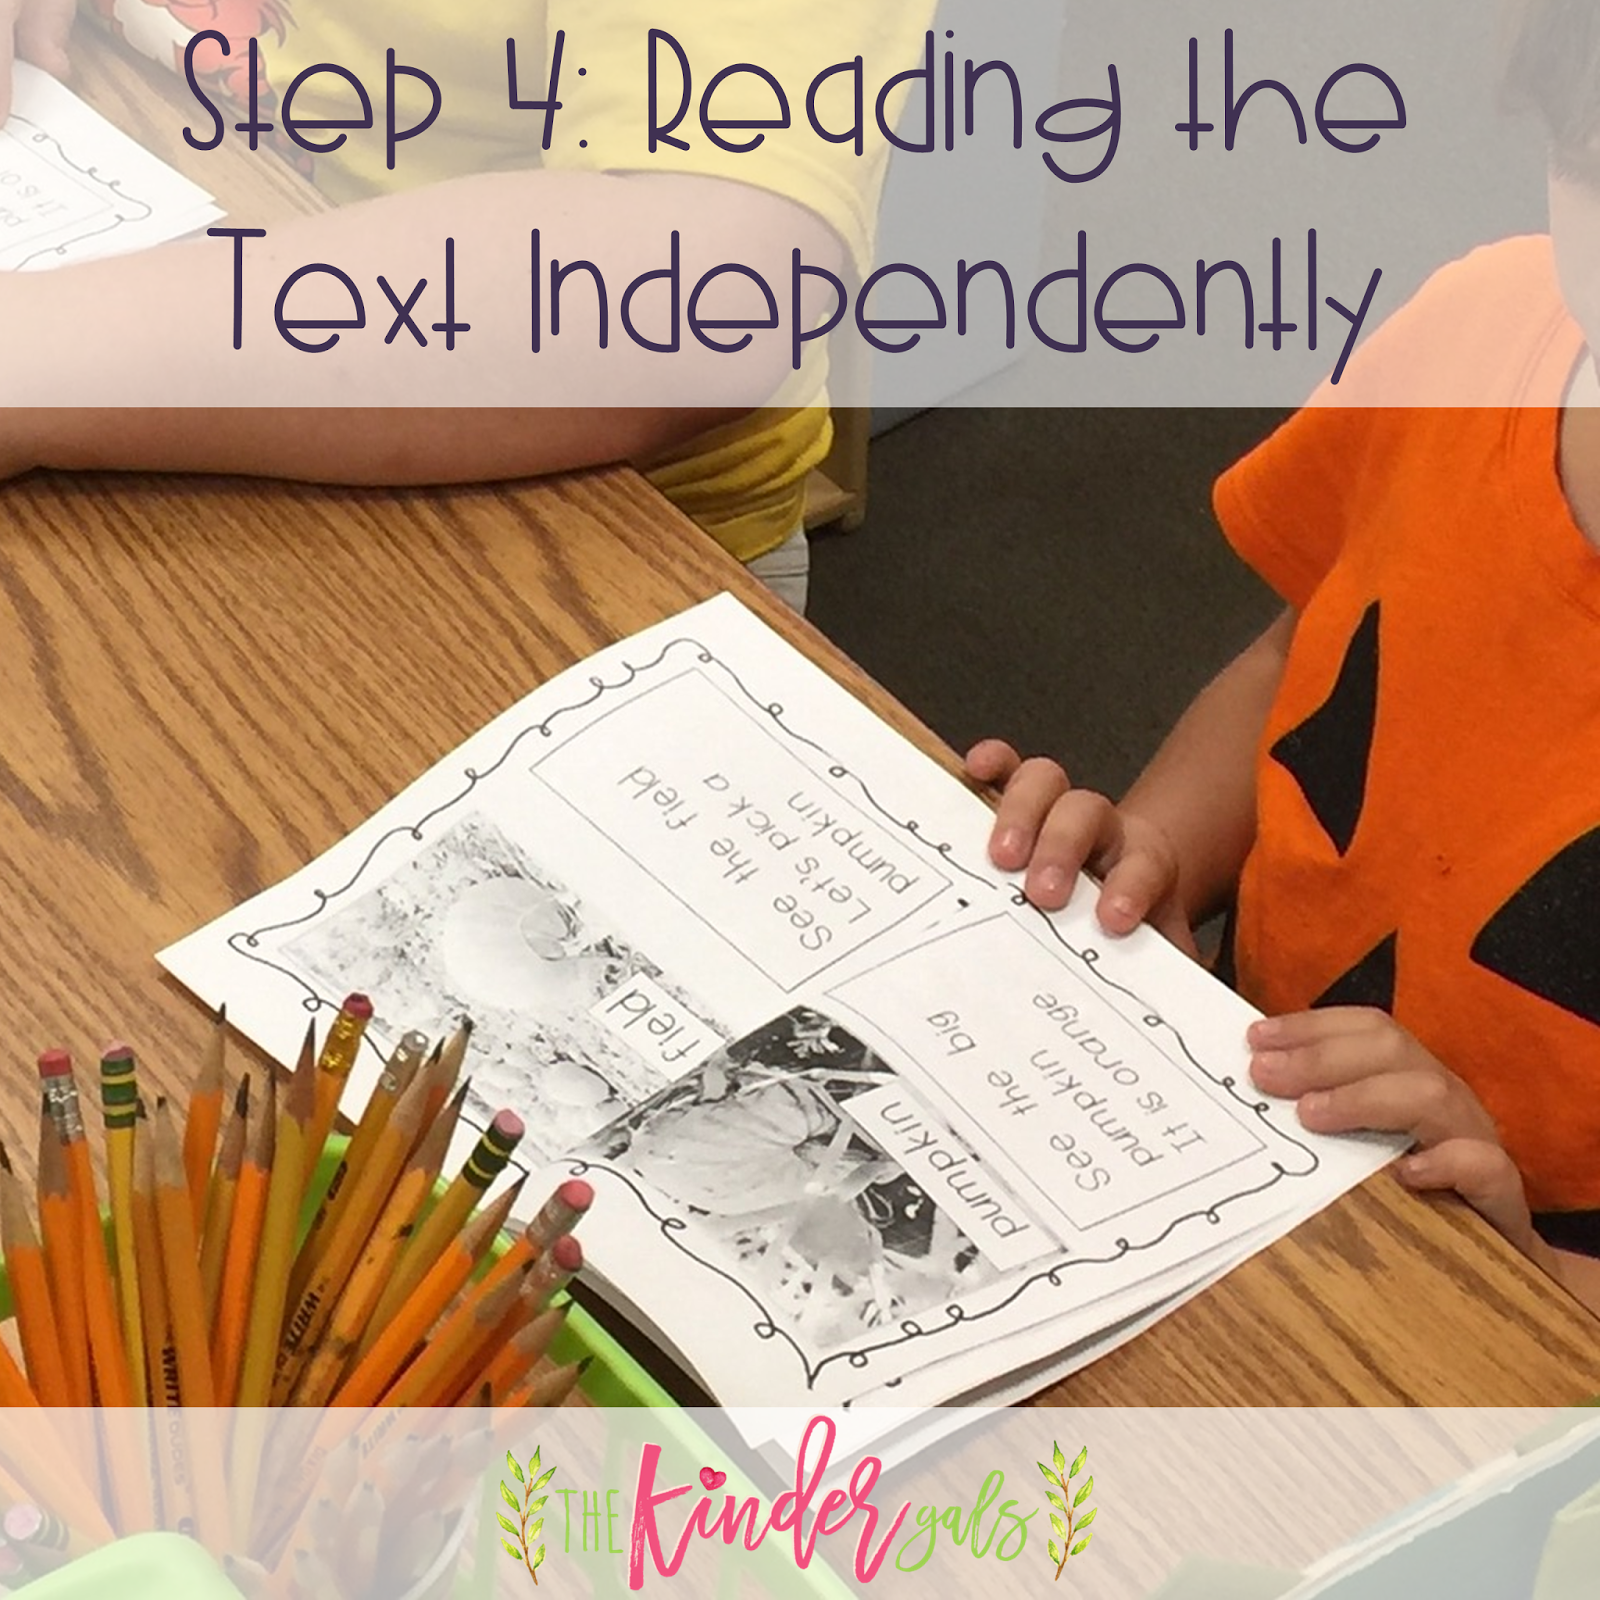
Step 4: Independent Read
Now it is time for each child to read their book. This is not round robin reading where children are taking turns. All children are reading at the same time! You might have noticed the white pvc pipe "phones" on an earlier picture. Each child has a phone. They read into their phone. This helps the children develop inner voice, but it also keeps it quiet!
DETOUR: So far we have been looking at grouping kids according to their reading level. HOWEVER, sometimes we can group kids for strategy lessons. One time that this is particularly helpful is when I am teaching the nonfiction features. While we do a BIG unit on Non-Fiction Features as part of our Reader's Workshop Units, I found that it wasn't enough! I decided to start in the fall and introduce a few nonfiction features during guided reading each month. Over the course of the year, I added more features while keeping the others in the text as well.
To make this happen, here's what I needed...
To make this happen, here's what I needed...
- I wanted to have books that were related to our science and social studies curriculum.
- I wanted to have that same book at various levels of text.
- And I wanted the various levels to all teach the same nonfiction feature!

Step 5: Checking for Understanding
As children are finishing reading the text, they reread while others are working through for the first time. When all children have finished the text, you will want to check for understanding. You are checking for comprehension. You might find it helpful to have a series of questions already prepared.

Step 6: After the Book
Non-Fiction Features
While this is the end of the official guided reading lesson, what happens now--what happens after the book. Here are some of the things that you could use as centers, morning work, or other times you are having children work independently. One thing we can do is to revisit the non-fiction feature included in the recent text. For example, in this book about Apples, we were learning about cut-a-ways. Now, the children are creating their own Apples Book by matching pictures and cut-a-ways.

Or in this example. We wee learning about diagrams. The children used their text to create a diagram to show the life cycle of a pumpkin. Be sure and have the text available during these follow up activities.

Writing and Graphic Organizer
Writing is always a great follow up activity. In this photo, the child is using the cut-a-way book they made, to create text about apples. The writing activity provides an opportunity for the child to practice using the nonfiction feature in their own writing!

Skills Practice
Connecting skills practice to the text is another great way to explore phonetic features. After reading a book about Thanksgiving Food, this little guy is sorting pictures by long i (pie) and long e (peas).

Non-Fiction Guided Reading Units
As I mentioned earlier, I couldn't find the books that I wanted! Here's how I made my own..
- I started off doing some research. While this book on pumpkins wasn't much of a challenge as far as me knowing the content, not all of the topics were that easy.
- The next thing I did was to collect the photographs that I wanted to use.
- Lastly, I created the text. I started with the most challenging text and simplified for the other 2 levels.
While these books are not going to be a PERFECT fit for their level, just be sure the child knows at least 90% of the words. The goal here is to teach the nonfiction features and how readers use them to gain information. It is a strategy lesson!
Here are the contents of the Guided Reading Units:
Here are the contents of the Guided Reading Units:

Word Work
Here is an easy way to manage the word work portion of the lesson. The children make the words with magnetic letters, letter tiles, foam letters, etc. Then, they write the word.

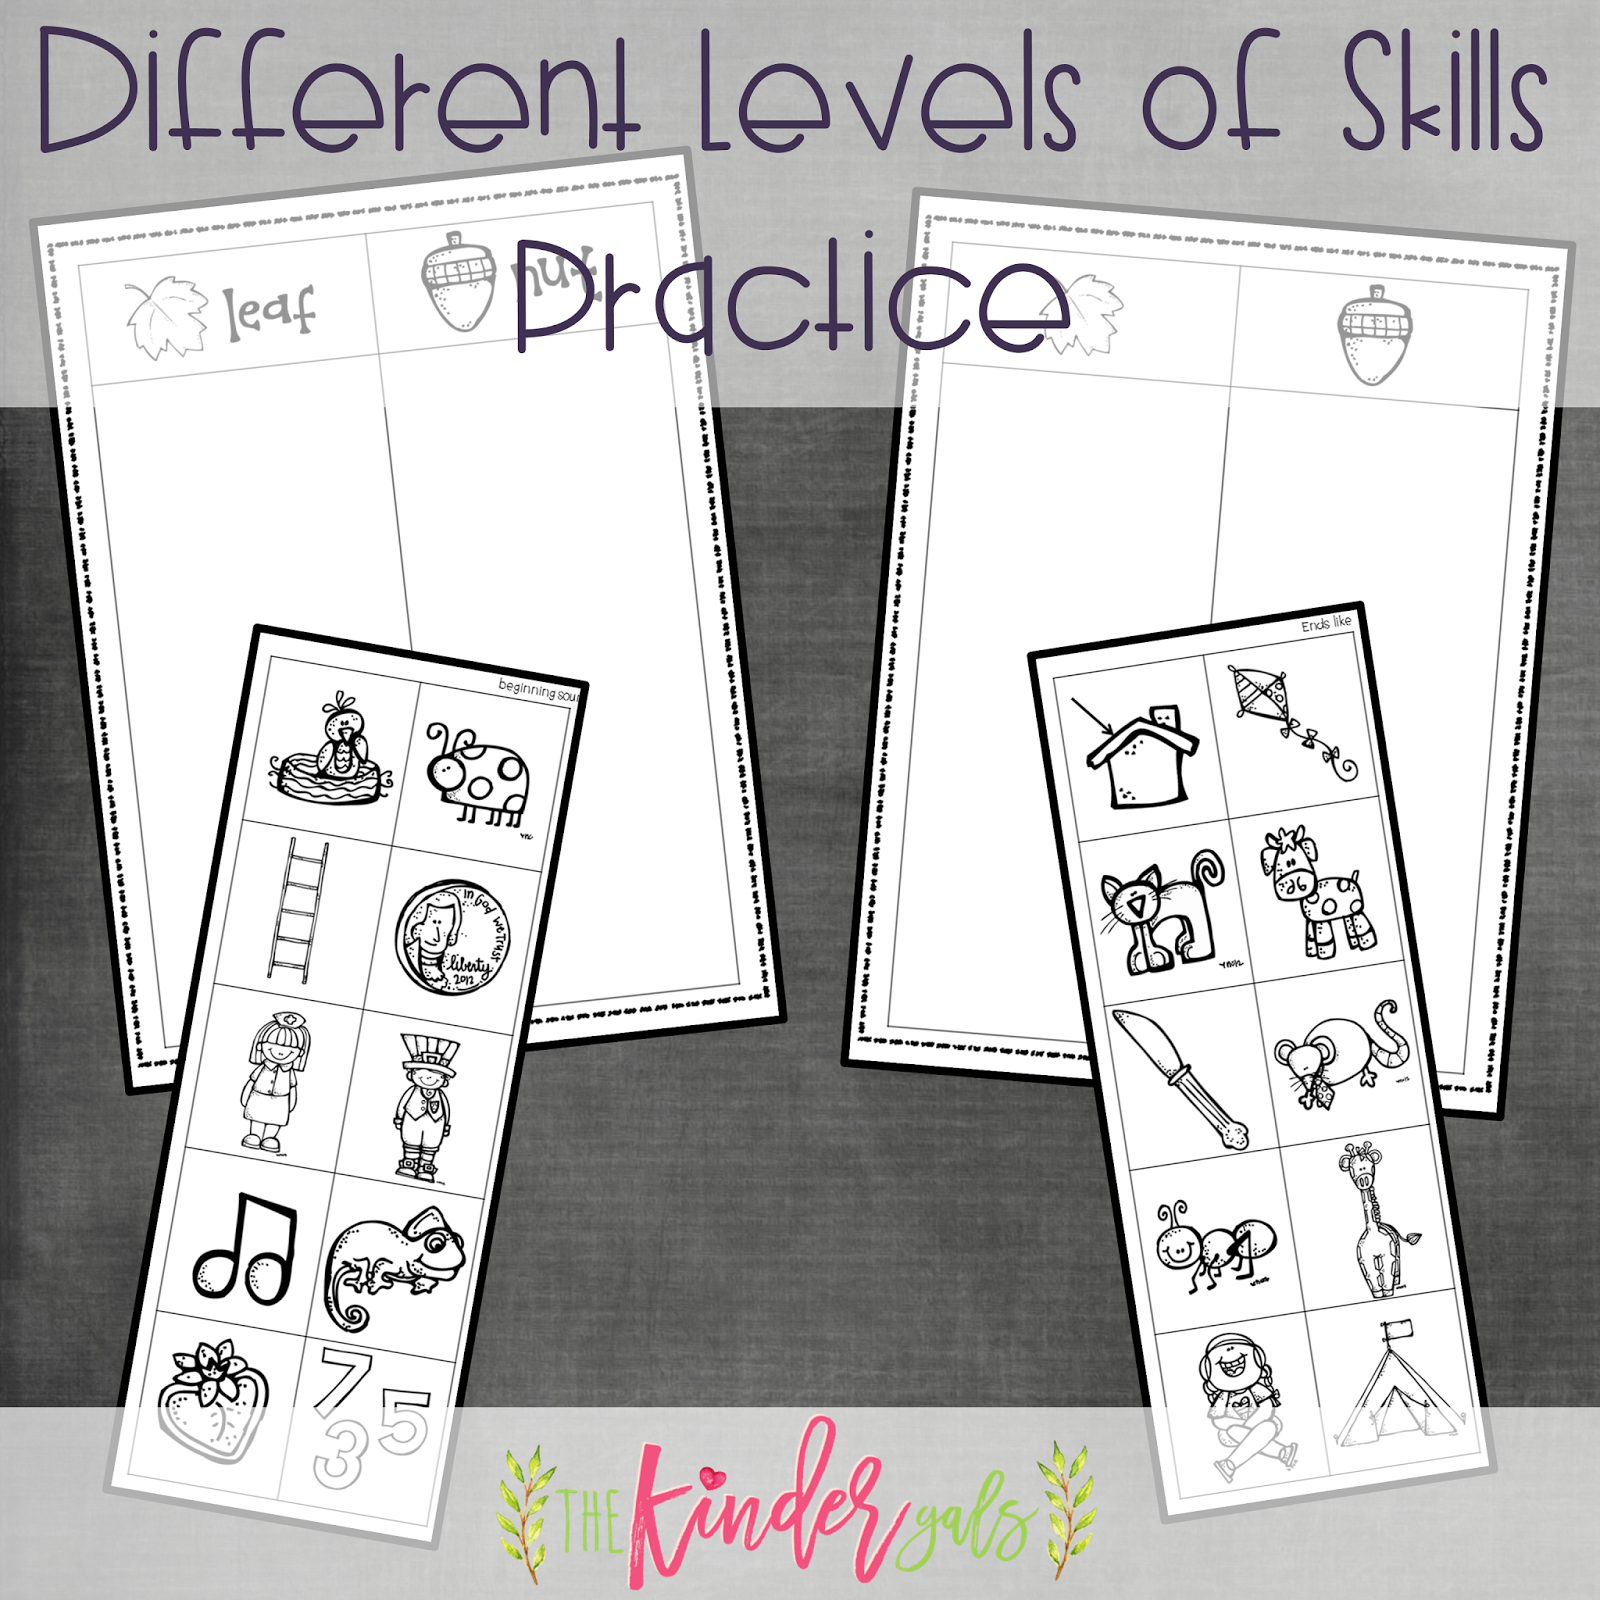
Skills Practice
I created a few different activities for the children to practice their phonemic understanding. I can easily assign the one that I think fits the child's needs the best.
Graphic Organizers and Writing
Tree Maps are great for helping children organize their thoughts for nonfiction writing. For each text, I created a tree map and a writing page. The writing page includes the opportunity for the children to include the nonfiction feature as a writer.

Non Fiction Feature
Each text also provides opportunity for the kids to practice the nonfiction feature. For example, this text about Fall Clothing included a page where I (or the author) have included a labeled photograph. Using the text, invite the children to label the reproducible.

Printing and Organizing
Since I have a unit (includes 5 different titles-each title at 3 levels) for every month, I love how my friend Kathleen organized her monthly binders. She make a pocket for each text with the lesson plans and all of the "after the book" pages.
Let's talk printing...all that color ink! It can get very expensive, but here's the good news--many nonfiction photos are now produced in black and white as the preferred way of printing. That means that these book can easily be printed on plain paper, black and white. You might want to print the cover in color on cardstock and laminate it for durability. If you want to know how to print these books as "booklets" you can read that in this blog post on Printing Booklets.
Let's talk printing...all that color ink! It can get very expensive, but here's the good news--many nonfiction photos are now produced in black and white as the preferred way of printing. That means that these book can easily be printed on plain paper, black and white. You might want to print the cover in color on cardstock and laminate it for durability. If you want to know how to print these books as "booklets" you can read that in this blog post on Printing Booklets.

Smart Board
While the "Challenge" level may be above the reading level of any of your kids, it is a great teacher resource. You can use it to guide the discussion in the other two levels with limited text. The Challenge Level has the "meat" of the content. Also, consider projecting the Challenge Level text onto your smart board as a large group experience.

FREE FILE
You did it! You read the whole post! I hope you found this information helpful. (Remember you can always leave comments if you have questions!) Your reward...a free file!

I created an Owls guided reading unit. It has a Nonfiction book about owls with a lesson plan to help guide your instruction. There are 3 different levels of the text. The "after the book" activities are also included.

Skills work, word work, graphic organizers and writing pages are also included.

If you want to snag the free forms mentioned in this post, you can find them here.
The Free Owl Unit is below.
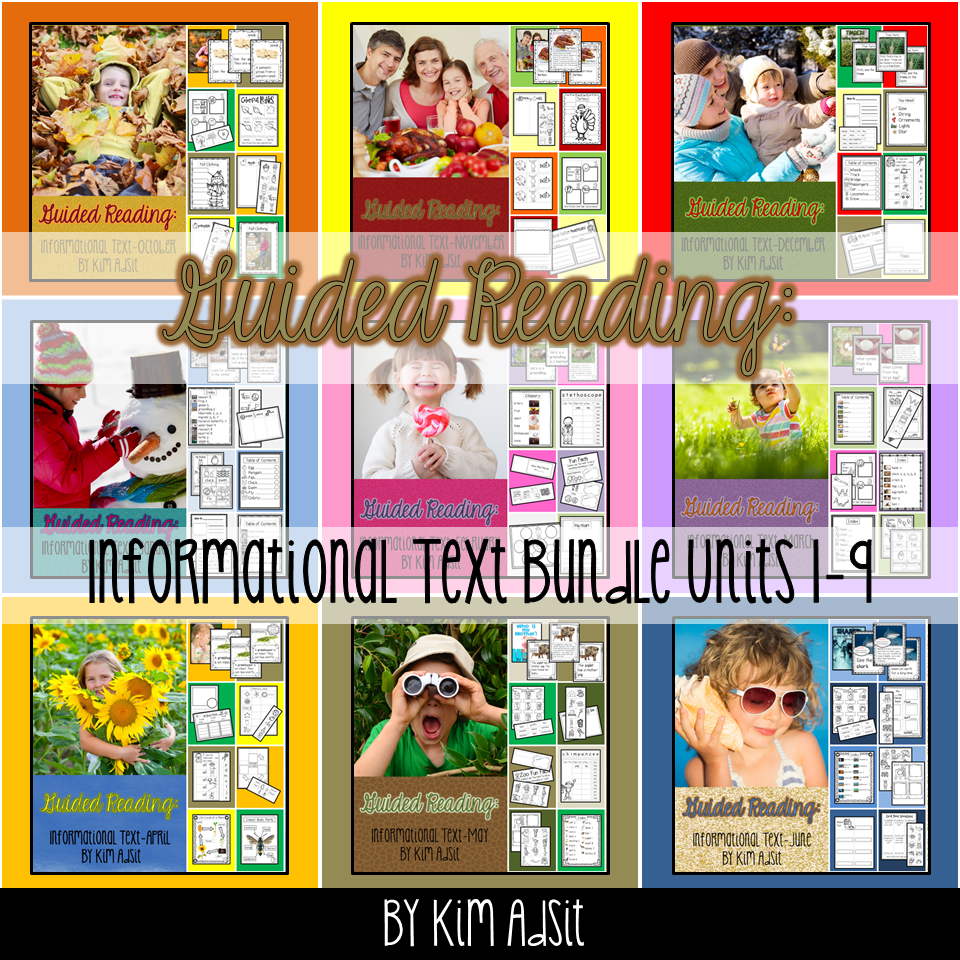
The Guided Reading Mega Bundle contains 5 nonfiction titles for each month with lesson plans, each title at 3 levels, and all of the "after the book" pages. (This bundle does not include the Back to School Unit or the Earth Day Unit. They can be purchased separately.)
The Guided Reading Mega Bundle contains 5 nonfiction titles for each month with lesson plans, each title at 3 levels, and all of the "after the book" pages. (This bundle does not include the Back to School Unit or the Earth Day Unit. They can be purchased separately.)


3 comments:
Post a Comment