KinderGals

Search This Blog

Monday, June 12, 2017

Math Games for the WHOLE Year!

Are you trying to figure out how to run math centers, pull small group, and keep everyone busy and happy all at the same time?  If you are, you aren't alone.  We are all seeking new ways and ideas to manage it all! One thing I do that I think helps is the way I develop the math games I use during centers. This post shares my thoughts and ideas about math games.
Here's the biggest problem, kids don't know how to play the games in the centers! That means they are interrupting your small group for guidance, or they are finding "creative" ways to entertain themselves---neither of which I want! So here's my plan...develop some math games that can easily be used ALL year simply by changing the dice, cards, and clip art! Then, once I have taught the game, the children can play it in centers and think they are playing a new game.
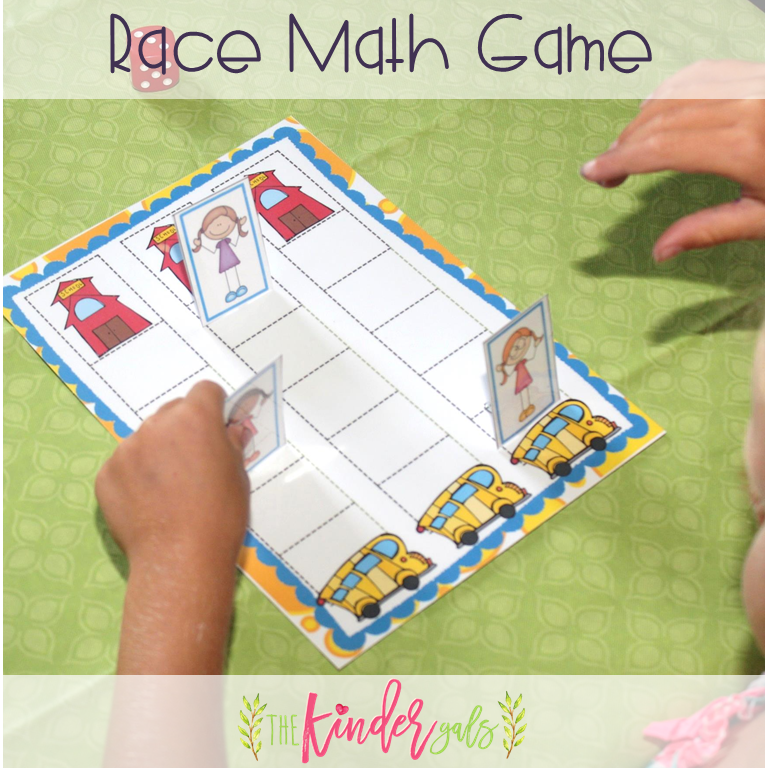
For example, this Racing Math Game is perfect! Here's how they play:
  • Create a game board with 3 columns.
  • Make 3 game pieces. I made mine stand up by creating a stand with a paper clip.
  • Invite the children to roll a dice.
  • They move the pieces towards the finish line.
  • The object is to get all three pieces to the end.
  • The children may move one piece all of the moves, or they may split the move between the pieces.
  • As the year progresses, invite the children to record the number sentences to represent their moves.
Once I teach the game during the first few weeks, the children can now play this game over and over using new game boards. All the time is spent practicing the standard, not learning the rules to yet another game!
Who has more is a perfect game to use with any deck of cards. I created this deck for my back to school unit.  Here's how you play:
  • Create a game board with a more and less spinner and a more and less section.
  • Put the cards in a pile, face down.
  • Invite two children to draw a card.
  • The children compare for more and less and place their card on the game board in either the more or less section.
  • The child with less, spins the spinner.
  • If it lands on less, they get both of the cards.
  • If it lands on more, their partner gets both of the cards.
  • This teaches kids that more isn't always the winner!
As the year progresses, the rules for playing the game stays the same.  However, you could have kids turn over two cards, add them together, and compare the sum. You could also have the kids write the numerals to represent the sets. The game stays the same, only the standard is changing!
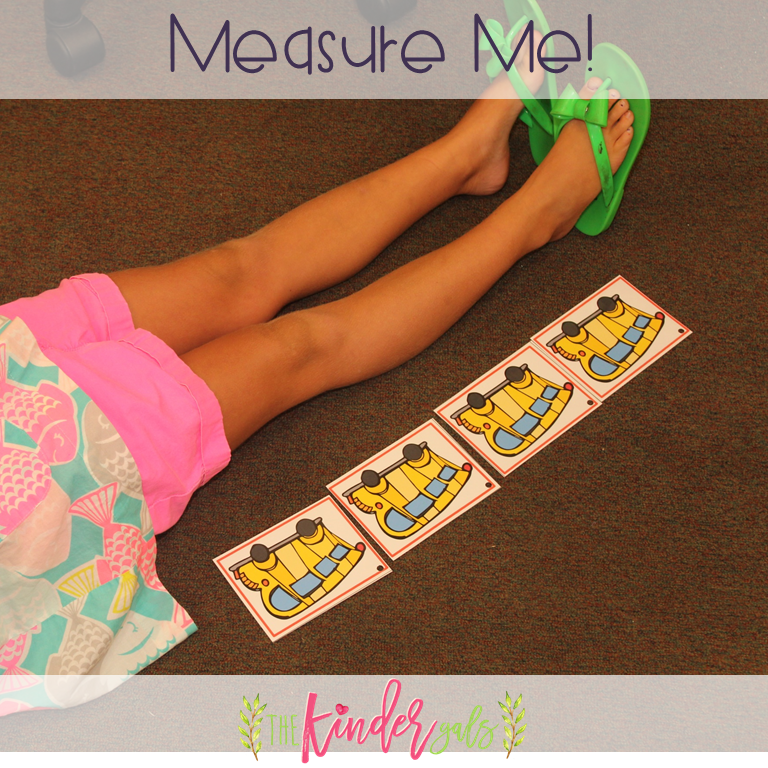
Children love this measurement game! Here's how they play:
Each child needs a partner.
One child uses the clip art pictures to measure how tall their partner is.
Then, they swap.
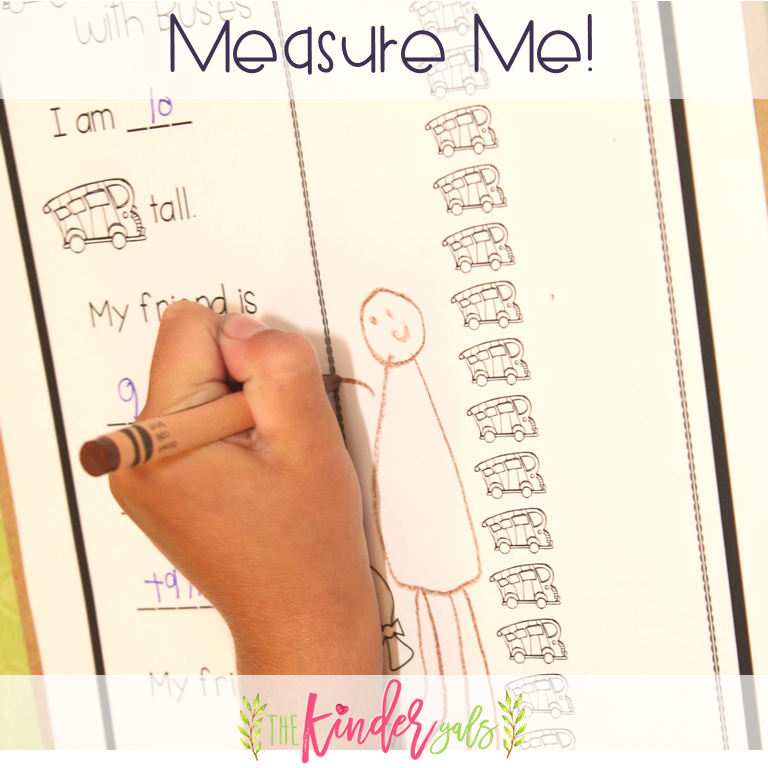
On the recording page, they draw a picture of themselves and their partner to show how many buses it took to measure each of them. Then, they fill in the sentences to answer the questions.
As the year progresses, the rules---once again--stay the same. I only change the sizes of the clip art nonstandard measurement!
This game is so simple, the kids catch on really quickly. Here's how you play:
  • Create a game board by making one long strip of clip art.
  • Make a game piece. I made mine stand up with a paper clip.
  • One child sits at each end of the long strip.
  • The first child rolls the dice.
  • He move the game piece that many spaces towards himself.
  • The second child rolls the dice.
  • He moves the SAME game piece that many spaces towards himself.
  • It is the same game piece that is moving back and forth on the game board.
Throughout the year, not only do I change the clip art, I change the dice (or what they do with the dice.) I could give them a numeral dice, and they recognize the numeral and move that many spaces. I could give them a dot dice, they either subitize or count the dots and move that many spaces. I could give them two dice, they roll the dice, add them together and move that many spaces.  Just by changing the dice you are changing the standard, BUT no more time is wasted teaching yet another game!
This game is a crowd pleaser! Here's how you play:
  • Create a number line. Mine is 1-20, but you can make it 1-10 or 1-30! (Or really whatever you want!)
  • Collect little trinkets to place on each of the numerals. I use clip art pictures.
  • Make a game piece. I made mine stand up with a paper clip.
  • Invite the children to roll the dice.
  • They move that many spaces down the number line and remove the trinket on the number where they land.
  • Next, they roll again.  Starting from where they are, they can either move forward (add) or backwards (subtract) on the number line.
  • The object of  the game is to remove all of the trinkets from the number line.
Here's the cool thing---as they play this game throughout the year, they become much more strategic with their moves! A great hands on experience with probability and statistics! Scroll to the bottom to snag up a Back to School Number Line Mystery Game for Free.
https://www.teacherspayteachers.com/Product/Math-Games-Mega-Bundle-LIMITED-TIME-3198121
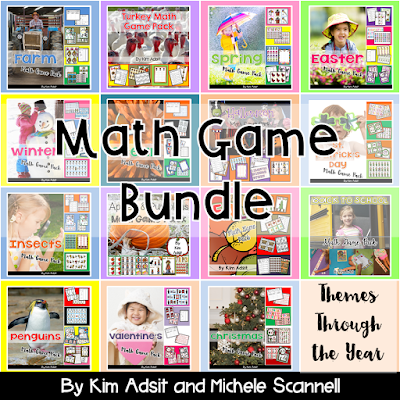
Here is a bundle of all of the Math Game Packs.  Not every game is in every pack, but the games are repeated throughout the year. For two days, and two days only, this bundle is GREATLY reduced! It is normally $75, but  is on sale for $35 for 2 days. This is a better bargain than you will get  with a tpt site wide sale! 


Pin It!

Sunday, June 4, 2017

10 Easy Alphabet Intervention Activities and How To Organize Them!

Alphabet recognition is expected at the beginning of kindergarten in many areas. The days of kindergarten being about abc's and 123's are gone. It has been replaced by more rigorous standards that often leave kids feeling overwhelmed and defeated--before they even begin! There is no time for a letter of the week approach, not to mention research shows it isn't effective in the first place! So how do we do it? How do we ensure that all of our children develop a level of alphabet understanding that allows for application? Here is how we organize our alphabet intervention program so that all of our kids are feeling successful, happy, and empowered to tackle the more rigorous standards to come.

Easy ABC Interventions


Here's how you play Roll It! Lay the cards on a flat surface. Model how to take a piece of the dough and make a long rope or “snake” by rolling it on a flat surface like a table or desk. Then show how to take the snake and form the letter on the card by manipulating it and laying it on the card. You can pull off a piece of the snake to form the straight, connecting lines of some letters. After the letter is made, show how to trace over the letter with your finger while saying both the letter name and the sound it makes.


Here's how to play Clip It! Show the student one of the letter cards. Let him or her know that all the cards feature one letter- the letter in the middle that the child is holding. Let the student know that he or she will place a clip on the matching letter. Tell the student that they will need to listen to see which type of letter you want them to clip- uppercase, lowercase, or both. Show them the three choices on the side of the card. Model how to place the clip on the card.
Here's how to play Build It! Lay one letter card on a flat surface and model how to use the building pieces to build a letter.
Afterward point to the letter and say the letter name, the name of the picture on the card, and the sound the letter makes. Now ask the student to do this with the letters he or she is working on.
Here's how to play Maze It! Show the student the letter at the top of the page and the picture in the center of the maze. Show the student how to start at the uppercase letter and then find their way to the picture in the center by following all the matching upper and lowercase letters.  After the center picture is reached, take your finger and trace back over the line you made and say the letter each time you touch it, finishing in the middle of the maze by saying the name of the picture and the beginning letter sound.
Here's how to play Find It! Choose a card and show it to the student. Ask the child to tell you what letter is in the upper left-hand corner and what sound that letter makes. Then ask the student to look at all the letters on the card. Some of them are written in fancy ways! Tell the student that their job is to find all the letters that match the one in the upper corner of the page. Show the student how to say the name of each letter and decide if the letter matches the letter that is in the upper corner of the page. Show the child how to mark each letter that matches.
Here's how to play Find It-Pictures! Choose a card and show it to the student. Ask the child to tell you what letter is in the upper left-hand corner and what sound that letter makes. Then ask the student to tell you the name of all the pictures on the card. Be sure the student knows what all the pictures are. This is a good opportunity to build vocabulary as well! Show the student how to say the name of each picture and decide if the picture starts with the same letter that is in the upper corner of the page. Show the child how to mark each picture that matches the letter.
Here's how to play Trace It!Show one letter card to the student. Identify the letter on the card and ask the student to notice that there are rows of uppercase letters and lowercase letters. What sound does this letter make? Tell the student that today they will get a chance to practice writing with a magic pen! Show the student the object you have chosen for them to trace with (finger/chopstick, etc...). This is a magic pen because it writes with invisible ink. Tell the student that they will be tracing over the letters today. Remind him or her that we always write letters from the top down. Model how to trace the letter using the correct letter formation strokes. As you trace over the letters say the letter name and sound aloud. 
Here's how to play Trace It! Show one letter card to the student. Identify the letter on the card and ask the student to notice that there are both uppercase letters and lowercase letters on the sheet. What sound does this letter make? Tell the student that today they will get a chance to practice writing the letters they are learning. Show the students the writing implement he or she will be using. Remind the student that we always write letters from the top down. Model how to write the letter using the correct letter formation strokes. As you write the letters say the letter name and sound aloud. 
Lay the letter cards on a flat surface. Model how to take pipe cleaners to form the letter on the card by bending them and laying them on the card. You can use a shorter piece of pipe cleaner to form the straight, connecting lines of some letters. After the letter is made, show how to carefully trace over the letter with your finger while saying both the letter name and the sound it makes.

Storage and Management


Here's how Michele and I organized the interventions. We purchased a hanging file folder box. (Yeah, I found this one in a clearance bin!) Make a hanging file folder for each letter. We made these letters tags and glued them to the folder.
Reproduce the intervention cards. Since I want to have several sets of the "b" interventions, I ran each set on a different color of paper. That makes it easy to keep them organized inside the "Bb" folder.
Make a folder for each child to hold the alphabet intervention cards. Place a green dot on one side and a red dot on the other. As the child completes the activity, they move the card from the green side to the red side.
Make a pencil bag for each child. The bag should hold all of the supplies they need to do the interventions.
Store the folder and the pencil bag inside of a 2 gallon zip-top bag labeled with their name.
Assessment and RTI
Ask students to read the letters on each row from left to right. You should point to each letter and ask them to say the letter name or sound. Use a plain piece of paper under each row to keep a student’s focus on the row you are asking them to say and to keep them from becoming confused by all the letters on the page. After assessing a student on the uppercase and lowercase letters, use the lowercase grid to test students on letter sounds. Point to each letter and ask, “What sound does this letter make?”
Record the results of each assessment on the teacher recording form. You will use the results of this assessment to determine which letters your students will need to work on.
Look across the grids on the teacher recording page to decide which letters to target. If a student correctly identifies the uppercase and lowercase letter and the sound it makes, no intervention will be necessary. If a student missed one of these things, that letter will need to be targeted for intervention. Choose no more than 5 letters to target at one time. Record these letters on the first chart on the Student Response to Intervention Data sheet. Work with a student on these letter and sounds for a two-week period and then assess and record the data on this sheet.

Another alternative, is to use ESGI’s alphabet recognition test.
  Assess each child on the alphabet simply by clicking yes or no as you show them the letters on the screen.
After the assessment, you can easily see how the child preformed.


You can also administer a subtest. This allows you to determine which 5 letters you wish to work on. Return to the testing menu.
Click on the “run a subtest” tab.
Click on the letters you wish to use for your subtest. You can use this assessment after administering the interventions to check to see which letters the child mastered and which ones need to be carried over for more practice.
https://www.teacherspayteachers.com/Product/Alphabet-Interventions-by-Kim-Adsit-and-Michele-Scannell-3185682
The activities and paper pencil assessments are included in this unit. You can try ESGI for FREE by clicking the image below.!
http://www.esgisoftware.com/ESGI/?promo=adsit
Pin It!

Tuesday, May 30, 2017

Developing STEM and Literacy in the Block Center

How long have you been teaching? Have you been teaching long enough to see things "cycle"?  When I first started teaching, kindergarten revolved around play, recess, and snack. Over the years we have moved to the much more academic side of kindergarten. But isn't there a happy medium? Isn't there a way that we can validate learning through play?  With the new emphasis on STEM, many kindergarten classes are once again pulling out the blocks! Yeah for them!  This post shares ideas on how to make block play meaningful as we develop a generation of critical thinkers!
Here are 4 different ways to develop literacy and STEM in the block center.

Word Cards

 During the year, we change the theme in our block center depending on what we are learning in our science and social studies curriculum. For example, if we are doing a unit on animals, than I want to "prop up" my block center with plastic animals, animal supplies, habitat materials, etc.  During a recent unit on transportation, we stocked up the block center with all things vehicles!  The kids loved building roads, creating maps, etc. To develop that literacy connection, I make a set of word cards to match common vehicles. The kids can use the cards for labeling, sorting, or for other ideas they generate themselves.
Be sure and read to the bottom where you can snag this file of word cards for free.

STEM Task Cards

Another fun way to develop critical thinkers in the block center, is through STEM challenge cards. We created a variety of cards that would require the kids to use to blocks to solve a problem. In this case, the children used the magnetic blocks to build a barn. They chose the magnetic blocks because one child said it would be easy to build a door to keep the animals in!
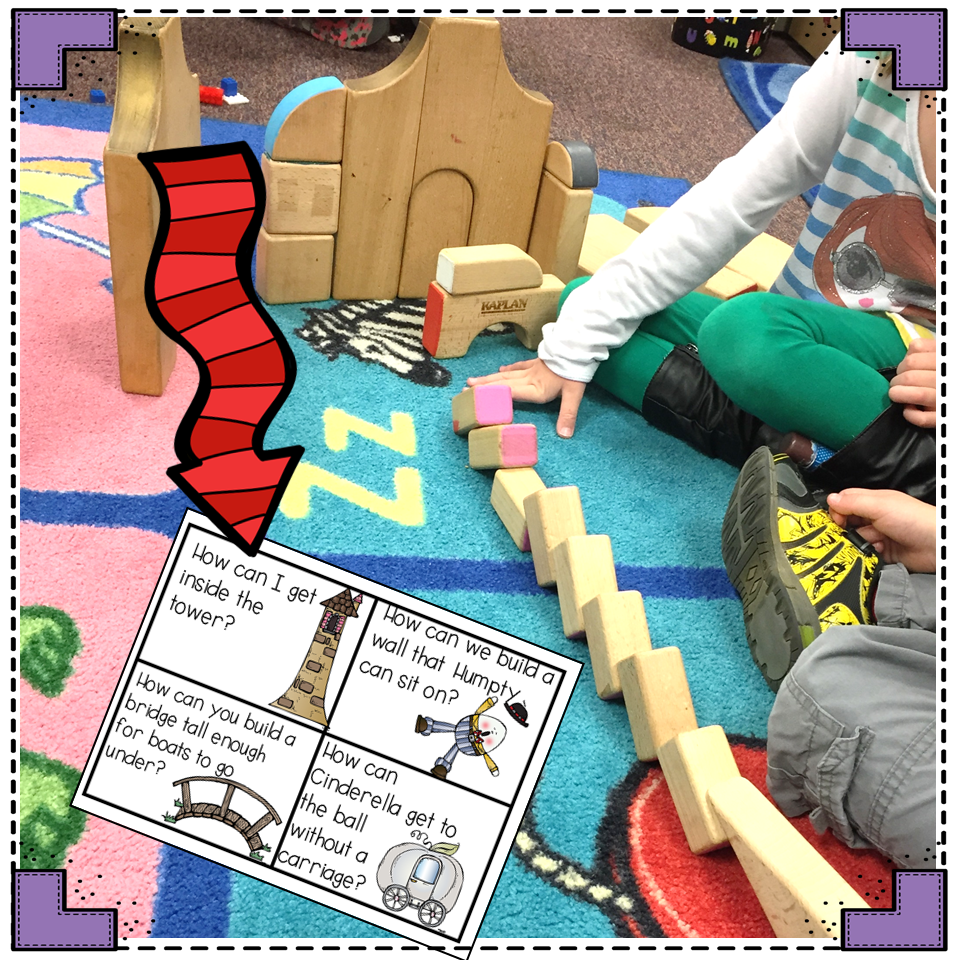
During a unit on transportation, we added this task card that required the children to build a bridge for the boat to travel under. The next week, we left the same card, but added a larger boat. This required the kids to rethink their engineering plan!
During our fairy tale unit, we added this card. It requires the children to figure out how to get inside the tower.  As you can see, the children's plan failed.  That's perfect! Children need to see that not every idea is going to give them the results they expected. They learn to redesign and rethink their plan.  Don't jump in! True understanding is just past frustration. It's okay for them to struggle!
Be sure and scroll to the bottom where you can snag these task cards for free!

Brainstorming Card

Sometimes children struggle with "what can I build?" Do you ever see the blocks just scattered around on the floor? Or children using the blocks in an undesirable manner? Ever ask yourself why? I think part of it was my fault. This kids didn't know what to do with the blocks. We MUST spend time conducting mini lessons and small group lessons on ways to use the blocks.  One thing we did was to make a list of all the things we could build with our blocks. Feel free to make more lists as the year goes on!
These boys are building a veterinarian office with spaces for the different sizes of pets!
This guy is building an insect habitat following our recent trip to the Atlanta Zoo.
These girls are using the blocks to build a robot!
To snag this brainstorming card, scroll to the bottom for the free file.

Procedural Writing

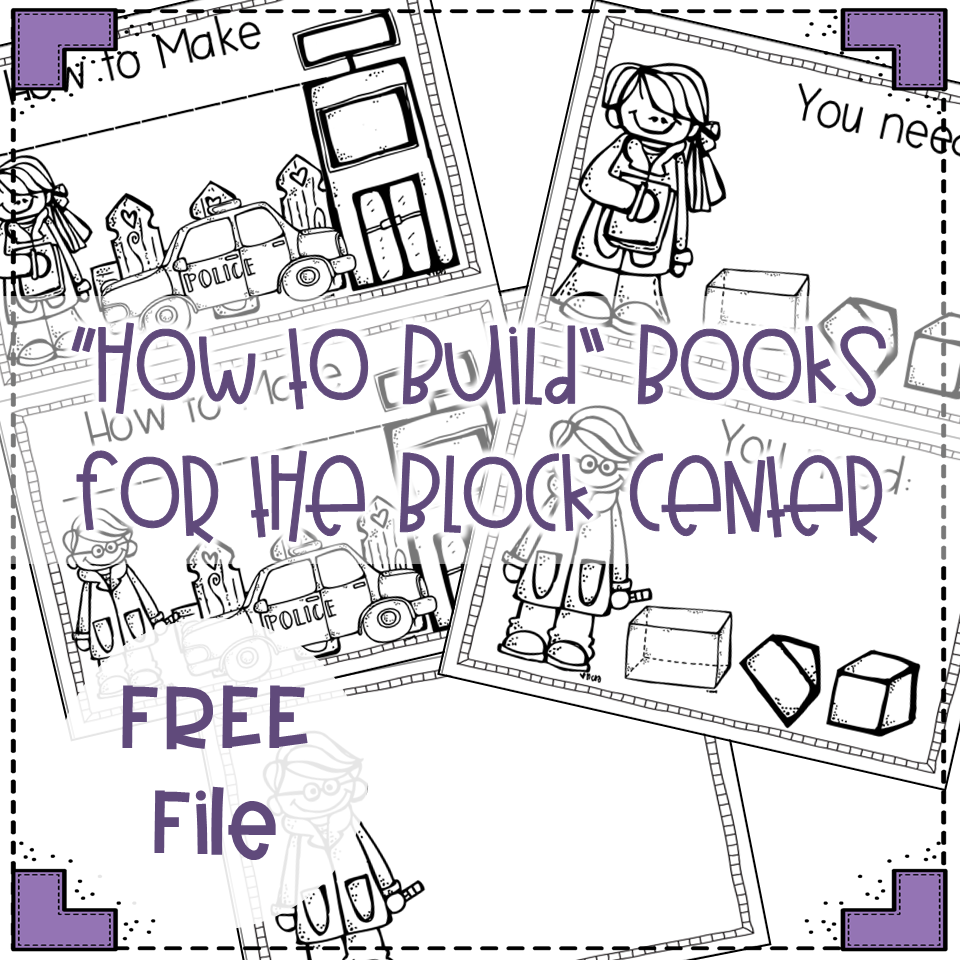
The block center is also a great place to develop procedural writing!  This guy built a tower. Then, we worked together to get his steps in writing. This was early in the year, so I was taking dictation.  As the children progress as writers, they become more independent in this task and tackle the writing independently.  After I took his dictation, he drew pictures to match each step.
This How To Booklet is also included in the free file below!  Be sure and grab this freebee to "prop up" your block center! Can't wait to hear how it goes for you!


Pin It!
 
Pin It button on image hover

Receive All Free Updates Via Facebook.