KinderGals

Search This Blog

Friday, October 12, 2018

How to Make Personalized abc Flashcards

My youngest grandson recently came home with a letter from his teacher. She wanted each child in the class to have a set of alphabet flashcards. It was fall break, so my daughter in law came over for us to work on the project. Then, it hit me! Reading Recovery...Maria Clay...I learned many years ago through Reading Recovery that children learn letters best when they are personalized! That's when I decided to make Brody his own set of abc flashcards, all about him! Here's how I did it...
 First, I created a power point and changed each slide to 3x5. I added text boxes for the letters and the word, and then I added a cute frame.
 For each letter, Ginny searched her photos on her phone for just the right picture. I inserted the picture, added a border, and centered on the card.
This is a screen shot of the slides once I added all of the pictures.  Next, you will need to save the power point as a png. This can be easily found in the pull down menu. By doing this, you are creating a "picture" of each slide.
 Next, create a new power point.  Insert a table like the one above.
 Now, go to "insert picture" and find where you saved the png's you created.  Insert them into the power point and place one in each of the boxes.
Once you do all of the letters it will look like this.
Now you are ready to print, laminate and cut! To make it easier for you, I have already made the templates. I made the power point for the individual  pages. On each page, you will insert pictures you select. Then, in the "apples" box, add the name of the picture. Save the power point as a png.
Locate the new png images on your computer and insert. I have made this template for you as well.
You can grab both of these pages below. **This is a "zipped" folder. You will need to "unzip" to get to the forms.
Pin It!

Tuesday, October 2, 2018

Easy Steps for Meaningful Homework

Do you assign homework to your kids? Do they do it? Do they bring it back? I have even had kids tell me that their mom did it after they went to bed. So...what is the answer? Should we assign homework or not?
I answered this question by first asking myself, "Why am I sending home homework?" Here's why:
  • I want parents to spend time with their kids.
  • I want learning to be celebrated.
  • I want kids and parents to value educational opportunities.
I could say more, but those about sum it up. Now that I knew the answer to my first question, my second question..."How can I do this? How can I make homework all the things?"
This series of questions led me to setting up homework bags for my kids to check out each week. Here's how we do it:
To begin, each child needs a 2 gallon Ziploc bag. I use the freezer bags so that they will last all year.
The children store all of the needed items inside the Ziploc bag. The first item in the bag is a 2 pocket folder. In the folder, I have a page for parents to record the bag (each bag is numbered), the date, and their signature. There is also a parent response page. This page allows the parents to tell me anything I need to know...are pieces missing? did their child have difficulty? were the directions not clear enough?
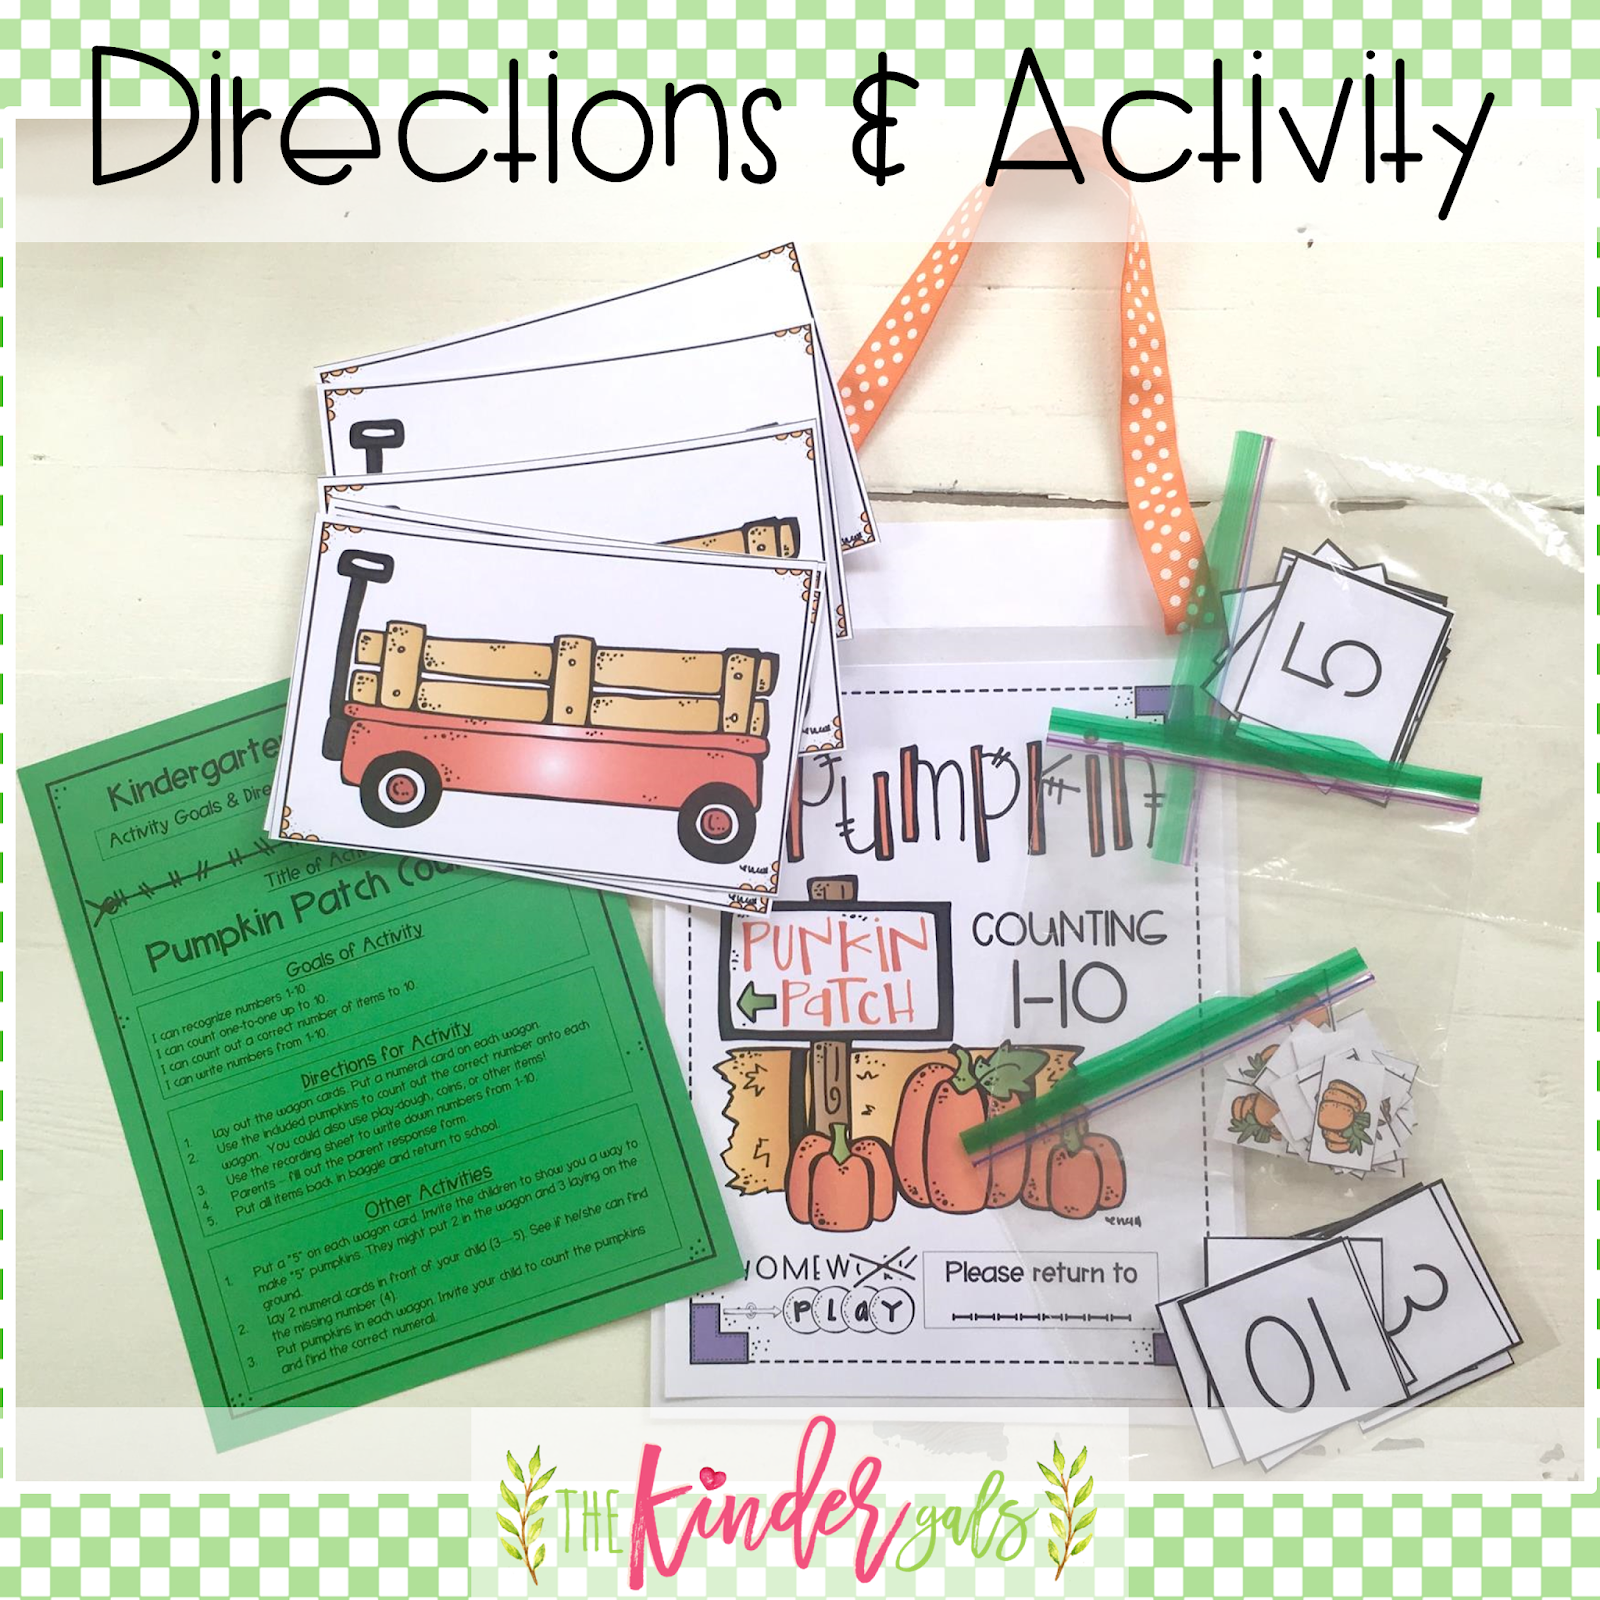
The Ziploc bag also holds the game. I used a large envelope (they come in brown too). On the front of the envelope, I laminated and glued the cover to the game.  I added a piece of ribbon to make a handle.
Inside the envelope I store the game pieces and the direction card. The directions card tells the parents "the standard" and how to play the game. There are also additional activities they can play with the same game. The kids are going to keep the bag ALL week. The additional activities provide new ways to use the resources each night.
I also add a few books, usually 3 or 4, to the Ziploc bag. These books are for the parents to read to their kids.  So many of our kids don't have a library of books at home. This gives the parents something they can read each night. The other letter in the photo is used separately. This letter is attached to the front of a brown envelope like the one that stored the game.  This envelop contains a book for the children to read to their parents.  They bring this envelop back and forth daily. I can decide to send home the same book, or a new book each night. You can grab these two forms FREE at the bottom of this blog post.
I teamed up with my good friend Adam Peterson to put together a unit of homework bags all related to FALL.
The unit has 10 different games.
Each game is available in color AND black/white. You choose which one works best for you.
The parent direction cards for each game are also included.
You will also find all of the forms needed to keep your parents organized!
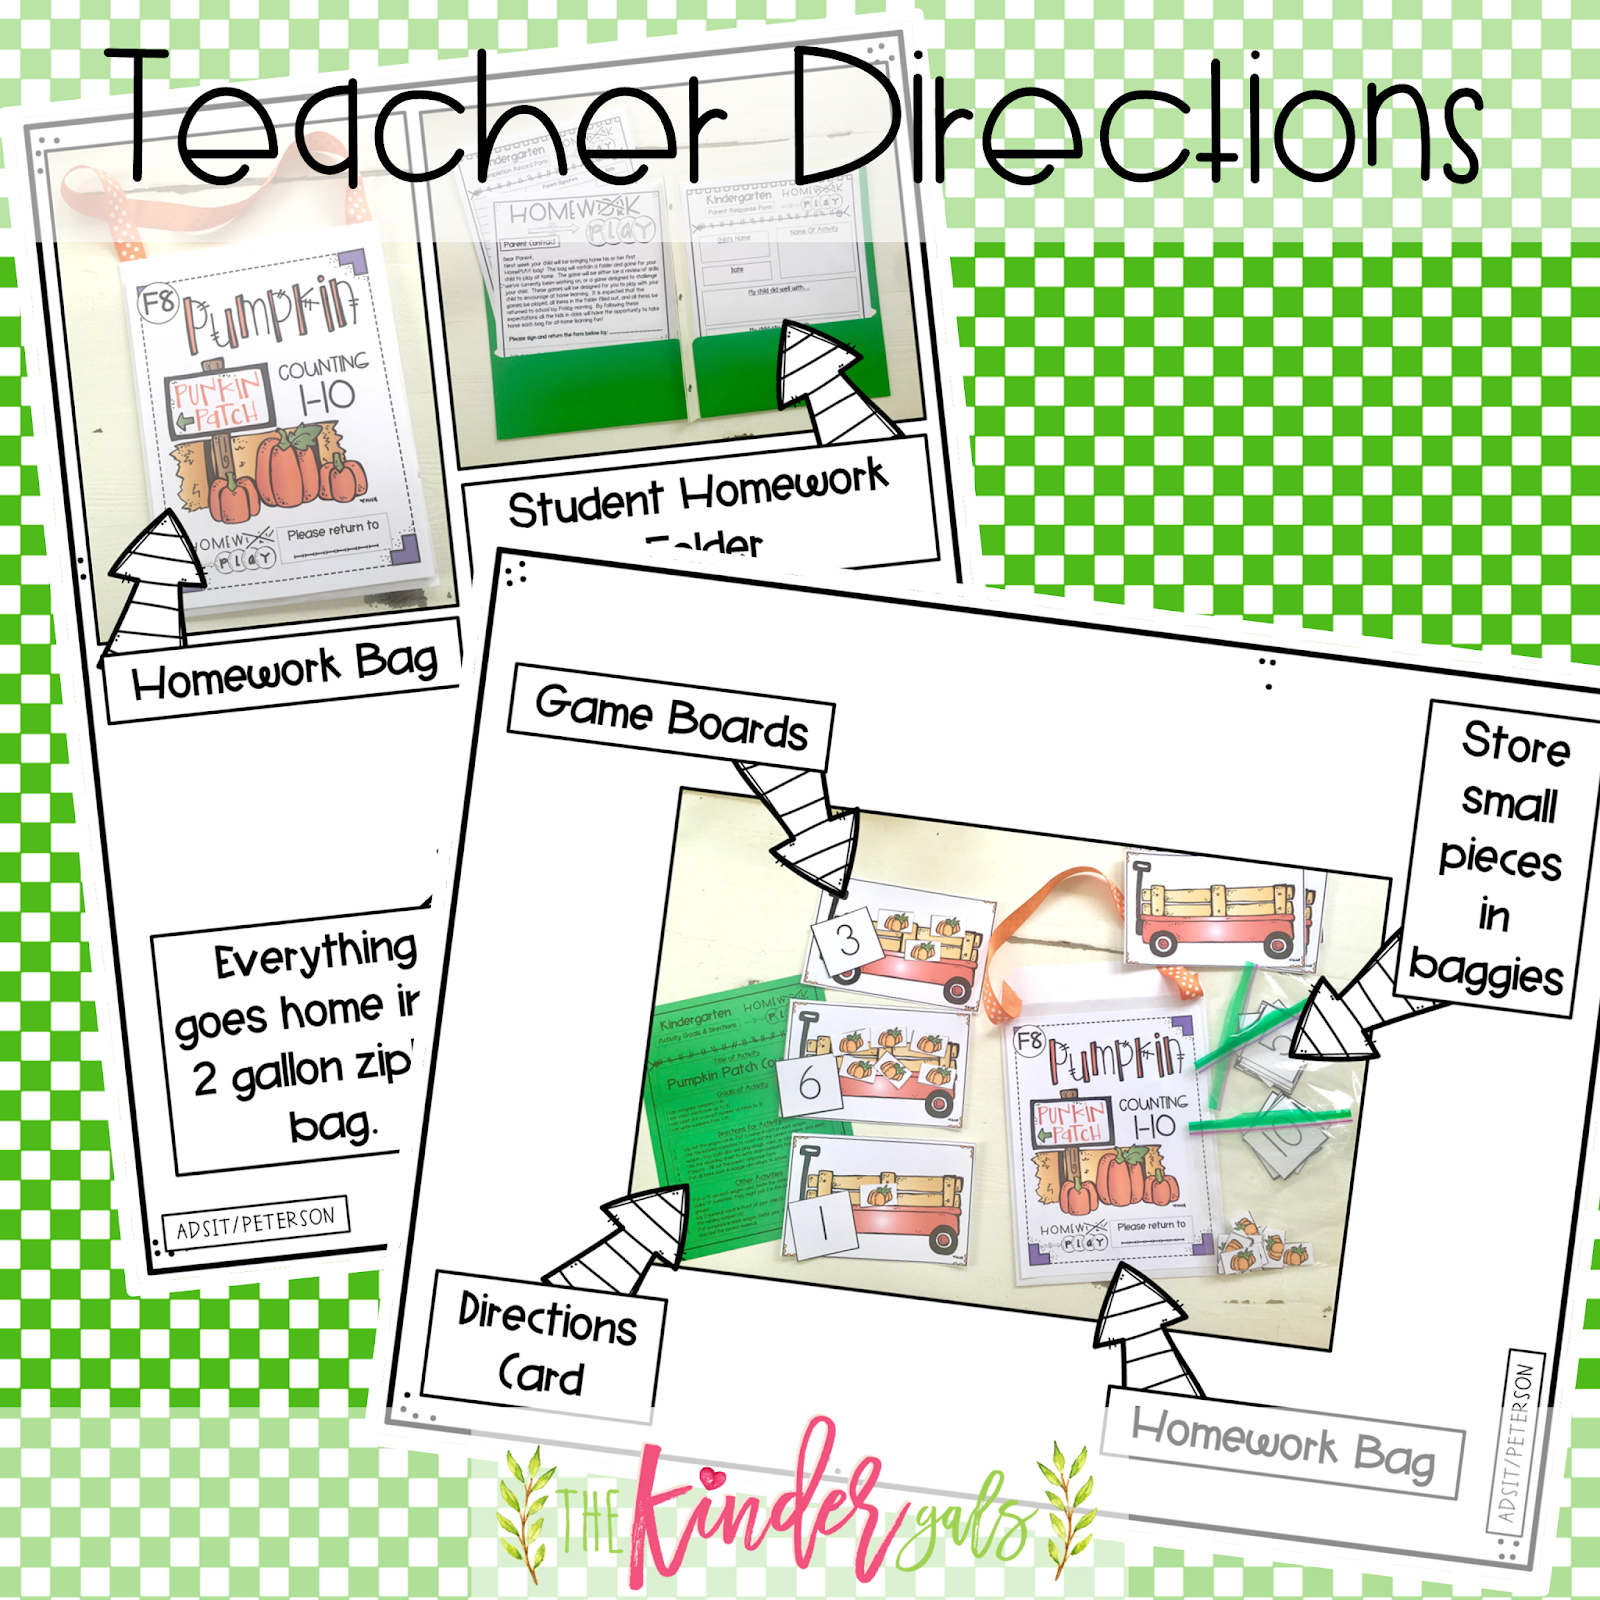
Pictures are provided to identify each part of the unit.
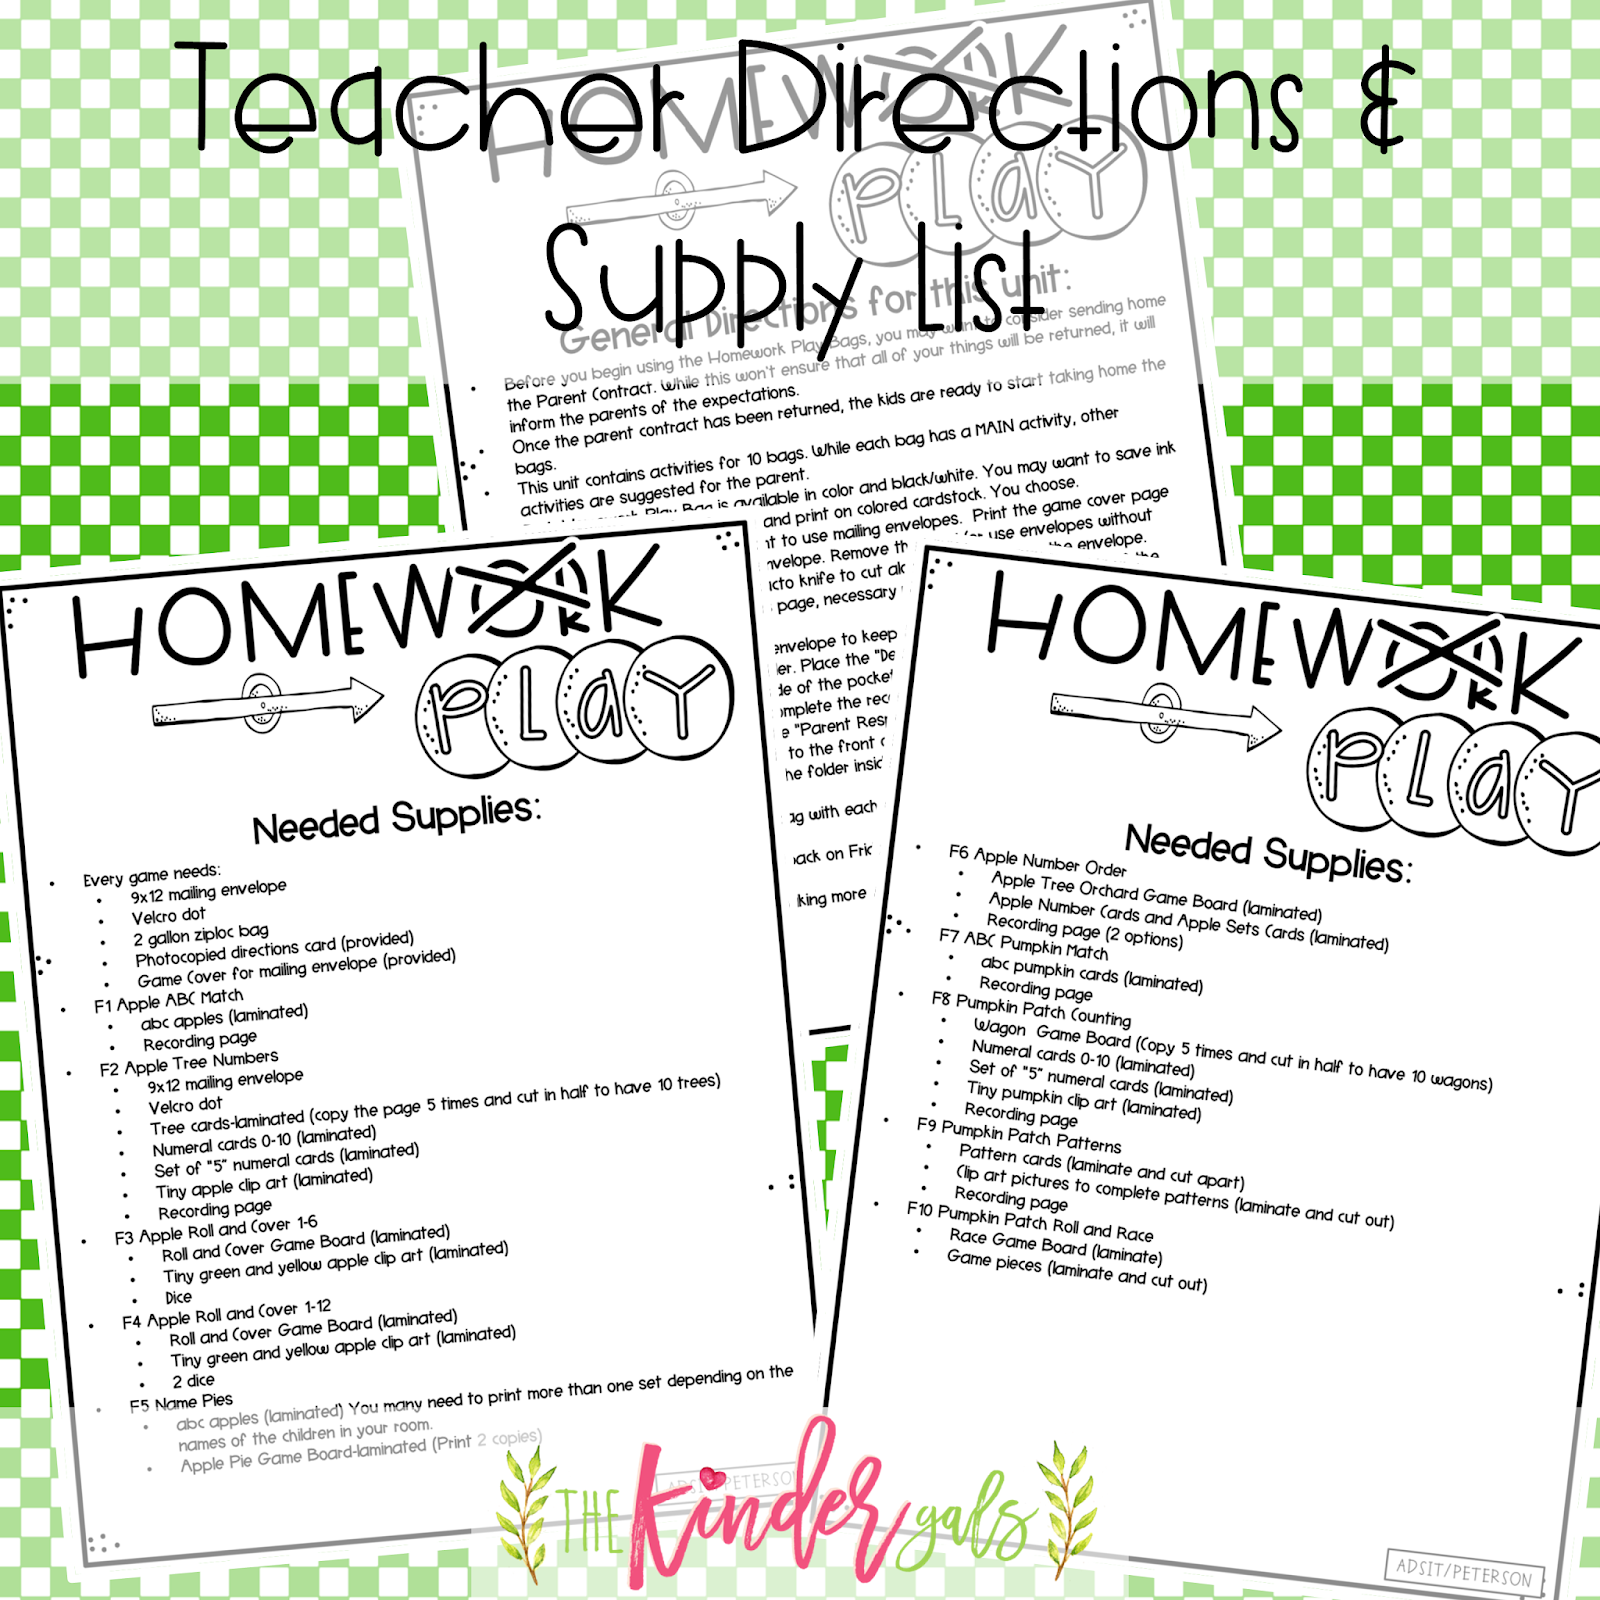
General directions for your use are also included. We also added a supply list for each bag. This will make it easy to check to be sure everything has been returned.
We used this form to list each child. Then, we could keep up with which bags they had and which bags they still needed. Since there are 10 bags, you may want to make a few sets of each. This way, every child will get a back each week. I had the kids return the bags on Friday so that I could get them ready to go home again on Monday. If a child didn't bring his/hers back on Friday, I didn't always have enough time on Monday to get them ready.
It is amazing how many parents STILL talk about these bags even when their kids are grown. The parents LOVE them! No more tears at homework time!
 All of the items can be found in this Homework Play Unit.
Pin It!

Monday, September 24, 2018

Fun with Nursery Rhymes

Do you use nursery rhymes in your classroom? Over the years, with the increased pressure on teachers to "teach to the test", fewer teachers are using nursery rhymes. But, why did we do nursery rhymes in the first place? Here are a few things that research shows us related to teaching children nursery rhymes.
  • They develop language and listening skills.
  • They develop communication skills by learning new vocabulary and numeracy.
  • They enhance physical development when actions are incorporated.
  • They develop cognitive skills such as memory, concentration and spatial relationships.
  • They enhance individual development of social skills, better self control, and higher confidence and self esteem.
  • They enhance brain development through music and movement.
  • They develop the part of the brain that controls motor development and planning.
Here are a few ways we are using nursery rhymes in our classrooms:
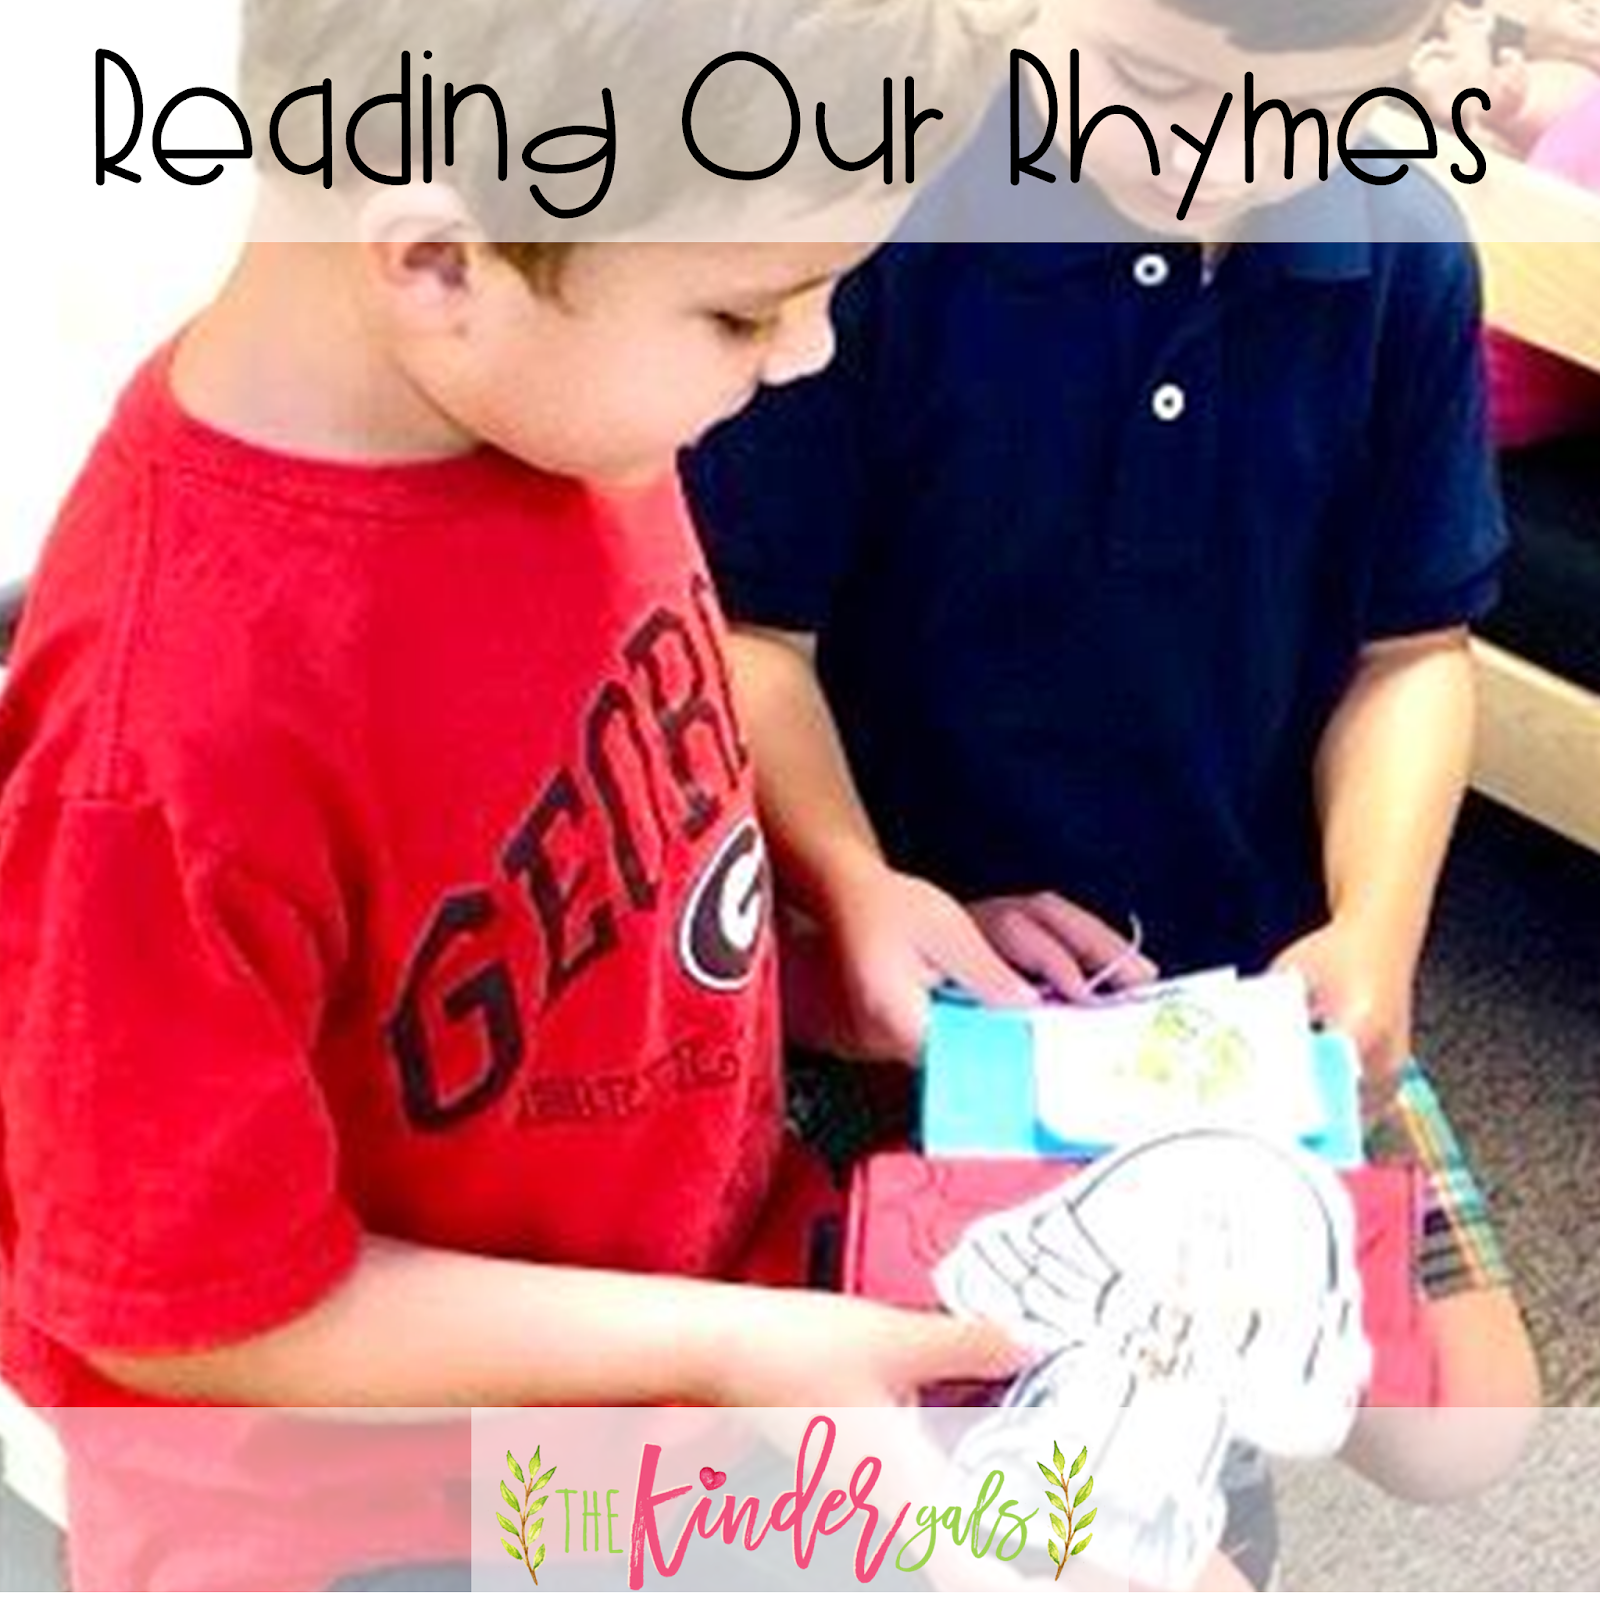
As we learn a new nursery rhyme, we reproduce a copy of the rhyme and add it to our poetry notebook. This is a good way for kids to develop fluency...or more specifically prosody. As the children read the rhythmic rhyme they become better readers! It's also a great way to practice one of the ways we teach our kids to read with partners...read together.
Another thing our kids enjoy is to use the nursery rhyme wheels.
To make the wheels, invite the children to color and cut out the two circles.
Stack the wheels on top of each other. Add a brad into the center (black dot). As the kids turn the wheel, the pictures for retelling appear in the "window."
Another idea is to make crafts that will help the kids in retelling the rhymes.
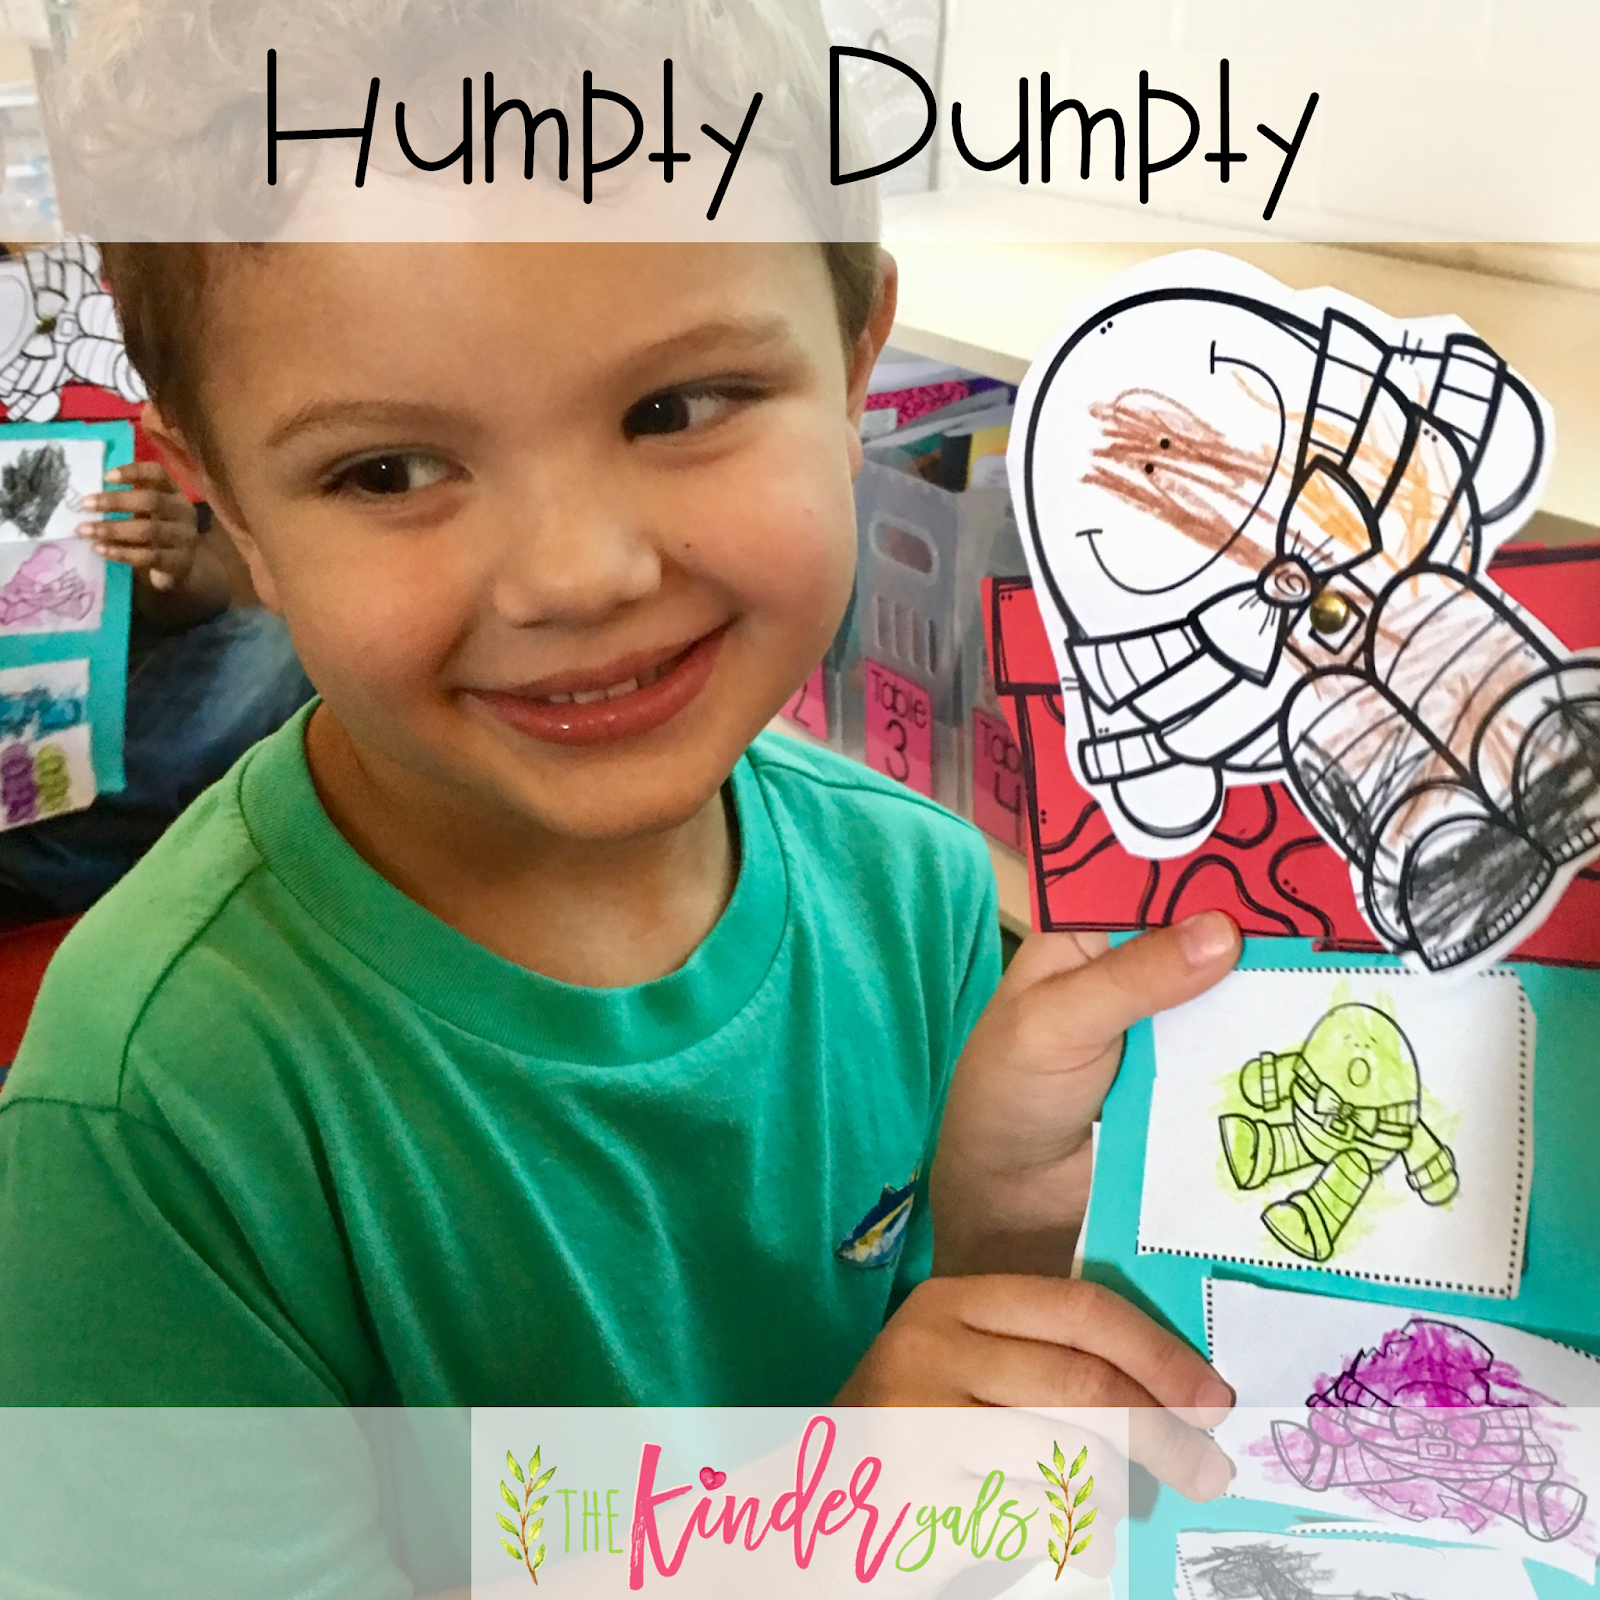
To make this fun Humpty Dumpty craft, invite the children to cut and sequence the pictures on the strip. Add the chimney to the top. Attach Humpty Dumpty with a brad. As the kids say the rhyme, they can rotate Humpty Dumpty when he falls down.
Don't be so quick to send these activities home. We added them to our bag of books. They are great for reading with friends during our partner reading time.
Another fun rhyme is Baa, Baa Black Sheep. To remember this rhyme, we invited our kids to make this fun cut, stack, staple and read book.
The kids wrote the color words on each of the sheep. Then, they stack the sheep in a pile. Finally, staple the sheep to the Baa, Baa Black Sheep strip.
Now, enjoy reading your book with your partner!
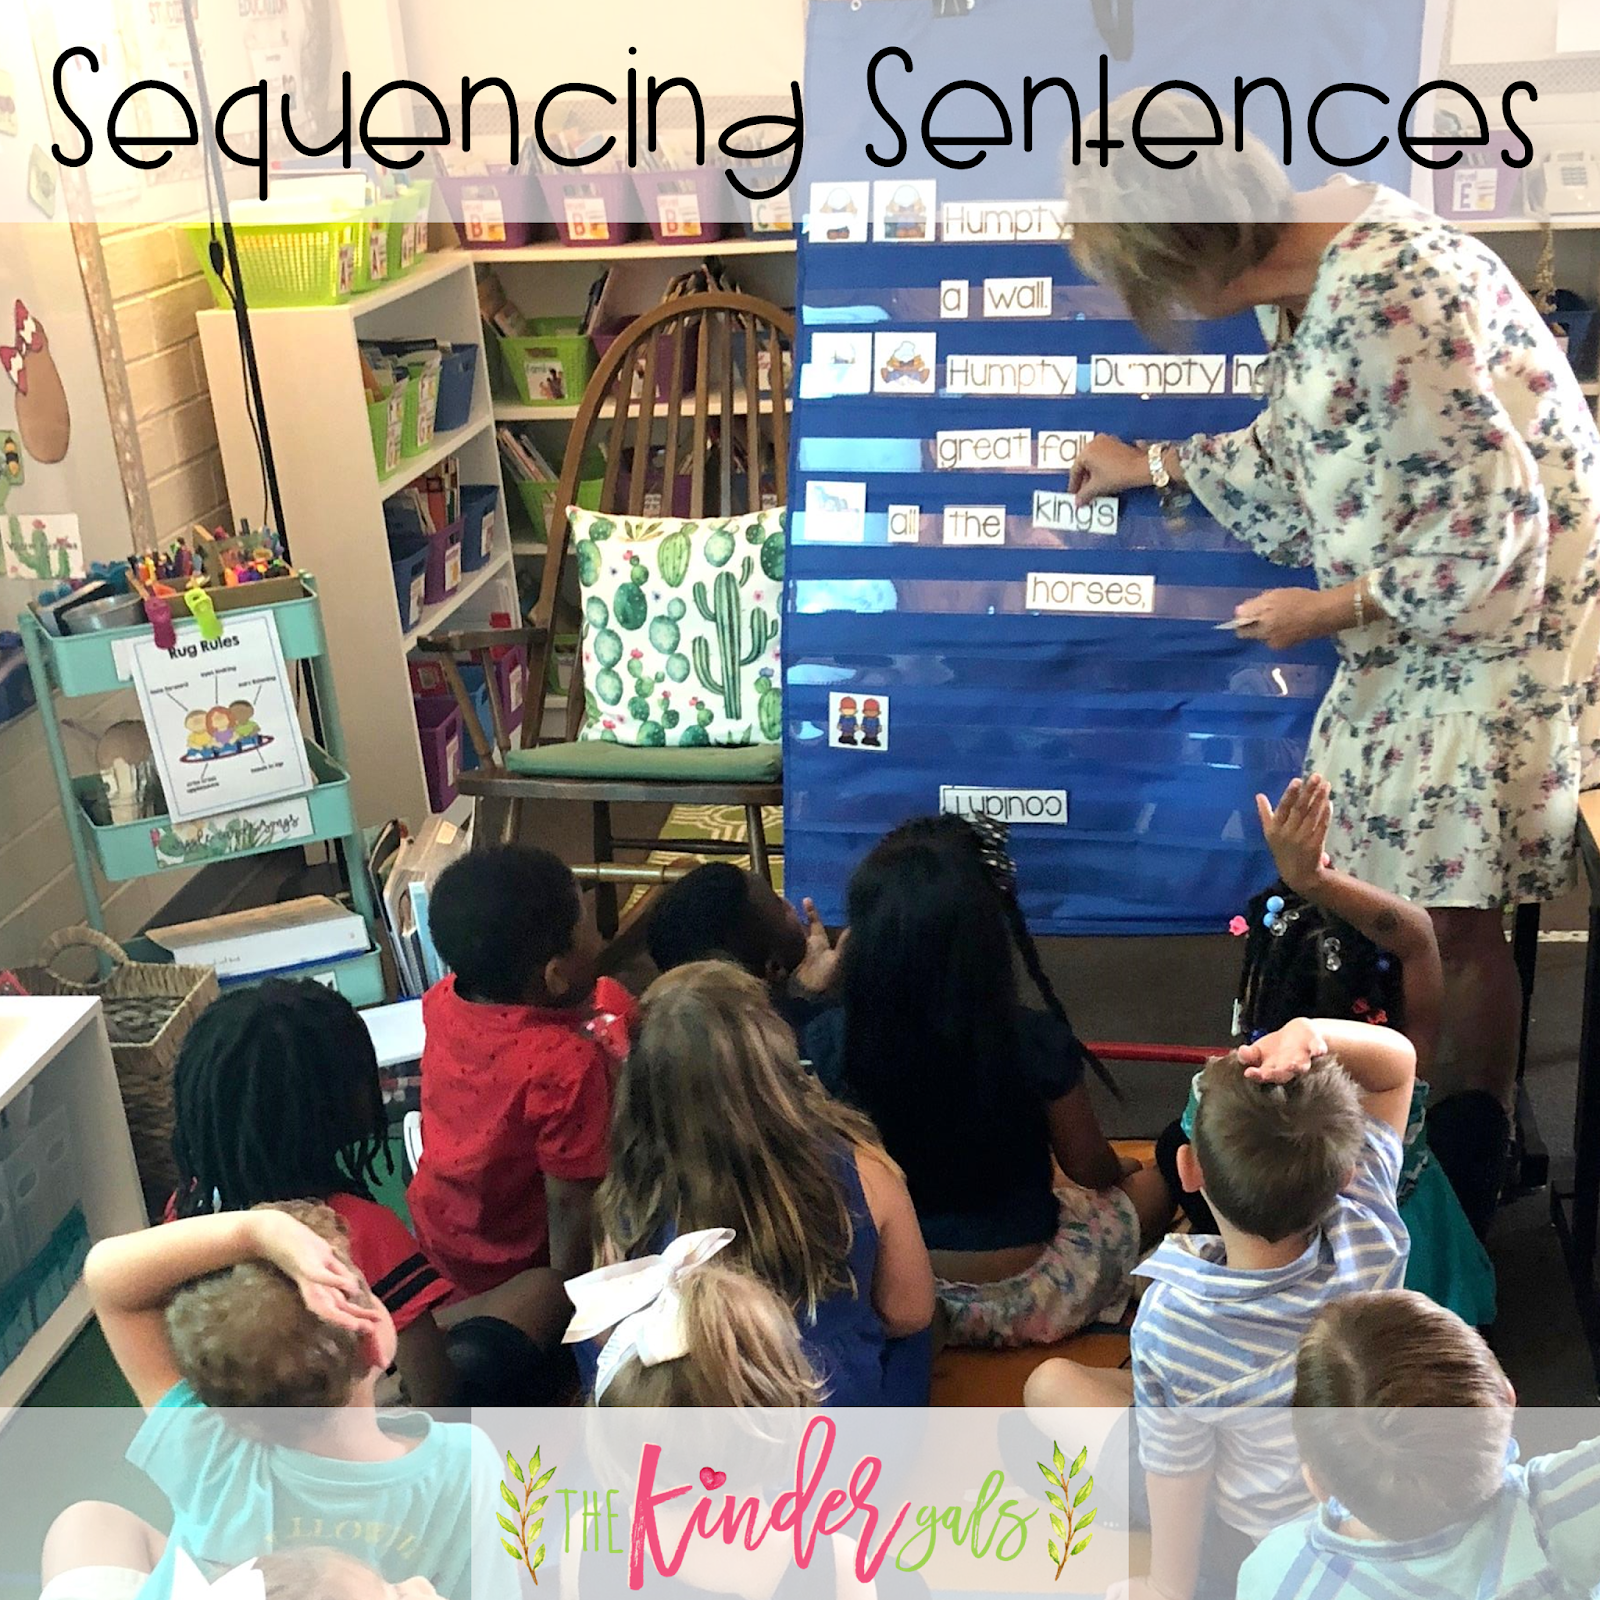
To introduce each rhyme, we made the words to sequence each of the sentences.  I grouped the words needed for each sentence and placed them in the pocket chart. I placed the pictures at the bottom and invited to kids to help me sequence the pictures to tell the rhyme.
Then, we took the words to match the pictures and sequenced them to make the sentences.
All of these activities are from the nursery rhyme unit that I wrote with my good friend Kim Jordano, kinderbykim.
The unit contains the poetry page for 6 popular nursery rhymes.
It also includes the retelling wheels for each of the 6 nursery rhymes.
For each of the rhymes, all of the pieces to make a craft are also included. It also includes a color photo for reference and a page with step by step directions.
And finally, for each rhyme, the sequence pictures and the word cards for each rhyme are included.


Pin It!

Wednesday, September 5, 2018

Celebrating with Zero the Hero

Today, celebrating the 100th Day of School is common in many early childhood classrooms.  This blog post shares how we set the stage to build excitement every 10th day of school leading up to the special 100th day! 
To begin the year, I made a special Zero the Hero bag. I just used clip art to create an 8 1/2 x 11 picture. I printed it out and glued it to the front of a gift bag. I added curling ribbon to the handle! This is now our Zero the Hero bag! Every 10th day of school, Zero the Hero comes and leaves us a special letter and a fun math activity.
Here are a few of those activities:
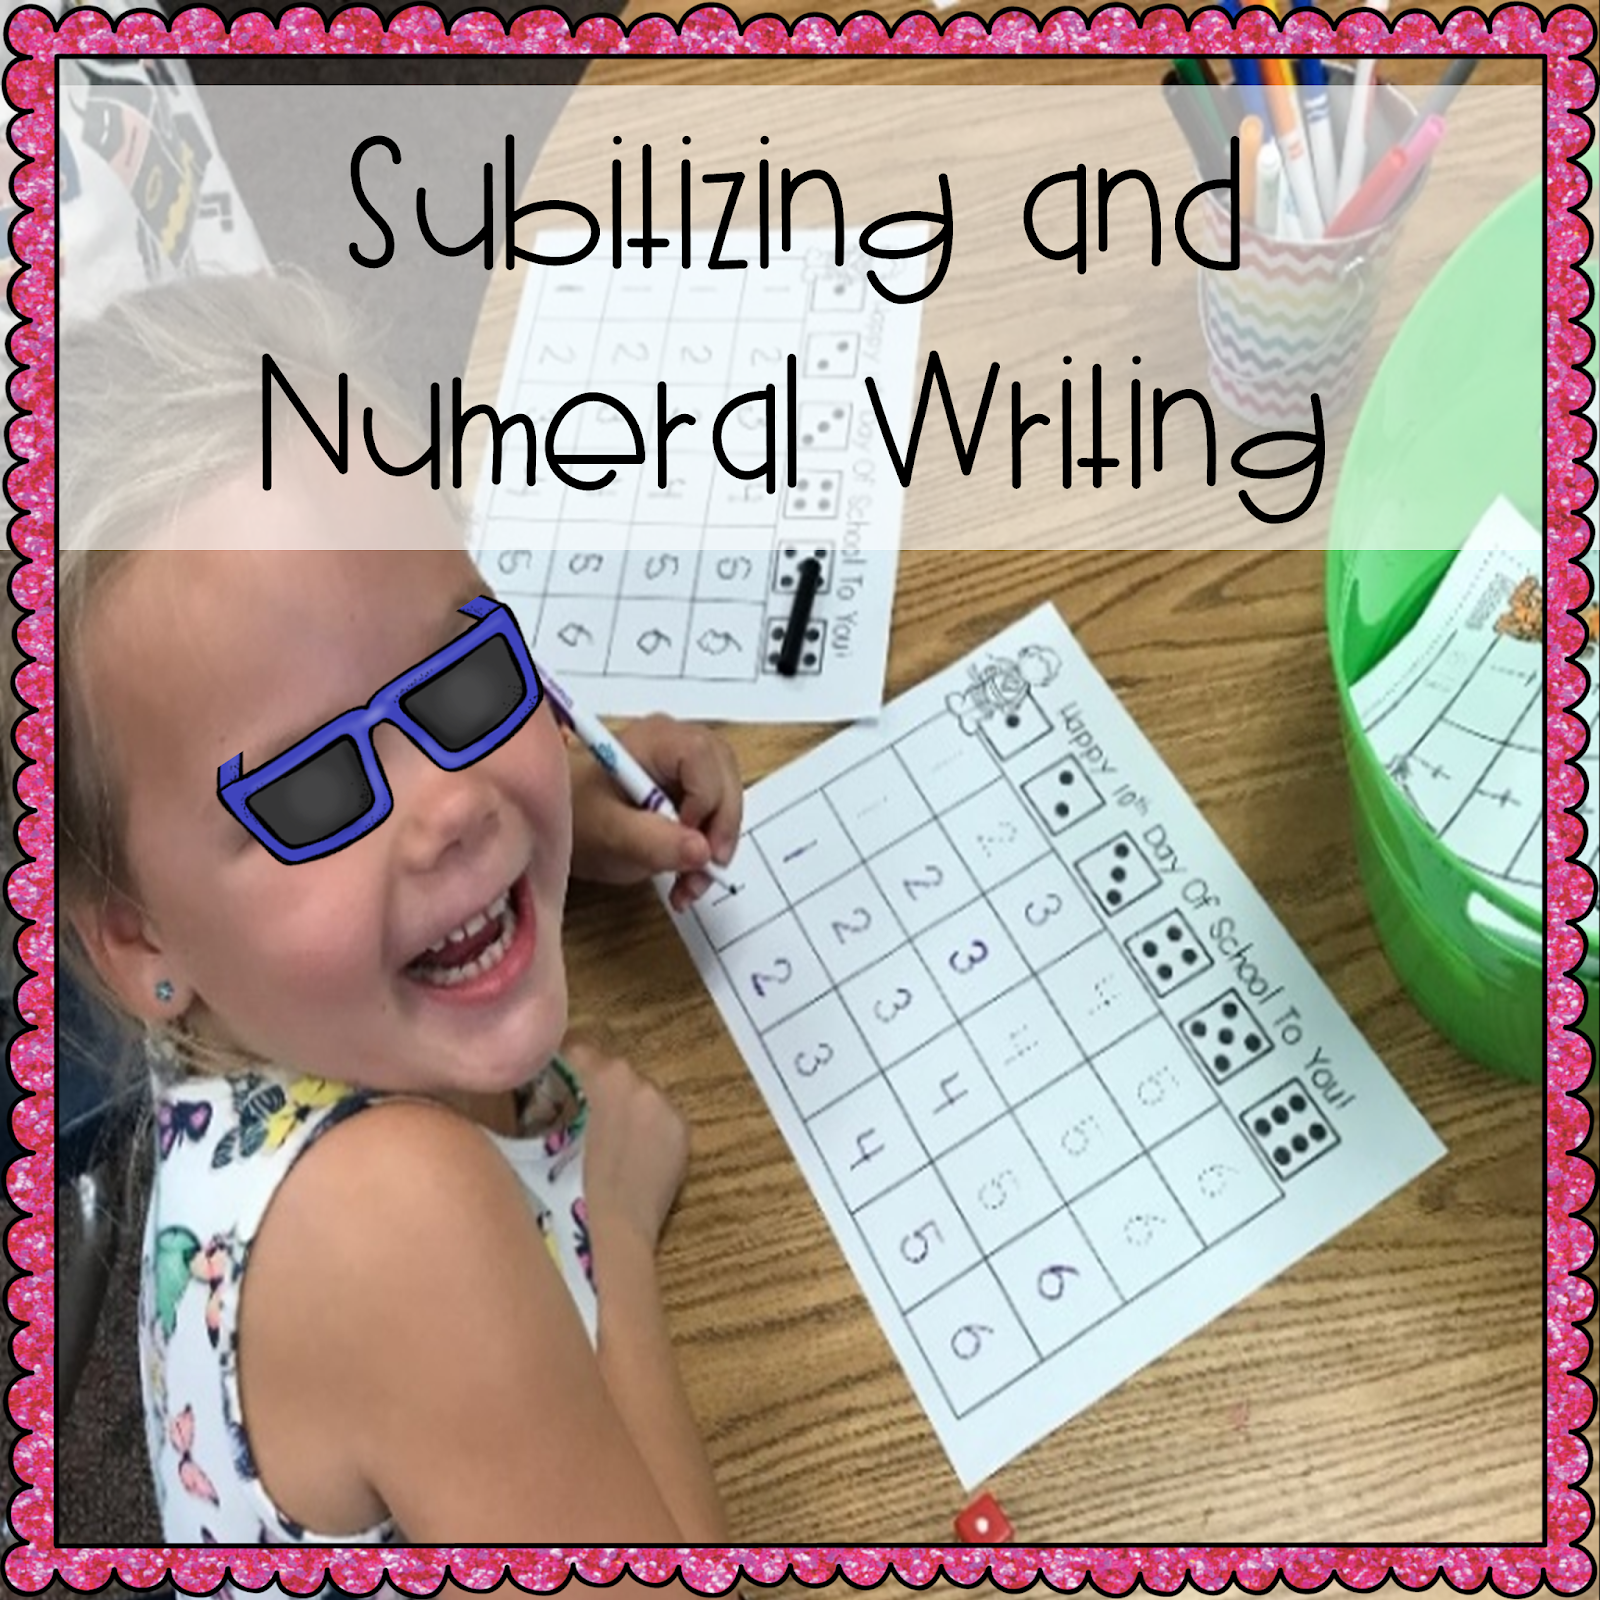
For this activity, each child needs a dice, a pencil or marker, and a recording page. Invite the children to roll the dice. Now, they either count, or subitize, the set of dots. Next, they locate that set on their recording page and trace the corresponding numeral. Continue until all numerals are traced.
For this activity, each child needs 20 beads, a pipe cleaner, and a game board.  Invite the children to arrange their beads onto the tens frame. Ask, How many? Notice how they determine the answer. Do they count each bead, do they say 10 as they point to the first tens frame and then count on the remaining 10, or do they count by saying 10, 20?
Invite the children to arrange the beads onto the pipe cleaner. You may want to just use random colors. You may want them to create a pattern. Or, you may want them to make each set of 10 a different color.
For this activity, each child needs a marker or pencil, a dice, and a recording page. Invite the children to roll the dice. In the belly of the first Zero the Hero, the children make tally marks to match the number on the dice. Continue rolling and making tally marks to complete the recording page.
On the 40th day of school, the children make a sequencing hat. To make this, each child needs a recording page, scissors, glue, crayons, and a sentence strip. Invite the children to color and cut the numbers 10-100.  Next, the children will sequence the numerals onto the sentence strip. Once they are in order, glue the numerals to the strip. Staple together to make a hat.
For the Adding Dots activity each child needs a marker or pencil, 2 dice, and a recording page.  Invite the children to roll both dice. On the first row on the recording page, the children draw the face of each dice inside one of the squares.  Add the dots together and write the sum into the burst!
To practice place value, each child needs a few pretzels and some fruit loops. It helps to give each child a piece of construction paper for holding their supplies.  Show the children a 2 digit numeral. Invite them to show you how to build that number by using pretzels to represent 10 and fruit loops to represent 1's.  **Depending on the age and grade, you may want to stick to numerals 1-19.  It might also help to allow children to organize the fruit loops onto a tens frame and then "trade" them in for a pretzel stick!
On the 100th day, the children make these fun crowns. Invite the children to trace the numerals with a marker.  Cut out and staple to make a crown!
All of these ideas, and others, are from the Zero the Hero unit I wrote with my friend Kimberly Jordano at kinderbykim!
https://www.teacherspayteachers.com/Product/Zero-the-Hero-by-Kim-Adsit-and-KinderByKim-4024525?aref=hc0hej59
The unit contains easy to follow, picture directions for each of the Zero the Hero days.
It also contains the letters that Zero the Hero brings. These letters are placed inside of the Zero the Hero bag.
And lastly, it included the reproducibles for each of the activities. These are simple, no fuss activities!
Have fun celebrating our friend, Zero the Hero!


Pin It!
 
Pin It button on image hover

Receive All Free Updates Via Facebook.