KinderGals

Search This Blog

Monday, January 7, 2019

6 Ways to Use the Pocket Chart in January

Do you have a pocket chart in your room? Do you use it as a center? Do you struggle with ways to have the kids use the pocket chart independently? Then, I am your girl! This blog post is full of 6 ways kids can use the pocket chart!  Each month we have 6 different activities, but many of them follow the exact same directions! Those that are different, are very similar to ones from previous months!
1. Poetry Activity
Each month there is a different poem for the pocket chart.

  • First, the kids sequence the sentences into the pocket chart. You might want to number the strips on the back to help kids with this. 
  • The kids read each of the 4 sentences and select the correct picture to match the text.

  • Sort the 4 cut apart sentences by color.
  • Use the words to build the 4 sentences.
  • Reread the poem.
  • Make each child a poetry book by stapling 4 blank pages behind the title.
  • Invite the children to cut apart the pictures and the sentences.
  • Sequence and glue them into the booklet.
  • Add the booklet to their "bag of books" for repeated reading.
2. Seasonal Word Building
Another activity that repeats each month is the word building center.
  • Invite the children to place the pictures in the pocket chart.
  • Now, place the word card beside each picture.
  • Use the letters to build each word.
  • There are words of various lengths so that you can pick the ones best for your kids.
  • If your kids are ready for a challenge, remove the strip with the word. See if you kids can make the words without looking at the word!
3. Find the Hidden Picture
ANOTHER activity that repeats each month is the Find the Hidden Picture center.  Each month simply change the standard by what you put on the game pieces. You could easily use letters!
To play the game:
  • Place the cards in the pocket chart in an array.
  • Hide the "picture" behind one of the pictures. For this activity we hid a picture of a little boy in a snowsuit.

  • Invite children to read one of the words on the snowflakes.
  • Now, turn the card over.

  • Is the hidden picture behind it?
  • If not, pick another word.
The kids can use this recording page as they play the game. As the kids turn over words, invite them to find it on the recording page and dab it with a bingo dotter.
4. Sound Match (Ending Sounds) 
This activity is similar, but not exactly the same as previous months. Each month I have a matching game. It could be beginning sounds, ending sounds, blends, etc. For January we made an ending sound game. Here's how we play:
  • Put all of the mittens with the pictures in an array in the pocket chart.
  • Place the letters along the bottom row of the pocket chart.
  • Invite the kids to name each picture.
  • Isolate the ending sound.
  • Look at the row of letters and find the correct letter to match the ending sound.
As a follow up activity, invite the kids to complete the recording page.
5. Sorting (Vowel Sound Sort)
Another activity that is similar, but not exactly the same is the sorting activity. Each month I change the type of sort. One month could be to sort pictures by syllables or by another given category. This month we are sorting by vowel sounds in the middle of the word.
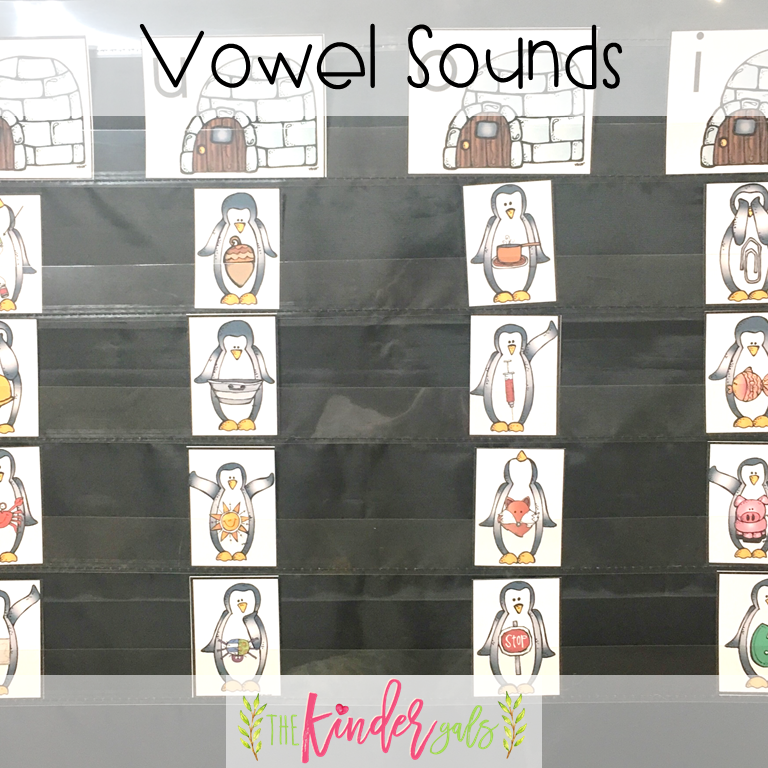
To play:
  • Place the igloos in a row across the top of the pocket chart.
  • Invite the children to name the picture on each of the penguins.
  • Identify the vowel sound in the medial position of the word.
  • Place the penguin in the column under the correct igloo.
As a follow up, invite the children to complete the cut and paste sort.
6. Word Family
While this center is a word family sort, prior months had rhyming activities. These two are very related. There are also a few different ways to play this game.
The first way:
  • Place the snowmen word families in a row across the top of the pocket chart.
  • Invite the children to sort the pictures into the correct word family. 
OR
  • Place the snowmen word families in a row across the top of the pocket chart.
  • Invite the children to sort the word card with the pictures into the correct word family.
  • Place the letters in a row across the bottom of the pocket chart.
  • Name each picture and identify the beginning sound.
  • Find the correct letter and place it on the line in front of the word.

OR
  • Invite the children to match the word card to the picture card.
  • Place the letters in a row across the bottom of the pocket chart.
  • Name each picture and identify the beginning sound.
  • Find the correct letter and place it on the line in front of the word.
You pick the way that works best for you!
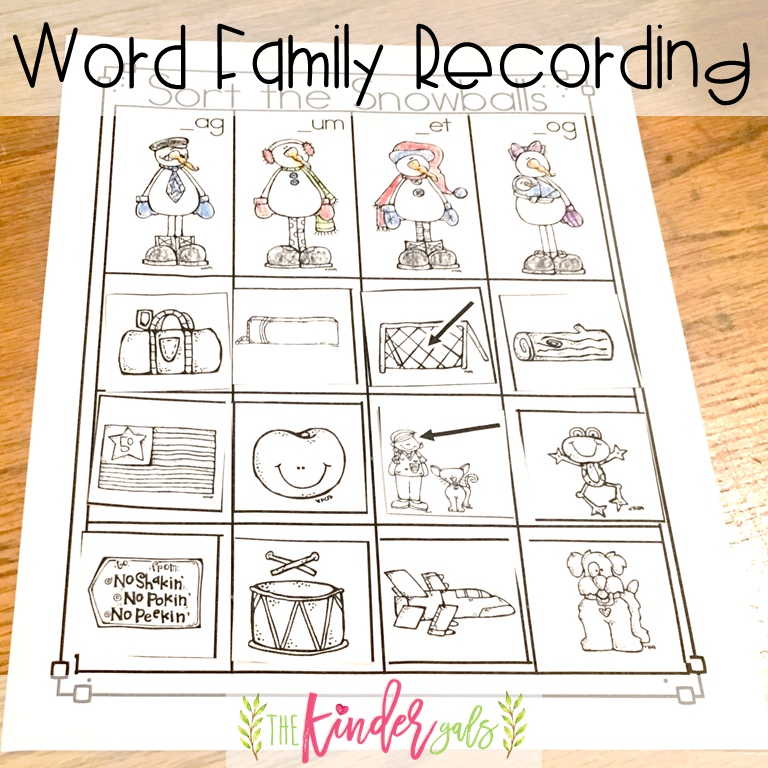
Invite the children to complete the cut and paste as a follow up activity.
These activities should keep your pocket chart busy!  You can find all of these activities made for you in this resource: Pocket Chart Activities for January.


Pin It!

Monday, October 22, 2018

6 Ways to Use the Pocket Chart in the Fall

The pocket chart is one of those centers that teachers like more than kids! I think a lot of it is because kids just don't know what to do when they go there. I decided to create a set of 6 activities that I could change from season to season, but the activities would keep the same framework and rules thus making it easy for kids to be independent. Here are examples of those 6 activities:
1. Poem
This poem has quite a story....I dreamed it! I woke up and typed it in my phone because I knew I wouldn't remember it in the morning! The teacher dreams...we all have them.

  • First, I typed the sentences and printed them on white cardstock. 
  • I made the 4 picture cards to sequence. 
  • Then, I made each sentence on a different color of cardstock. 
  • This makes it easy for kids to know which words go together.

To play:

  • The kids sequence the pictures.
  • Using their reading powers, they match the sentences to the pictures.
  • Now, they build each sentence by placing the colored cardstock words over the white cardstock words.

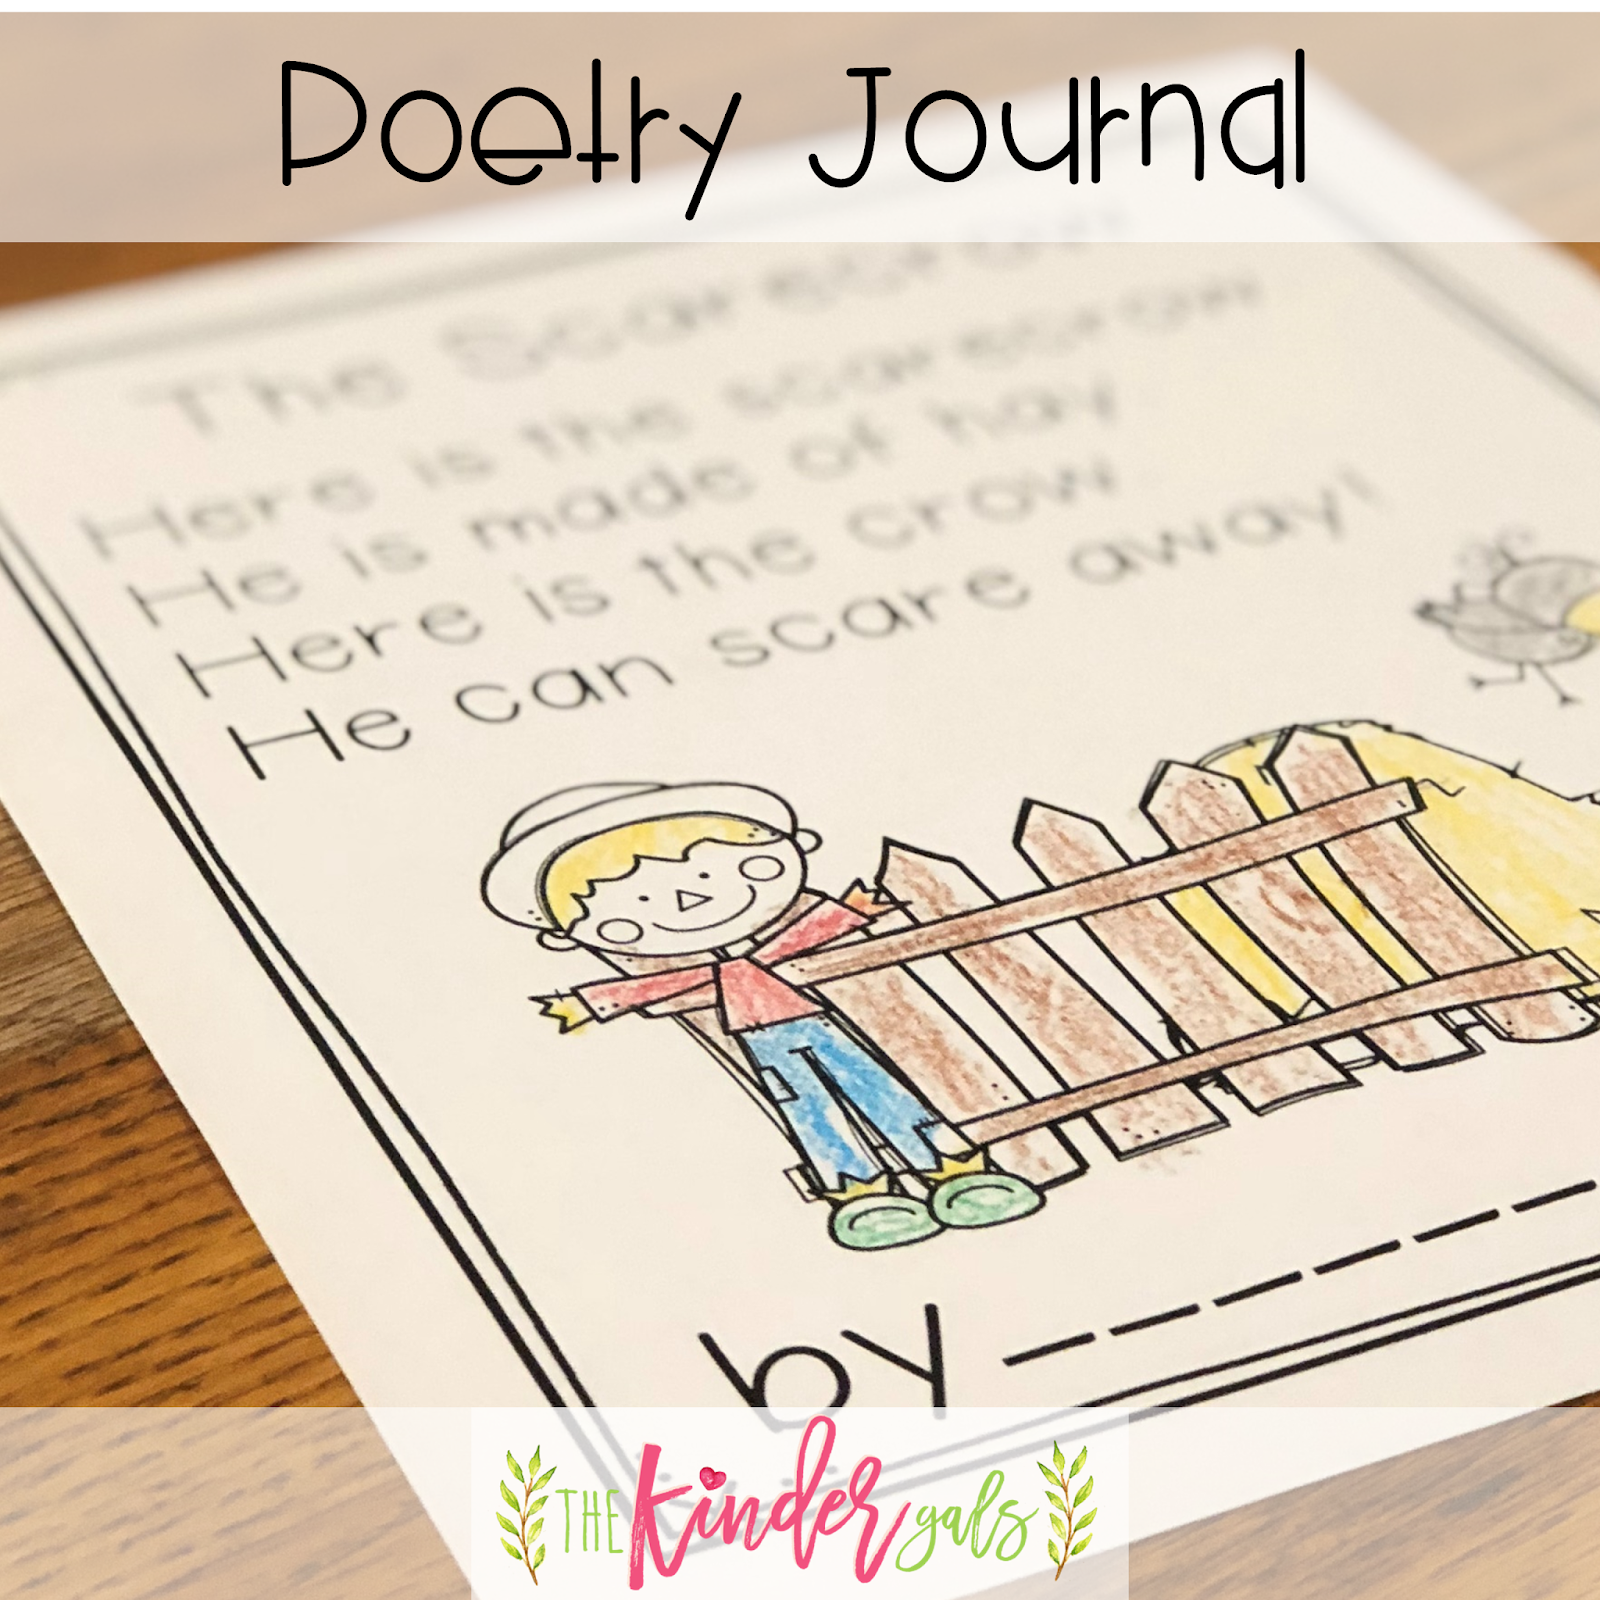
As a follow up, the kids can make this "The Scarecrow" book. To make the book:
  • Staple the cover to 4 blank pages.
  • Invite the children to cut and sequence the pictures.
  • Glue one picture on each page.
  • Cut the 4 sentences apart.
  • Using the pocket chart work, the kids glue the correct sentence with each picture.
  • Invite kids to place this in their bag of books to read again and again!

You could also use the poem all on one page. Invite children to add the poem to their poetry journal.
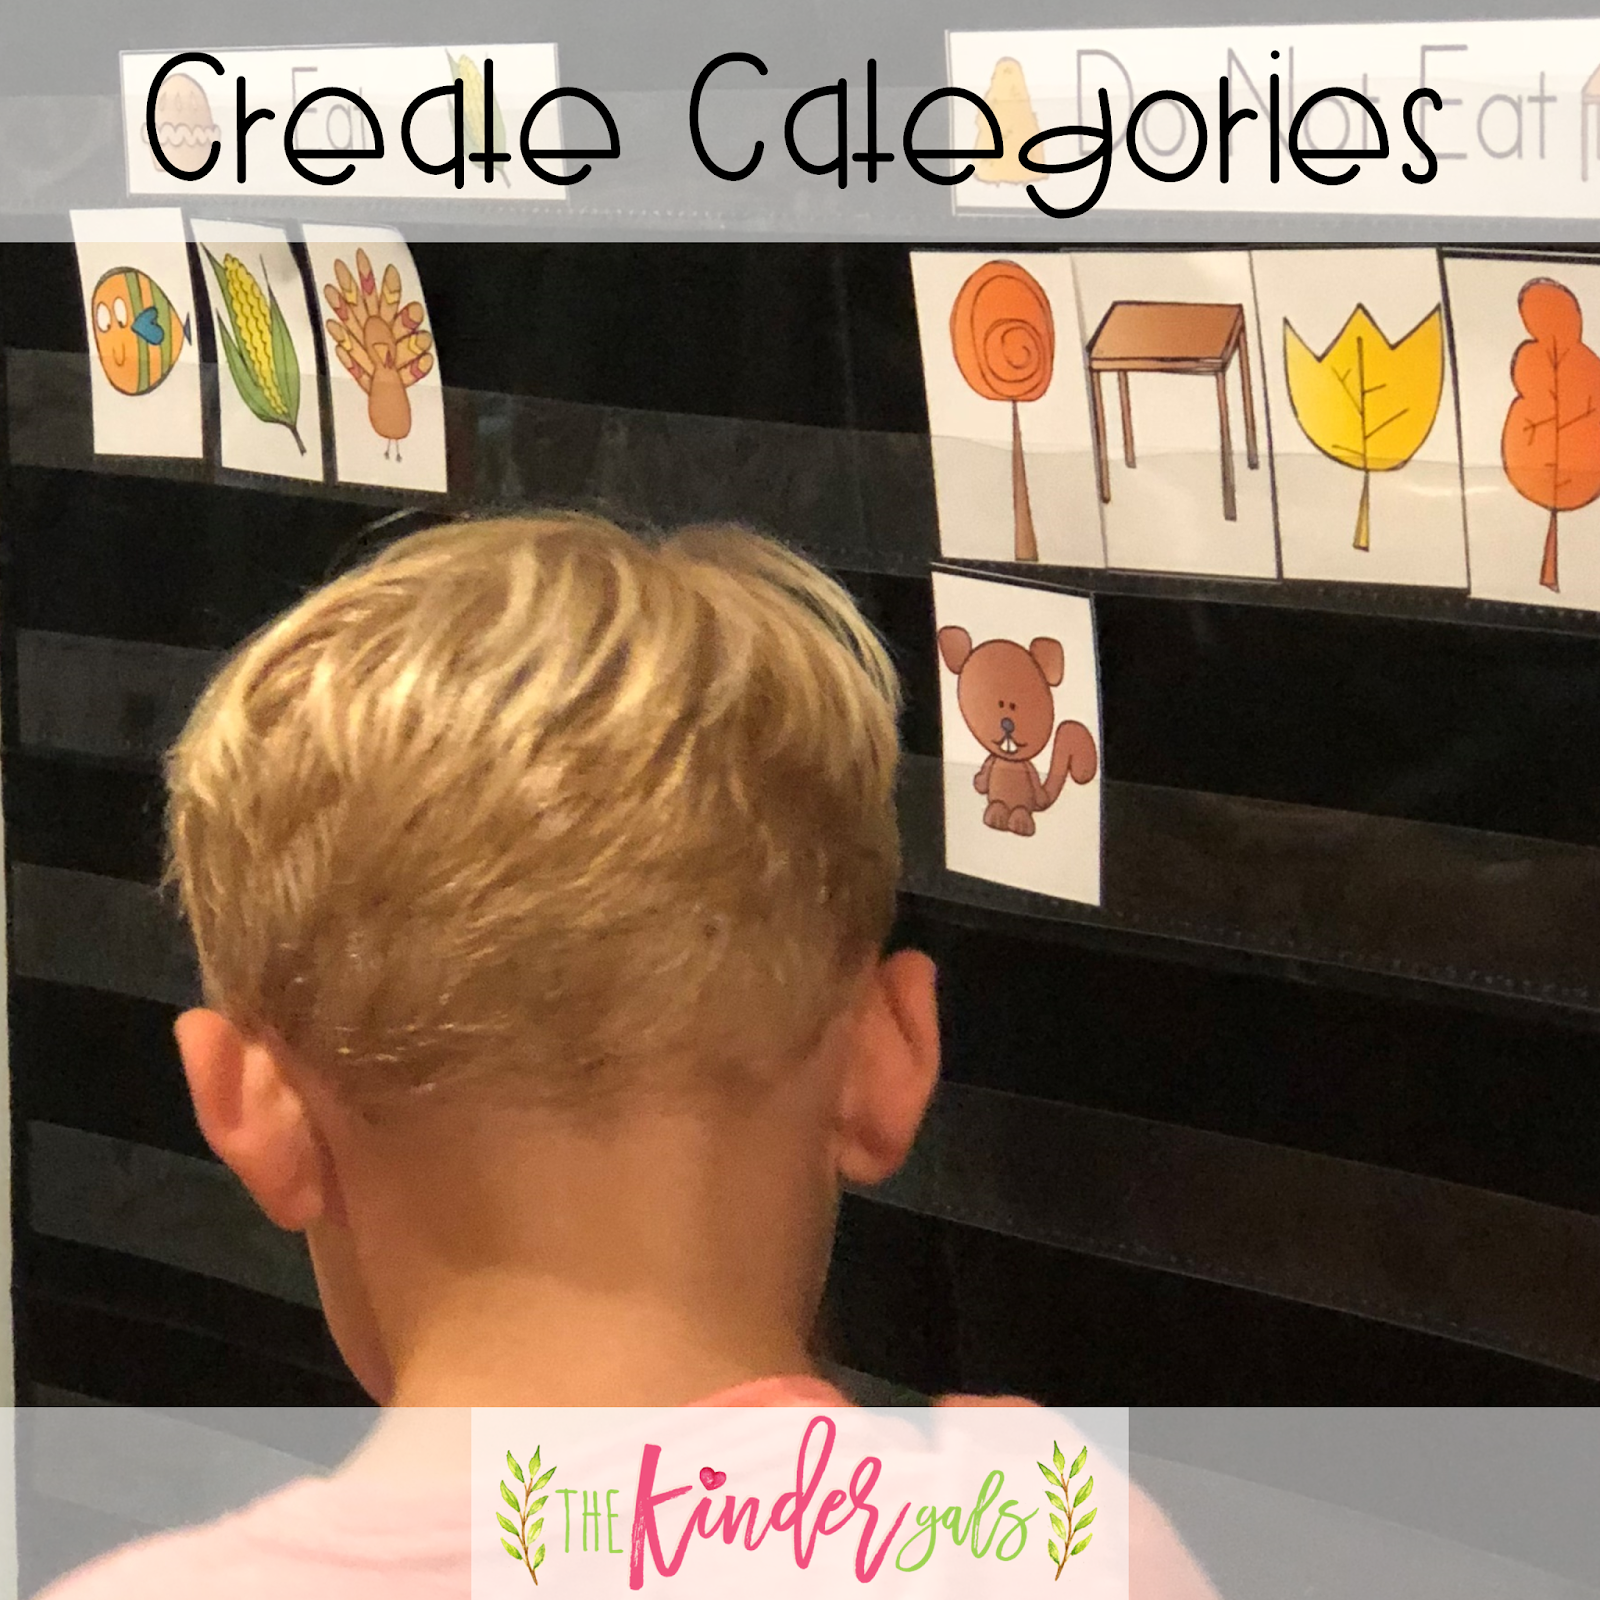
2. Sorting
To develop vocabulary (naming pictures), we created a sorting center.  To play:
  • The kids, or you, select the sorting cards to place at the top of the pocket chart.
  • Then, they sort the picture cards into the correct category.

It is always acceptable for kids to create their own sorting strips to put at the top!
To record their work, the kid write the different ways they sorted the cards. After their final sort, they select one of the ways to illustrate.
3. Rhyming (phonemic awareness)
To play the rhyming game:
  • Invite the kids to put the baskets in the pocket chart.
  • Spread the acorns on the floor or place along the bottom of the pocket chart.

Invite the kids to select the acorns and find the basket with the rhyming word.
Using the pocket chart work, the kids can complete the recording sheet. It doesn't have all of the matches, but it has enough to determine if they understand rhyming words.
4. Word Making
To get ready:
  • Invite the kids to make a column of the pictures.
  • Match the word cards to the pictures.
  • Using the individual letters, invite the kids to make each word.

We are making the words by using the word cards. But, if you kids are ready to stretch words, you may want to eliminate the word cards.
5. Sound Matching (Phonics)
To begin the game: 
  • Place the word cards in the pocket chart. 
  • Place the letters along the bottom of the pocket chart.

Invite the kids to name the picture and find the beginning letter. Place the letter in the box beside the picture.
On the recording page, the children cut apart the letters and match them to the correct picture. Not all of the pictures are on the recording page, but there are enough for you to check their work.
6. Find the.... (Letter Identification)
To get ready:
  • Place the letters in abc order. Create an array.
  • Hide the crow behind one of the letters.

To Play:
  • Invite the children to take turns identifying a letter.
  • As they name the letter, they look behind to see if the crow is hiding there.
  • Turn the card over so that we will know we already looked there.

The object of the game is to find the crow hiding behind one of the letters.
Give each child a recording page. As the letter is turned over, invite the kids to place a chip on the letter. This gives every child a chance to identify the letter. The last time you play, you may want to let kids use a bingo dotter!
All of these activities are included in our Pocket Chart Activities for Fall Unit.

Pin It!

Friday, October 19, 2018

Teaching Float and Sink with Coke Floats

This past week we celebrated the 50th Day of School. While most kids, or even their parents, have no connection to the "50's", we still celebrate by making coke floats. I told the kids it was a way to celebrate them coming to school for 50 days!
I wanted to connect this fun activity to science and math, so here is what we did. Be sure and read all the way to the bottom where you can grab everything needed to do this lesson with your kids! It's FREE!
First I read the kids a book about float and sink. The book was great to explain why things floated (air pockets).
Then we read the Coke Floats Recipe Book. This is also a great introduction to nonfiction writing (how to.)
You might want to consider NOT reading the title page as this might give away the point of the lesson. I just told them we were going to make a special snack.
I made the recipe into a book with each page have one of the steps.
After reading the book, I asked them if they thought the ice cream would sink to the bottom of the cup or float to the top. I wanted the kids to see we were being scientist. I told them that scientist had questions, and that they used all they knew to make a prediction about what they thought would happen (hypothesis).
Since I did this activity in both prek and k, I made some simple modifications.  In Prek, we made a group graph. I asked each child what they thought would happen to the ice cream.  The teacher and I worked together and she added their photos to the ice cream as they made their predictions.
In the kindergarten class, we divided the class into groups. I worked with one group at a time.  In each group, I asked each child what they thought would happen to the ice cream.  As they answered the question, they put tally marks on their graphing paper. Then, we used the tally marks to create our graph. With both the kindergarten and prek kids we talked about our predictions and what the class thought.
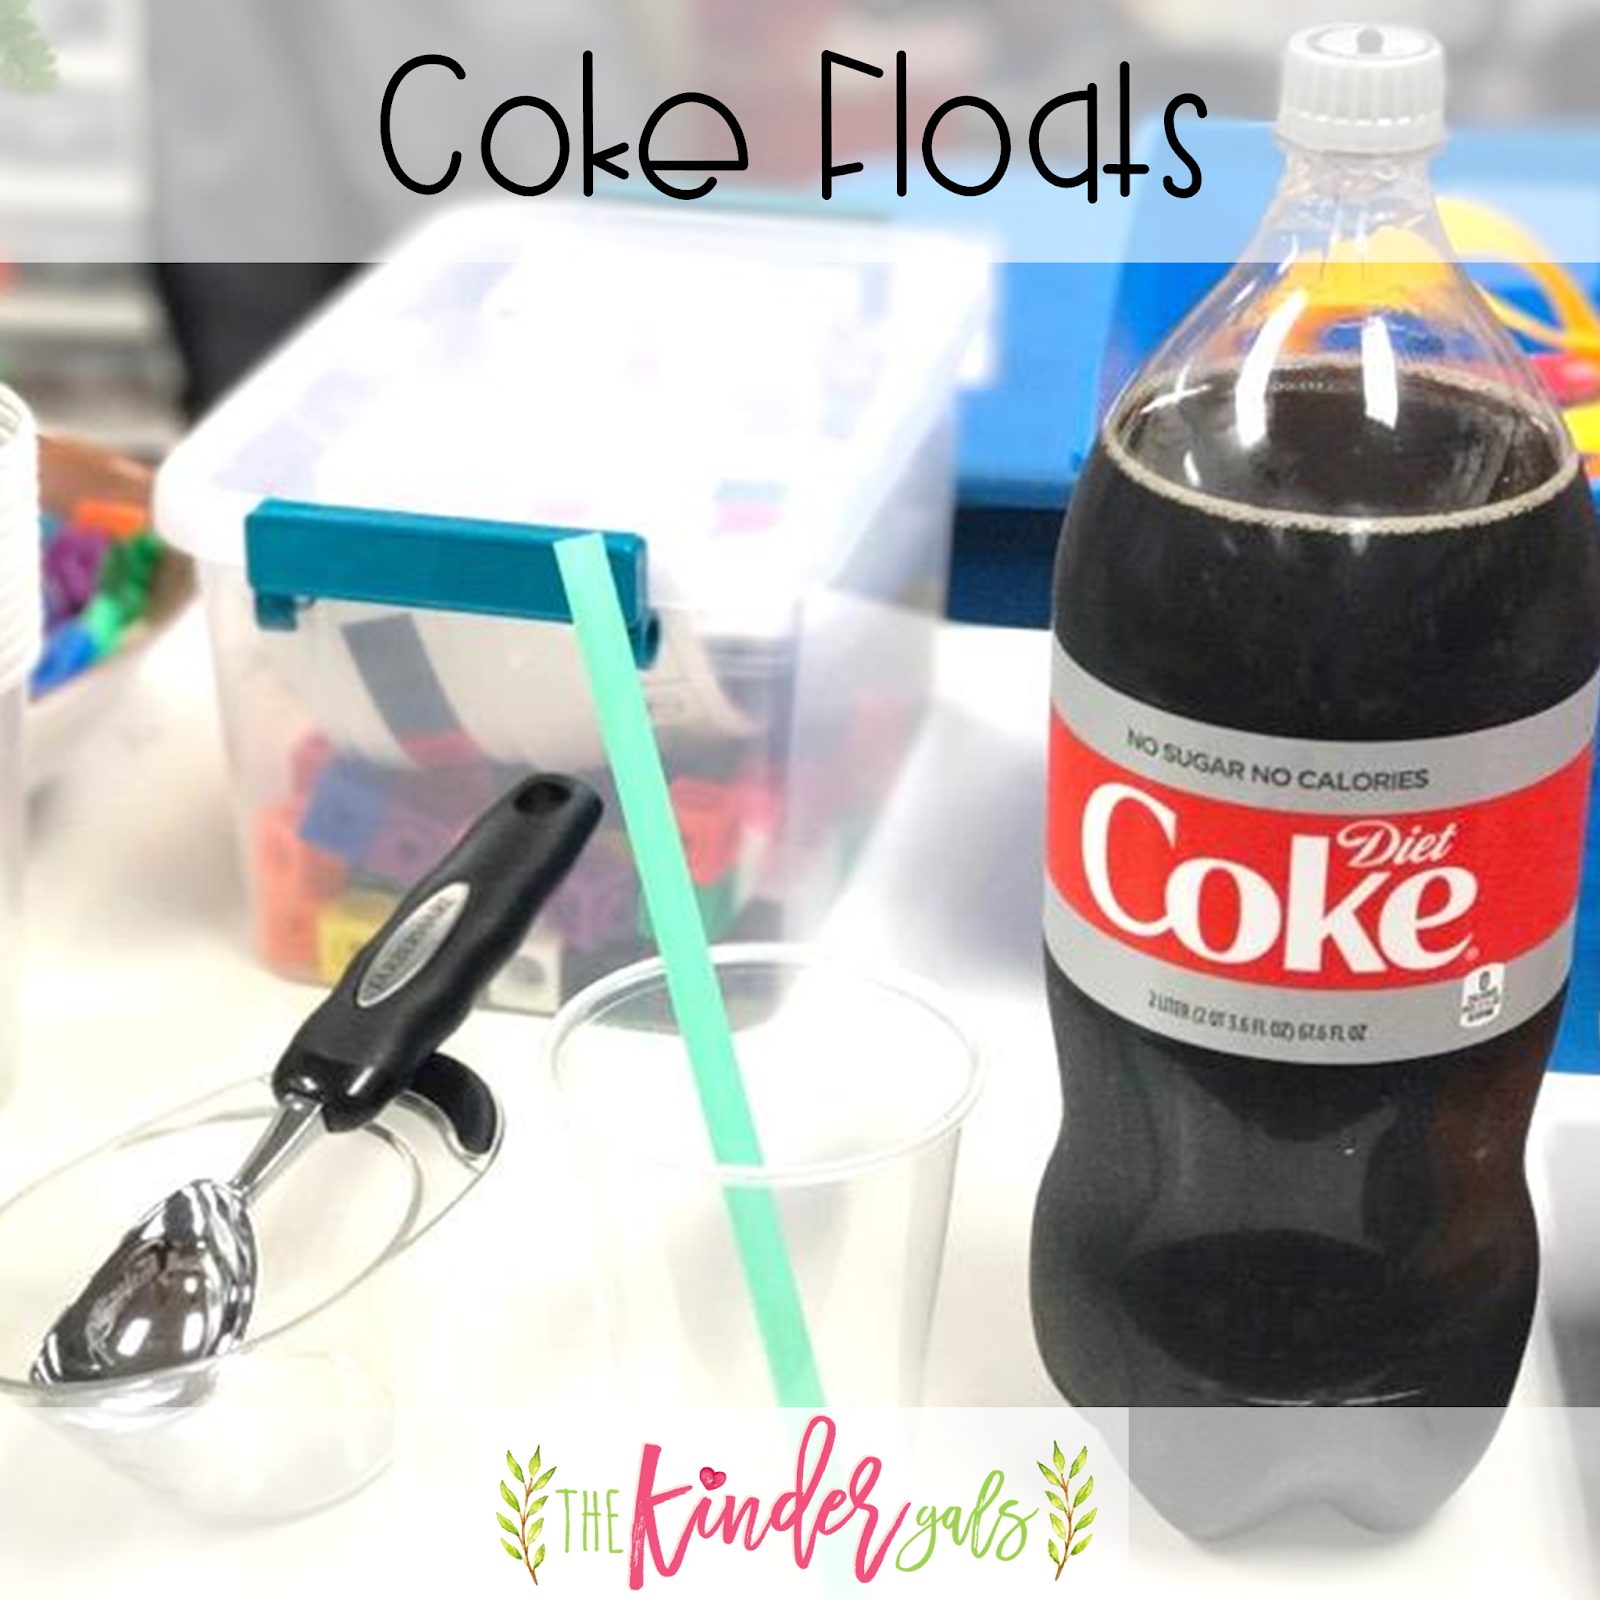
Then, we made the coke floats. I put a scoop of ice cream into their cups.
Then, they each poured their own soda, SLOWLY, into the cup.
After everyone had soda in their cups, we looked to see what had happened to the ice cream. It' floats!
Now for their favorite part...drink it up!
With both groups we came back together and talked about our predictions. I wanted a book about making ice cream, I do have one but could't find it, to show kids how ice cream machines add air particles as it whips the mixture. Since I didn't have the book, I just told them about it.
You can grab the recipe books and both types of graphs by filling in the box below! Happy 50th Day!


Pin It!
 
Pin It button on image hover

Receive All Free Updates Via Facebook.